


Safest canning methods for low-acid garden produce?
Understanding Low-Acid Produce and Canning Safety
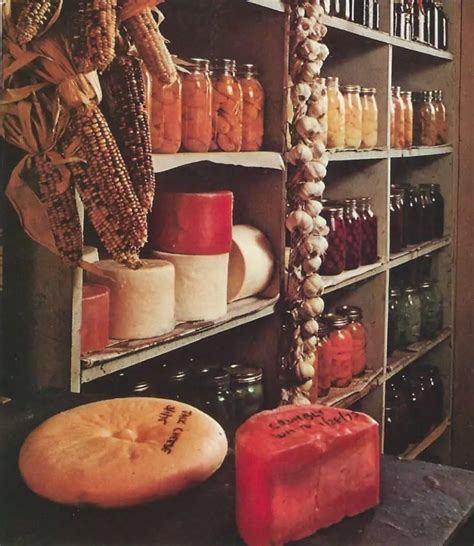
For many home gardeners, the bounty of a successful harvest brings with it the rewarding task of preservation. While water bath canning is a popular and safe method for high-acid foods like fruits, jams, and pickles, it’s critically important to understand that low-acid vegetables and meats require a completely different approach to ensure safety. Improperly canned low-acid foods can harbor Clostridium botulinum, a bacterium that produces a deadly toxin, making safe canning practices non-negotiable.
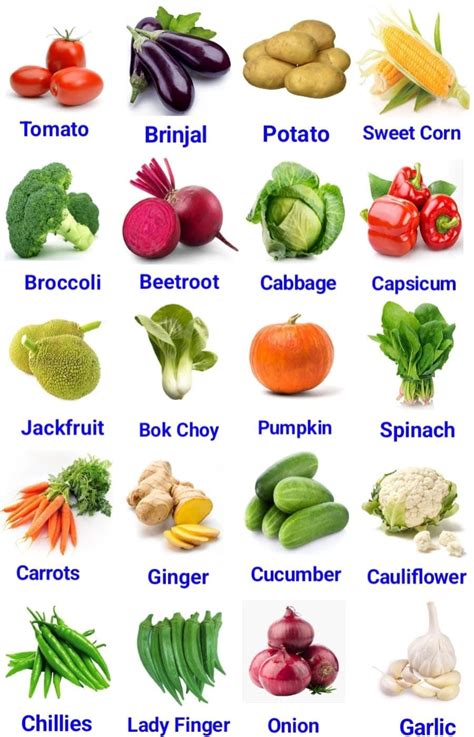
Low-acid foods are those with a pH value higher than 4.6. This category includes most common garden vegetables such as green beans, corn, peas, carrots, potatoes, asparagus, and squash, as well as meats, poultry, and seafood. Because these foods lack the natural acidity to inhibit bacterial growth, a much higher processing temperature is needed to effectively destroy harmful microorganisms and their spores.
The Indispensable Role of Pressure Canning
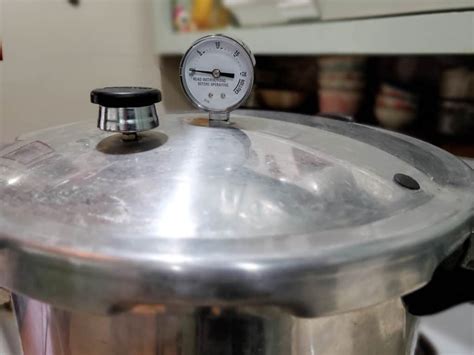
When it comes to low-acid foods, pressure canning is not just a recommendation; it is the only scientifically approved and safe method. Unlike water bath canning, which only reaches the boiling point of water (212°F or 100°C), a pressure canner creates an environment where temperatures can reach 240°F (116°C) or higher. These elevated temperatures are essential to effectively kill the spores of Clostridium botulinum, which can survive boiling water temperatures.
A pressure canner works by trapping steam, increasing the pressure inside the canner, and subsequently raising the boiling point of water. This sustained high temperature throughout the recommended processing time ensures that your low-acid foods are sterilized, making them safe for shelf-stable storage. Using a pressure canner requires careful attention to detail, including proper equipment, accurate gauge readings, and adherence to tested recipes.
Essential Steps for Safe Pressure Canning
1. Equip Yourself Properly
Begin by ensuring you have a functional pressure canner, either a dial gauge or weighted gauge model. Dial gauges should be tested annually for accuracy. You’ll also need proper canning jars (Mason jars), new lids, and bands. Always inspect jars for chips or cracks, and wash them thoroughly.
2. Prepare Your Produce
Wash, trim, and prepare your vegetables according to a tested recipe. Most low-acid vegetables are packed hot into jars to remove air and maintain quality, though some recipes may call for raw packing. Ensure you have all ingredients prepped before you begin the canning process.
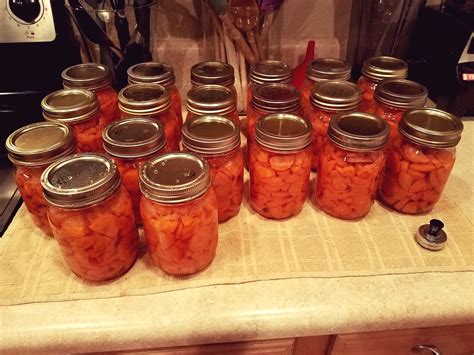
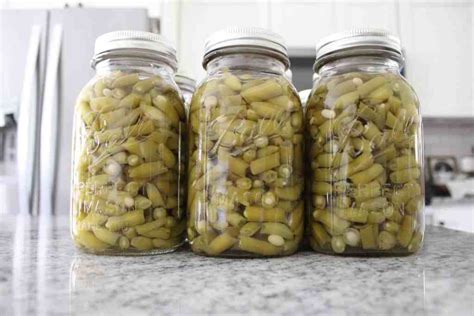
3. Fill Jars and Maintain Headspace
Pack your prepared food into hot jars, leaving the recommended headspace (usually 1 inch for low-acid foods). Headspace is crucial for creating a vacuum seal and preventing siphoning during processing. Remove air bubbles with a non-metallic utensil, wipe jar rims clean, and center new, pre-warmed lids before finger-tightening bands.
4. Vent, Process, and Cool
Place filled jars into the pressure canner with the specified amount of hot water. Secure the canner lid. Turn up the heat and allow the canner to vent steam steadily for 10 minutes before placing the weight or closing the petcock. This step removes air from the canner, ensuring a true pressure environment. Once vented, bring the canner to the recommended pressure and maintain it precisely for the duration specified by your recipe, adjusting for altitude.
After processing, turn off the heat and allow the canner to cool naturally until the pressure gauge reads zero. Do not rush this cooling process. Once depressurized, remove the weight/open the vent, wait 10 minutes, and then carefully remove the lid. Let the jars cool undisturbed on a wire rack for 12-24 hours before checking seals. Any unsealed jars must be reprocessed or refrigerated.
Common Mistakes to Avoid
- Ignoring Altitude Adjustments: Higher altitudes require increased pressure to reach the necessary sterilization temperatures.
- Using Untested Recipes: Only use recipes from reliable sources like the USDA, university extension offices, or reputable canning book publishers.
- Improper Headspace: Too little or too much headspace can lead to seal failures or siphoning.
- Failing to Vent Properly: Trapped air reduces the effective temperature inside the canner.
- Rushing the Cooling Process: Rapid cooling can cause jars to siphon or seals to fail.
Prioritizing Safety for Your Harvest
Preserving your low-acid garden produce at home is a rewarding way to enjoy your harvest year-round. However, the importance of using a pressure canner and meticulously following tested guidelines cannot be overstated. When in doubt, consult official canning resources. Your dedication to safe practices ensures not only delicious food but also the well-being of those who enjoy your home-canned treasures.