
Troubleshooting soggy bottom crust on homemade fruit pies?
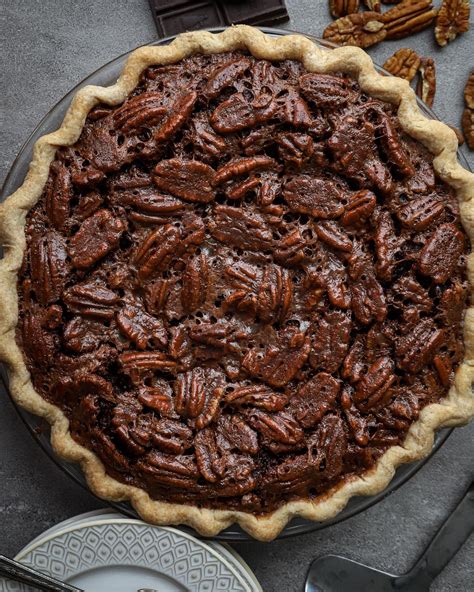
There’s nothing quite like a homemade fruit pie, hot from the oven with its bubbling filling and golden-brown, flaky top crust. However, the joy can quickly turn to disappointment when you slice into it, only to find a wet, undercooked, and utterly soggy bottom crust. This common baking dilemma can frustrate even experienced bakers, but fear not! With a few strategic techniques, you can banish the soggy bottom for good and achieve pie perfection.

The Culinary Heartbreak of a Soggy Bottom
A soggy bottom isn’t just an aesthetic issue; it affects the entire texture and flavor profile of your pie. Instead of a delightful contrast between crisp crust and tender fruit, you’re left with a gummy, unappetizing layer. Understanding why this happens is the first step toward prevention.
Understanding the Enemy: Why Pie Crusts Get Soggy
Excess Moisture from Fruit
Fruit fillings are inherently juicy. As they bake, they release even more liquid. If this moisture has nowhere to go or is directly absorbed by the unbaked bottom crust, sogginess is inevitable. Berries, peaches, and apples are prime culprits, especially when fresh.
Underbaked Crust
Even if you manage fruit moisture, an insufficient baking time or temperature can lead to a raw-tasting, doughy bottom. The crust needs enough heat and time to fully cook through and crisp up, especially at the bottom, which is insulated by the pie plate and filling.
Incorrect Baking Temperature or Rack Placement
If your oven isn’t hot enough, or if the pie is placed too high, the top crust might brown beautifully while the bottom remains pale and underbaked. Heat needs to penetrate the bottom of the pie effectively to create that coveted crispness.
Your Arsenal Against Soggy Bottoms: Proven Solutions
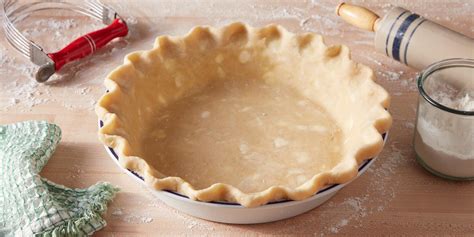
The Power of Blind Baking (Pre-baking the Crust)
Blind baking is often the most effective defense against a soggy bottom. It involves partially or fully baking the pie crust before adding the filling. This creates a barrier that resists moisture absorption.
- For partially baked crusts: Prick the bottom and sides with a fork, line with parchment paper, fill with pie weights or dried beans, and bake at a high temperature (e.g., 400°F/200°C) for 15-20 minutes until the edges are set. Remove weights and parchment, then bake for another 5-10 minutes until lightly golden.
- For fully baked crusts (for custard or no-bake fillings): Follow the partial bake steps, but continue baking until the crust is golden brown all over.
Moisture Management is Key
Even with blind baking, managing the fruit’s moisture is crucial.
- Drain excess juices: If your fruit is very juicy, let it sit with sugar for a while, then drain some of the released liquid before mixing in thickeners.
- Use thickeners wisely: Flour, cornstarch, tapioca starch, or arrowroot powder help absorb moisture and create a cohesive filling. Cornstarch and arrowroot create a clearer, glossier filling, while flour tends to make it opaque. Use according to recipe specifications.
- Create a barrier: Sprinkle a thin layer of dry breadcrumbs, crushed cornflakes, or finely ground plain cookies (like vanilla wafers or graham crackers) on the bottom of your unbaked or partially baked crust before adding the fruit filling. These absorb initial moisture and prevent it from soaking into the pastry.

Choose Your Pie Plate Wisely
The material of your pie plate significantly impacts heat transfer:
- Metal pie plates: Excellent heat conductors, they get hot quickly and transfer heat efficiently to the bottom crust, promoting crispness.
- Glass pie plates: While allowing you to see the browning of the bottom crust, they conduct heat more slowly and can sometimes lead to a less crisp bottom.
- Ceramic or stoneware: Also slower to conduct heat, but once hot, they retain heat well. They can work, but require careful preheating.
For best results with soggy-prone pies, a metal pie plate is often preferred. Always preheat your oven thoroughly before placing the pie inside.
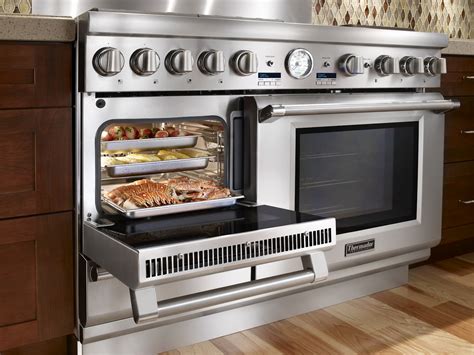
Optimal Oven Environment
- High initial heat: Many recipes recommend starting pies at a higher temperature (e.g., 425°F/220°C) for the first 15-20 minutes, then reducing it to a lower temperature (e.g., 375°F/190°C) for the remainder of the baking. This initial blast of heat helps set the bottom crust quickly.
- Bottom rack placement: Placing the pie on the lowest rack ensures the bottom of the pie gets maximum direct heat from the oven element, encouraging it to cook and crisp up faster than the top.
A Flawless Finish: Extra Tips for Success
- Chill your dough: A cold, well-chilled dough is less prone to shrinking and creates a flakier crust.
- Don’t overfill: Too much filling can increase baking time and moisture release, contributing to sogginess.
- Vent well: Cut slits or use decorative cutouts in your top crust to allow steam to escape. This prevents the steam from condensing on the underside of the top crust and potentially dripping onto the bottom.
- Egg wash: Brushing the bottom crust with a beaten egg white before filling can create a waterproof barrier.
Baking a perfect fruit pie with a crisp bottom crust is an achievable goal. By understanding the causes of sogginess and implementing these preventative measures—especially blind baking and moisture management—you’ll be well on your way to enjoying delicious, structurally sound homemade pies every time. Happy baking!