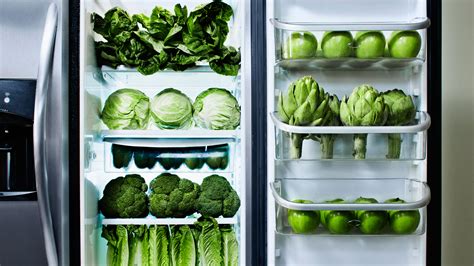


DIY solutions for extending garden harvest storage without refrigeration?

Unlock Your Garden’s Full Potential: Non-Refrigerated Storage Hacks
The joy of a bountiful garden harvest is unparalleled, but what happens when your countertops are overflowing and your refrigerator is packed? For generations, gardeners have mastered the art of preserving their produce without the need for modern refrigeration. These time-tested, DIY solutions not only reduce waste but also provide access to fresh, homegrown goodness long after the growing season ends. Embracing these methods allows you to transform your kitchen into a self-sufficient hub, maximizing every single yield from your green thumb.
1. Curing and Proper Air Drying
Many vegetables benefit immensely from a period of ‘curing’ after harvest. This process toughens skins, seals minor wounds, and improves storage life. It’s especially crucial for root vegetables and squashes.
- Onions and Garlic: After harvesting, lay them out in a warm, dry, well-ventilated area (like a shed or garage floor, or hung in braids) for 2-4 weeks. Once the outer skins are dry and papery, and the necks are tight, trim roots and tops. Store in mesh bags or crates in a cool, dark, dry place.
- Winter Squash and Pumpkins: Cure these in a warm (75-85°F), moderately humid spot for 10-14 days. This hardens the skin, preventing rot and enhancing flavor. Afterward, store them in a cool (50-55°F), dry location.
- Potatoes and Sweet Potatoes: Potatoes need a ‘curing’ period of about 1-2 weeks in a dark, cool (50-60°F), humid place to heal skin wounds and develop a thicker skin. Sweet potatoes require a warmer (80-85°F), very humid (85-90%) environment for 7-10 days. Once cured, store both in a dark, cool (45-50°F), well-ventilated area, away from onions.
For herbs and some thinner-skinned vegetables, simple air drying is a fantastic way to preserve flavor and nutrients. Bundle herbs like rosemary, thyme, and oregano and hang them upside down in a warm, dry, well-ventilated room away from direct sunlight.
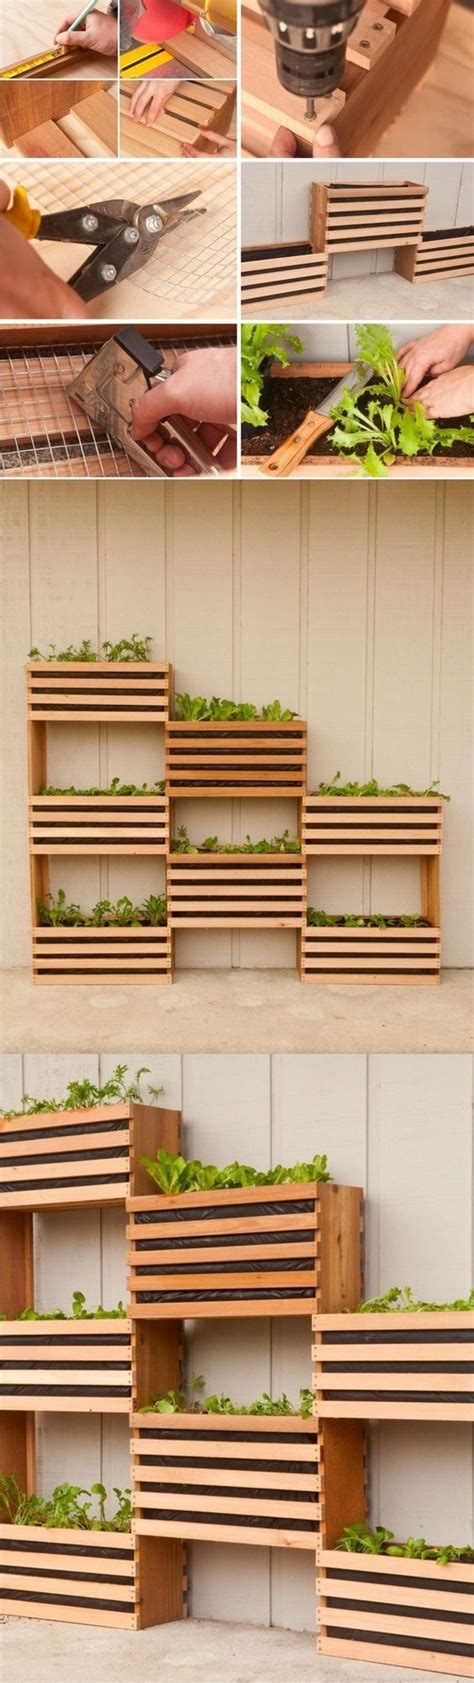
2. DIY Root Cellars and Cool Storage Solutions
The concept of a root cellar is to provide a consistent, cool, dark, and humid environment that mimics underground conditions. You don’t need a full subterranean structure to achieve this; creative DIY solutions can work wonders.

Outdoor Clamp Storage
A simple outdoor clamp can store root vegetables like carrots, beets, and parsnips directly in your garden. Dig a trench, line it with straw, place your vegetables, cover with more straw, and then add a layer of soil. Ensure good drainage and ventilation to prevent spoilage.
Insulated Storage Bins
A large, food-grade plastic barrel or heavy-duty tote can be transformed into an effective storage solution. Bury part of it in the ground, insulate the exposed parts with straw bales or foam, and ensure a lid that offers both protection and some ventilation. Ideal for potatoes, carrots, and apples.
Cool Closet or Pantry
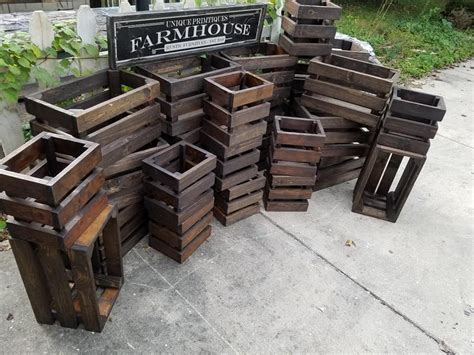
If you have a north-facing closet or an unheated pantry, you might already have a suitable storage spot. The key is to maintain consistent temperatures (around 40-50°F) and moderate humidity. Keep stored items in breathable containers like wooden crates or burlap sacks to allow for air circulation.

3. Sand and Sawdust Storage
For root vegetables like carrots, parsnips, and beets, storing them in layers of moist sand or sawdust can prevent them from shriveling and prolong their freshness for months.
- Find a sturdy container (wooden crate or plastic bin).
- Layer 1-2 inches of slightly damp, clean sand or sawdust at the bottom.
- Place a single layer of unwashed root vegetables, ensuring they don’t touch each other.
- Cover completely with another layer of sand/sawdust.
- Repeat layers until the container is full, ending with a top layer of sand/sawdust.
- Store in a cool, dark place like a basement or an unheated garage. Check moisture periodically and re-dampen if necessary.
4. Fermentation and Pickling (Beyond Raw Storage)
While not strictly ‘raw storage,’ fermentation and pickling are ancient methods that preserve vegetables without refrigeration and create entirely new flavor profiles. Think sauerkraut, kimchi, or lacto-fermented pickles. These methods rely on beneficial bacteria to transform vegetables, creating an acidic environment that inhibits spoilage. All you need are jars, salt, and your chosen produce!
Key Principles for Success
- Harvest Gently: Avoid bruising, cuts, or nicks, as these are entry points for spoilage.
- Cleanliness: For most storage, avoid washing produce unless absolutely necessary, as surface moisture can encourage mold. Brush off excess soil instead.
- Air Circulation: Prevent rot by ensuring good airflow around your stored produce. Use slatted shelves, mesh bags, or stack items loosely.
- Darkness: Light can cause potatoes to turn green and sprout, and degrade nutrients in other vegetables. Store in dark conditions.
- Monitoring: Regularly check your stored harvest. Remove any items showing signs of spoilage immediately to prevent it from spreading.
By implementing these DIY non-refrigerated storage solutions, you can dramatically extend your garden’s bounty, enjoy fresh produce through the winter, and embrace a more sustainable, self-reliant lifestyle. Experiment with different methods to find what works best for your specific harvest and environment.