Safest methods for canning excess summer garden tomatoes?

Harvesting Your Summer Tomato Bounty
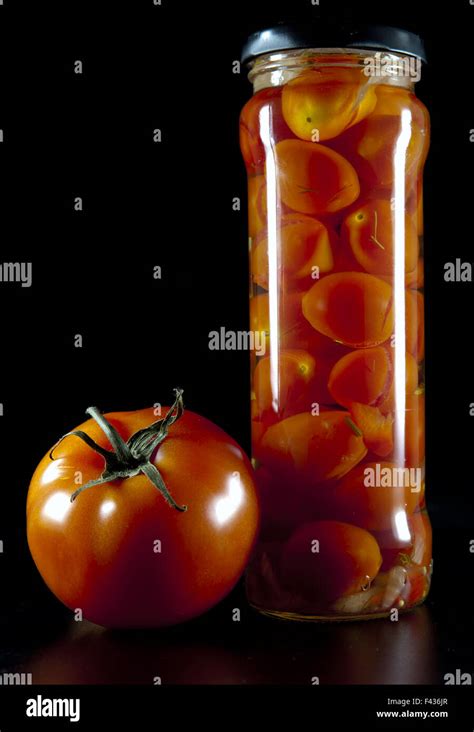
The peak of summer brings an abundance of ripe, juicy tomatoes from the garden – a delightful problem for any home gardener. While fresh enjoyment is paramount, preserving this seasonal goodness ensures you can savor the taste of summer long after the season ends. Canning is a time-honored tradition, but when it comes to tomatoes, safety is paramount. Understanding the science behind preservation methods is key to transforming your harvest into safe, shelf-stable pantry staples.

Understanding Tomato Acidity and Canning Methods
The primary factor determining the safest canning method for tomatoes is their acidity. Tomatoes are generally considered high-acid foods, making them suitable for water bath canning. However, modern tomato varieties can sometimes be less acidic, and for absolute safety, especially when adding low-acid ingredients (like onions or peppers), acidification is recommended.
There are two main safe methods for canning tomatoes: water bath canning and pressure canning. Choosing the right method depends on the specific recipe and whether you’re adding any low-acid ingredients.
Water Bath Canning: For High-Acid or Acidified Tomatoes
Water bath canning is suitable for high-acid foods. For tomatoes, this means plain crushed tomatoes, diced tomatoes, whole peeled tomatoes, or tomato sauce (without low-acid additions) where additional acid has been added. The high acidity, combined with the heat from the boiling water, kills spoilage organisms and creates a vacuum seal.
Steps for Water Bath Canning Tomatoes:
- Prepare Tomatoes: Wash, core, peel (if desired), and chop or crush your tomatoes according to your recipe.
- Acidify: For every quart of tomatoes, add 2 tablespoons of bottled lemon juice or ½ teaspoon of citric acid. For pints, use 1 tablespoon of bottled lemon juice or ¼ teaspoon of citric acid. Do NOT use fresh lemon juice, as its acidity can vary.
- Prepare Jars and Lids: Use clean, hot canning jars. Heat new lids according to manufacturer instructions.
- Fill Jars: Ladle hot tomatoes into jars, leaving ½-inch headspace. Remove air bubbles and wipe rims clean. Center lids and apply bands fingertip tight.
- Process in Water Bath Canner: Place filled jars on a rack in a large pot of boiling water, ensuring jars are covered by at least 1-2 inches of water. Bring to a rolling boil and process for the recommended time (typically 35-45 minutes for quarts, adjusting for altitude).
- Cool and Store: Carefully remove jars, let cool undisturbed for 12-24 hours. Check seals, remove bands, label, and store in a cool, dark place.

Pressure Canning: The Safest Method for All Tomato Products
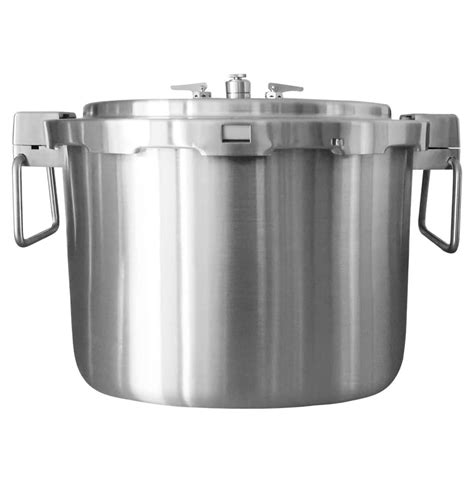
While water bath canning is safe for acidified tomatoes, pressure canning offers an even higher level of safety and versatility, particularly for tomato products with added low-acid ingredients (like some salsas or spaghetti sauces with vegetables) or for those who prefer not to add extra acid to plain tomatoes. Pressure canning reaches higher temperatures (240°F/116°C or higher) than boiling water, effectively destroying all bacteria, including the dangerous Clostridium botulinum spores, which thrive in low-acid, anaerobic environments.
Steps for Pressure Canning Tomatoes:
- Prepare Tomatoes & Recipe: Follow your chosen recipe for preparing tomatoes and any other ingredients. Acidification is still recommended for many tomato products in a pressure canner for flavor and an added layer of safety.
- Prepare Jars and Lids: Use clean, hot canning jars. Heat new lids according to manufacturer instructions.
- Fill Jars: Ladle hot food into jars, leaving the recommended headspace (usually 1-inch). Remove air bubbles and wipe rims clean. Center lids and apply bands fingertip tight.
- Load Pressure Canner: Place jars on the rack in the pressure canner, adding 2-3 inches of water (or as specified by your canner’s manual). Secure the lid.
- Vent Canner: Heat the canner until steam flows steadily from the vent pipe for 10 minutes (this removes air and prevents false pressure readings).
- Pressurize and Process: Place the weighted gauge or close the petcock. Bring the canner up to the specified pressure (e.g., 10-15 lbs, adjusting for altitude). Maintain a steady pressure for the recommended processing time.
- Depressurize and Cool: Turn off heat and allow the canner to naturally depressurize until the pressure gauge reads zero. Wait another 5-10 minutes, then carefully remove the lid.
- Cool and Store: Remove jars, let cool undisturbed for 12-24 hours. Check seals, remove bands, label, and store.
Essential Equipment for Safe Canning
Having the right tools is crucial for both efficiency and safety. Key equipment includes:
- Canner: A water bath canner (large pot with rack) or a pressure canner (depending on method).
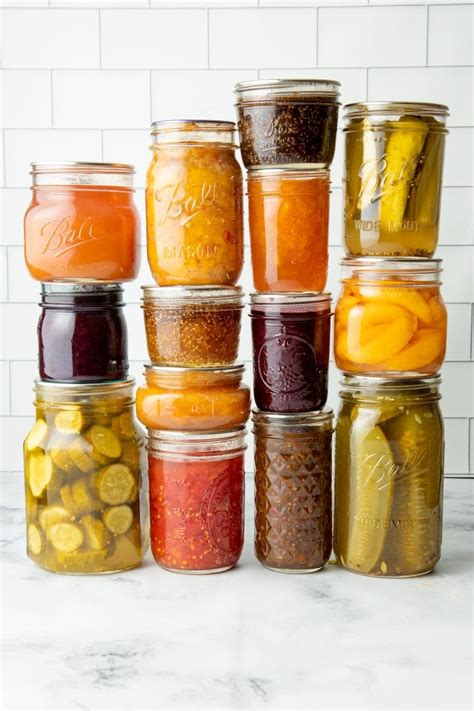
- Canning Jars: Mason-style jars with two-piece lids (new lids each time, bands can be reused).
- Jar Lifter: For safely moving hot jars.
- Funnel: For easy filling without messy rims.
- Bubble Remover/Headspace Tool: Essential for proper headspace and air removal.
- Clean Kitchen Towels: For wiping jar rims.
Prioritizing Food Safety
Always follow tested, up-to-date canning recipes from reliable sources like the USDA Complete Guide to Home Canning or university extension services. Never guess processing times or alter ingredient ratios in low-acid foods. Signs of spoilage include bulging lids, unusual odors, visible mold, or cloudy liquid. When in doubt, throw it out!
Canning your excess summer garden tomatoes is a rewarding way to extend the harvest and enjoy nutritious, homegrown food year-round. By meticulously following safe, tested methods, you can confidently fill your pantry with delicious, healthy preserves.