


Essential tips for rendering lard from scratch for country cooking?

Rendering lard from scratch is a time-honored tradition in country kitchens, transforming raw pork fat into a pure, stable, and incredibly flavorful cooking medium. Far superior to commercially processed versions, homemade lard offers a distinct advantage for pastries, fried foods, and a myriad of savory dishes. This guide provides essential tips to ensure a successful render, yielding a pristine white fat that will elevate your country cooking to new heights.
Why Render Your Own Lard?
Beyond the satisfaction of self-sufficiency, homemade lard boasts a neutral flavor profile when rendered correctly, making it versatile for both sweet and savory applications. It has a high smoke point, making it excellent for frying, and its unique crystal structure creates flaky crusts in pies and biscuits that butter simply can’t match. It’s also a fantastic way to utilize a valuable part of the animal, reducing waste and connecting you more deeply with your food sources.
Sourcing the Best Pork Fat
The quality of your raw pork fat directly impacts the quality of your rendered lard. For the best results, seek out “leaf fat” – the soft, unattached fat from around the pig’s kidneys. This fat produces the most neutral-flavored and whitest lard. Back fat is another excellent option, yielding a slightly firmer lard. Always aim for fat from pasture-raised or heritage breed pigs, as their fat often has a superior flavor and nutritional profile.
Preparing the Fat for Rendering
Once you have your pork fat, the preparation is key. Trim away any bits of meat, skin, or blood vessels, as these can impart an off-flavor to your final product. Cut the fat into small, uniform pieces, about 1/2 to 1 inch cubes. The smaller and more consistent the pieces, the more efficiently and evenly the fat will render. You can also grind the fat in a meat grinder for an even faster rendering process, though dicing works perfectly well.
The Rendering Process: Low and Slow is Key
The golden rule for rendering lard is “low and slow.” High heat will burn the fat, leading to a darker, less flavorful, and potentially acrid lard. You have two primary methods: stovetop or oven.
Stovetop Method:
Place the diced fat in a heavy-bottomed pot or Dutch oven. Add a tablespoon or two of water to the bottom of the pot. This prevents the fat from scorching before it starts releasing its own liquid. Cook over very low heat, stirring occasionally, until the fat slowly melts and the “cracklings” (the bits of rendered fat) turn golden brown and crispy. This process can take several hours, depending on the amount of fat.

Oven Method:
Spread the diced fat in a single layer on a baking sheet or in a roasting pan. Bake at a low temperature, around 250-275°F (120-135°C), for several hours. Stir every 30-60 minutes to ensure even rendering. This method often yields very pure, white lard with minimal supervision.
Filtering and Storing Your Golden Lard
Once all the fat has melted and the cracklings are golden brown, it’s time to filter the lard. Carefully strain the hot liquid through a fine-mesh sieve lined with cheesecloth (several layers) into heatproof jars or containers. This step is crucial for removing any impurities that could spoil the lard or give it an off-flavor. Discard the cracklings or save them for a delicious snack or addition to cornbread!
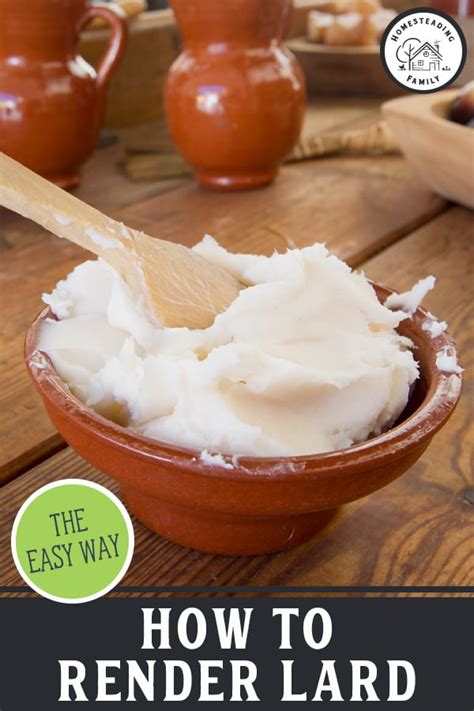
Allow the lard to cool completely at room temperature before covering. As it cools, it will solidify into a beautiful, opaque white or off-white solid. Store rendered lard in airtight containers in a cool, dark place for several months, or in the refrigerator for up to a year. For even longer storage, it can be frozen indefinitely.
Troubleshooting Common Issues
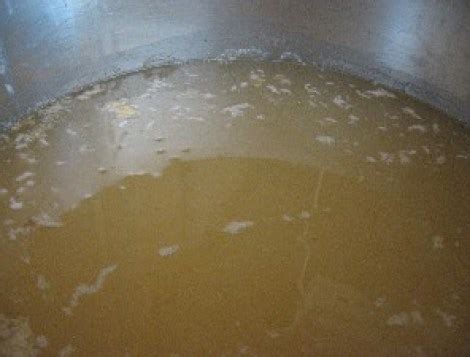
Even experienced cooks can encounter minor hiccups. If your lard has a yellowish tint, it might be due to not trimming all the meat or impurities, or rendering at too high a heat. A slightly porky smell can also indicate impurities or insufficient rendering. Re-melting and re-filtering can sometimes improve color and scent. If cracklings stick to the bottom, your heat was likely too high or you didn’t add enough initial water to the stovetop method. Prevention is always easier than correction!
Culinary Uses of Homemade Lard
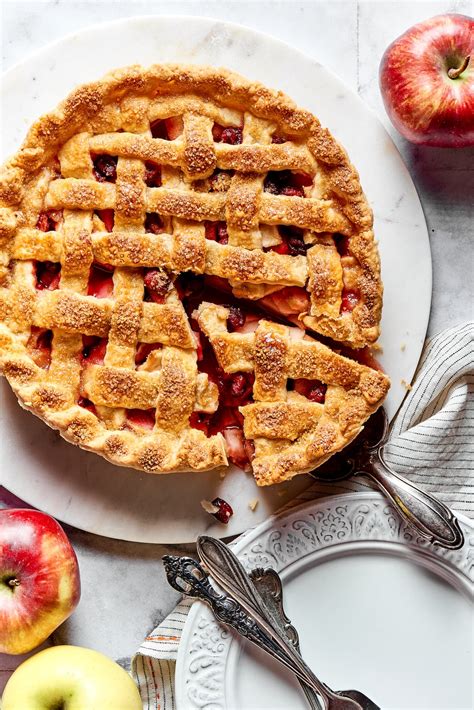
The versatility of homemade lard is truly remarkable. Use it for frying chicken, potatoes, or doughnuts to achieve an unparalleled crispiness and flavor. Incorporate it into pie crusts, biscuits, and tortillas for incredibly tender and flaky results. It’s also fantastic for sautéing vegetables, making gravies, or even as a spread on toast (yes, really, in some traditions!). Experiment with its uses and discover why it’s a staple in many traditional country kitchens.
Mastering the art of rendering lard from scratch is a rewarding endeavor that connects you with time-honored culinary traditions. With a bit of patience and attention to detail, you’ll produce a pure, versatile, and flavorful fat that will enhance countless dishes and become a cherished ingredient in your country cooking repertoire.