


Secrets for flavorful, thrifty homemade chicken broth?

Unlock Unbeatable Flavor and Savings with Homemade Broth
Ditch the pricey, often bland store-bought cartons! Crafting your own chicken broth at home is a culinary superpower that not only elevates your cooking with unparalleled depth of flavor but also significantly cuts down on food waste and grocery bills. It’s simpler than you think and incredibly rewarding. Let’s dive into the secrets that transform humble chicken scraps into liquid gold.
The Thrifty Foundation: Repurposing Every Bit of Chicken
The first secret to thrifty broth is using what you’d typically discard. Whenever you roast a chicken, debone thighs, or trim raw chicken, save those precious bones, cartilage, wingtips, necks, and even feet. Keep a freezer bag specifically for chicken scraps, adding to it until you have a good collection – typically a carcass plus a few extra pieces, or about 2-3 pounds of bones.

Aromatic Essentials for Depth and Complexity
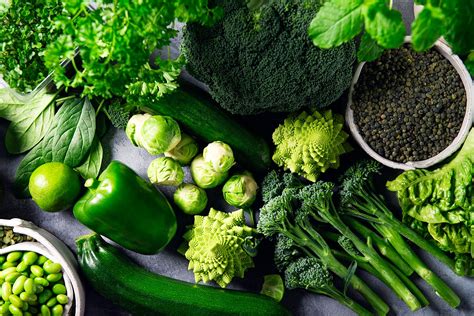
While chicken provides the base, aromatics are crucial for a truly flavorful broth. The classic trio, known as mirepoix, includes onions, carrots, and celery. Don’t worry about peeling or chopping perfectly; large chunks are fine. For maximum thriftiness, save vegetable scraps (onion skins, carrot tops, celery ends) in a separate freezer bag too! Beyond the basics, consider:
- Herbs: Bay leaves, parsley stems, thyme sprigs.
- Spices: Whole black peppercorns (avoid ground pepper, which can make the broth cloudy).
- Umami Boosters (Optional): A few dried mushroom stems or a spent Parmesan rind can add incredible depth.
The Simmering Secrets: Time, Temperature, and Technique
This is where the magic happens. A deep, rich broth isn’t rushed. Start by placing all your chicken bones and aromatics in a large stockpot. Cover everything with cold water – cold water slowly extracts flavors and impurities, leading to a clearer broth. Add a splash of apple cider vinegar (about 1 tablespoon per gallon of water); the acidity helps draw minerals and collagen from the bones.
Bring the pot to a bare simmer over medium-high heat, then immediately reduce the heat to the lowest setting possible, maintaining just a gentle bubble. Skim off any foam or impurities that rise to the surface during the first hour. This step is vital for a clean-tasting broth. Let it simmer, uncovered or partially covered, for a minimum of 4-6 hours, and up to 12-24 hours for a deeply concentrated bone broth. The longer it simmers gently, the more flavor and gelatin will be extracted.

The Art of Straining and Cooling
Once your broth has simmered to perfection, carefully remove the larger solids with a slotted spoon. Then, slowly pour the remaining liquid through a fine-mesh sieve or colander lined with cheesecloth into a clean bowl or container. Resist the urge to press the solids, as this can release starchy or bitter flavors and make your broth cloudy. Allow the broth to cool completely at room temperature before refrigerating or freezing. As it cools, a layer of fat will rise to the top; this can be easily skimmed off once chilled, though some prefer to leave it for added flavor.

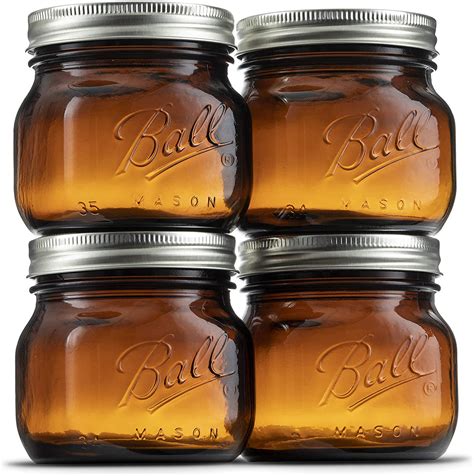
Storing Your Liquid Gold for Future Culinary Adventures
Homemade chicken broth is a versatile ingredient that can be used in soups, stews, risottos, gravies, and sauces. Store cooled broth in airtight containers in the refrigerator for up to 4-5 days. For longer storage, freeze it! Pour it into freezer-safe containers, zip-top bags (laid flat), or even ice cube trays for convenient portioning. Frozen broth can last for several months, ensuring you always have a supply of superior flavor on hand.
Embrace the Broth-Making Journey
Making your own chicken broth is a foundational skill that transforms kitchen waste into a culinary asset. It’s a testament to thrifty cooking, a commitment to superior flavor, and a satisfying way to nourish yourself and your loved ones. Once you taste the difference, you’ll never look back!