


Simple DIY plans for building sturdy pantry shelving to store homemade preserves?

Build Your Own Robust Pantry Shelving for Preserves
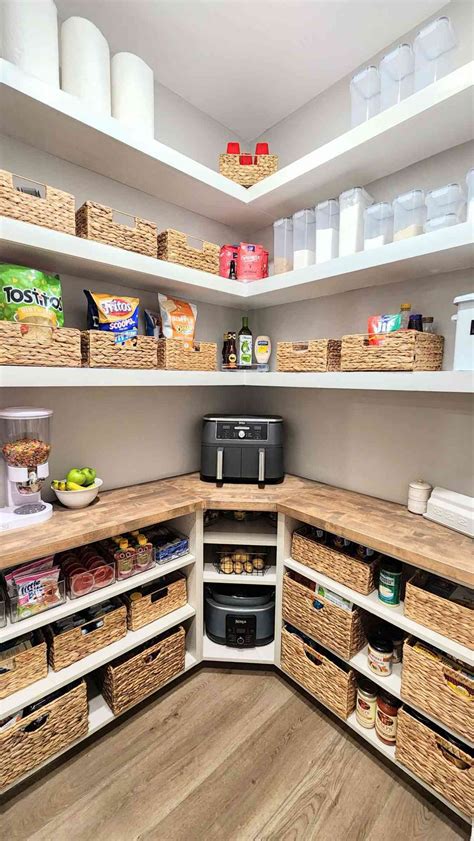
Homemade preserves are a labor of love, a delicious testament to the season’s bounty. But once those beautiful jars are sealed and labeled, where do you put them? Standard flimsy shelves often buckle under the cumulative weight of glass jars, leading to potential hazards and costly breakage. Building your own sturdy pantry shelving not only ensures the safe storage of your culinary creations but also allows you to customize your space perfectly.
Planning Your Sturdy Pantry Shelves
Before you even pick up a saw, meticulous planning is paramount. Measure your pantry or designated storage area precisely. Consider the height, width, and depth available, taking into account any existing architectural features like trim or electrical outlets.
Think about the typical height of your canning jars – regular mouth, wide mouth, pint, quart, half-gallon – and plan shelf spacing accordingly, leaving a little extra room for easy access. Most importantly, factor in the immense weight. A quart jar of preserves weighs roughly 2.5 to 3 pounds. A shelf holding 20-30 such jars can easily exceed 60-90 pounds, so strength is non-negotiable.
Selecting Durable Materials for Longevity
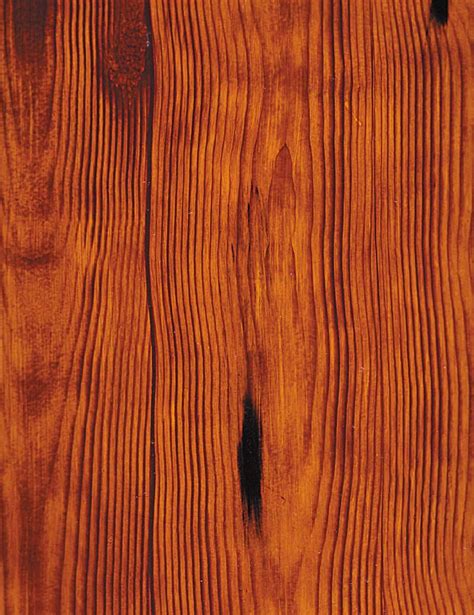
The foundation of sturdy shelving lies in robust materials. For the uprights and support cleats, 2x4s or 2x3s are excellent choices, offering significant strength. For the shelves themselves, aim for a minimum of ¾-inch thick material. Plywood (cabinet grade or sanded pine plywood) is a popular and cost-effective option, as it resists warping better than solid wood planks over long spans. MDF (medium-density fiberboard) is smooth but can sag under extreme weight and is susceptible to moisture, so use with caution in humid environments.
High-quality wood screws (2.5 to 3 inches) are essential for secure joinery. Don’t skimp on these. Wood glue will add extra rigidity to all connections. For fastening to wall studs, long construction screws are ideal. If you’re building free-standing units, consider adding cross braces for stability.
Essential Tools and Safety Considerations
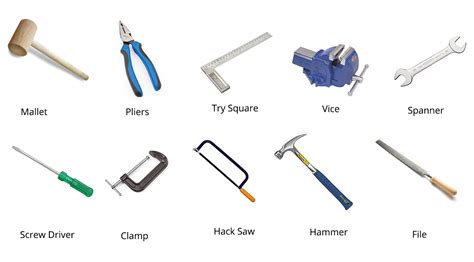
Gathering your tools beforehand makes the project smoother. You’ll need a measuring tape, pencil, speed square, and a level for accurate markings and installation. A circular saw or miter saw will make precise cuts much easier. A drill/driver is indispensable for pre-drilling pilot holes and driving screws. A sander (orbital or block) will help smooth rough edges for a professional finish. Always wear safety glasses and hearing protection when operating power tools.
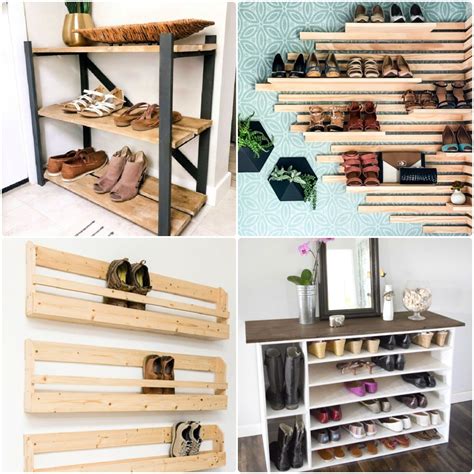
Simple Steps to Build Your Shelving
- Measure and Cut: Based on your plan, carefully measure and cut all your wood pieces. Label them as you go to avoid confusion.
- Build Support Frames (if applicable): If you’re building a framed shelf unit, assemble the vertical uprights and horizontal support pieces using screws and wood glue. Ensure all angles are square.
- Install Wall Cleats/Uprights: For wall-mounted shelves, locate wall studs using a stud finder. Mark their positions. Attach vertical support cleats or ledger boards firmly into the studs using long construction screws. Use a level to ensure they are perfectly plumb and level.
- Attach Shelf Supports: If using a cleat system, cut and attach horizontal cleats to the vertical uprights or wall cleats at your desired shelf heights. Again, use a level to ensure they are perfectly horizontal. For framed units, the horizontal frame members serve as your supports.
- Secure the Shelves: Place your pre-cut shelf boards onto the supports. Secure them from above or below with screws. For extra strength, you can add small L-brackets under the shelves where they meet the supports.
- Reinforce Long Spans: If any shelf span is longer than 30-36 inches, consider adding a middle support or a stiffener strip along the front edge to prevent sagging over time.
- Finish: Sand all rough edges and surfaces. Apply a coat of primer and then paint or stain to protect the wood and match your pantry aesthetic. Allow adequate drying time before loading.
Tips for Optimal Preserve Storage
Once your sturdy shelves are complete and cured, it’s time to load them up! Organize your preserves by type, date, or ingredient for easy access. Always label your jars clearly with the contents and date of canning. Store jars in a cool, dark, and dry place to maintain their quality and extend their shelf life. Rotate your stock, bringing older jars to the front.

Enjoy Your Homemade Harvest!
With a little planning and effort, you can create custom, robust pantry shelving that will safely house your delicious homemade preserves for years to come. Not only will you have a beautifully organized pantry, but you’ll also have the peace of mind knowing your hard work is securely stored, ready to be enjoyed or shared.