


What’s the best way to blanch and freeze fresh garden green beans?

Why Blanching is Essential for Freezing Green Beans
Harvesting a bountiful crop of fresh green beans from your garden is one of summer’s greatest pleasures. While eating them fresh is unbeatable, proper preservation allows you to enjoy that garden-fresh taste long after the growing season ends. Freezing is an excellent method, but simply tossing raw beans into the freezer isn’t the best approach. Blanching – a quick dip in boiling water followed by an ice bath – is a crucial step.
Blanching stops enzyme actions that cause loss of flavor, color, and texture. It also cleanses the surface of microorganisms, brightens the color, and helps retain vitamins. Without blanching, frozen green beans can become tough, discolored, and develop an off-flavor over time. Follow these steps for perfectly preserved green beans.
Step-by-Step Guide to Blanching Green Beans
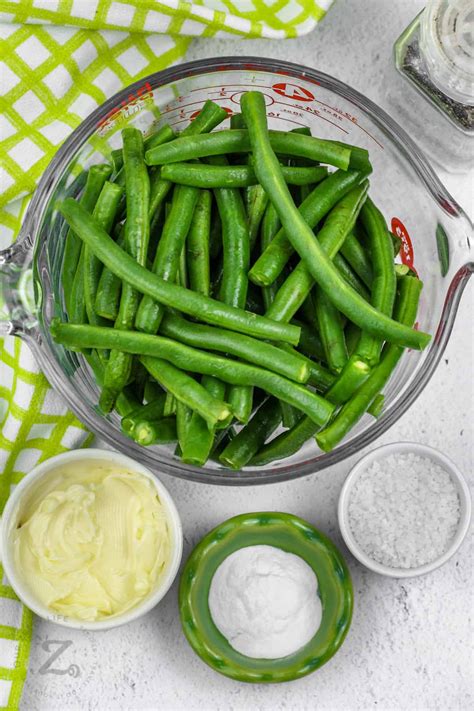
1. Prepare Your Green Beans
- Wash Thoroughly: Rinse your fresh green beans under cold running water to remove any dirt or debris.
- Trim Ends: Snap or cut off the stem ends of each bean. You can also trim the tail ends if desired.
- Cut to Size: Decide if you want to freeze them whole or cut them into smaller, more manageable pieces (e.g., 1-inch lengths). Cutting them now makes them ready for cooking later.
2. Set Up for Blanching
- Boiling Water: Fill a large pot (at least 6-8 quarts) about two-thirds full of water. Bring it to a rolling boil over high heat. For every pound of beans, you’ll need at least a gallon of water.
- Ice Bath: While the water is heating, prepare an ice bath. Fill a large bowl with an equal mix of ice and cold water. This will be used to quickly cool the beans and stop the cooking process.
3. The Blanching Process
- Boil in Batches: Once the water is boiling rapidly, carefully immerse a batch of prepared green beans into the boiling water. Do not overcrowd the pot; work in batches if necessary to ensure the water returns to a boil quickly.
- Blanch Time: Start your timer as soon as the water returns to a full boil. For most green beans, blanch for exactly 3 minutes.
- Agitate: Gently stir the beans occasionally to ensure even cooking.
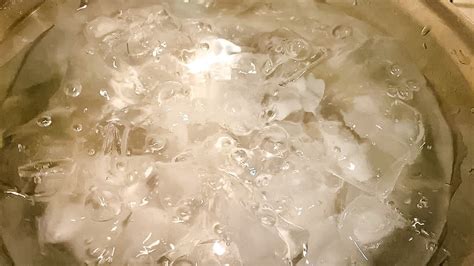
4. The Cooling Process (Ice Bath)
- Rapid Cooling: As soon as the 3 minutes are up, use a slotted spoon or spider to quickly transfer the blanched green beans from the boiling water directly into the prepared ice bath.
- Cool Completely: Allow the beans to cool in the ice bath for the same amount of time they were blanched (3 minutes). This stops the cooking process and helps set their vibrant green color.
- Drain Thoroughly: Once completely cooled, remove the beans from the ice bath and drain them very well. You can use a colander, then spread them out on clean kitchen towels or paper towels to pat them dry. Excess moisture can lead to ice crystals and freezer burn.
Freezing Blanched Green Beans for Long-Term Storage
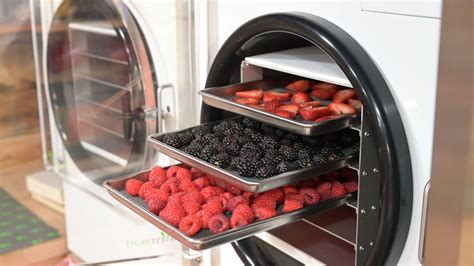
1. Flash Freezing (Optional, but Recommended)
For best results and to prevent the beans from clumping together, flash freeze them first:
- Spread the thoroughly dried green beans in a single layer on a baking sheet lined with parchment paper.
- Place the baking sheet in the freezer for 1-2 hours, or until the beans are solid.
2. Packaging for Freezing
- Airtight Containers: Transfer the flash-frozen (or simply well-drained) green beans into freezer-safe bags, vacuum seal bags, or rigid freezer containers.
- Remove Air: If using freezer bags, press out as much air as possible before sealing to prevent freezer burn. A straw can be used to suck out residual air.
- Label and Date: Label each package with the contents and the date frozen.
Enjoying Your Frozen Green Beans
Properly blanched and frozen green beans can last for 8-12 months in a standard freezer. When ready to use, you can usually cook them directly from frozen. Add them to soups, stews, casseroles, or simply steam, sauté, or boil them until tender-crisp. By following these steps, you’ll ensure that the delicious taste of your garden’s bounty can be savored all year long.