


Secrets for a flaky, tender homemade pie crust using real country butter?

The Unrivaled Magic of Country Butter
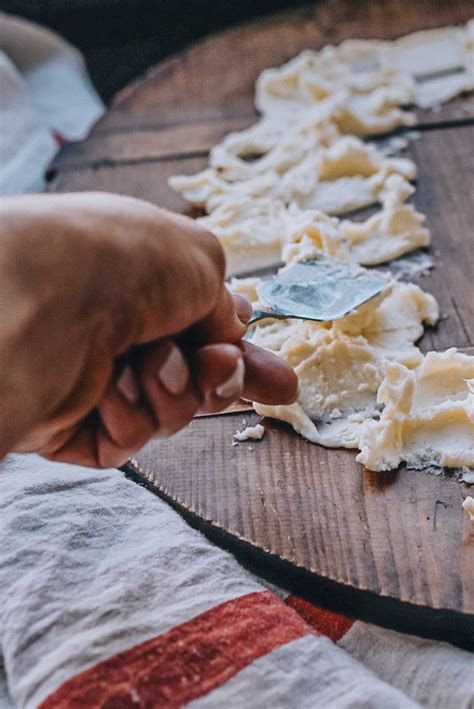
Creating a truly exceptional pie crust begins with the right foundation, and when it comes to unparalleled flakiness and rich flavor, real country butter stands in a league of its own. Unlike standard butter, country butter often boasts a higher butterfat content, which translates to fewer water solids and more glorious, pure fat. This higher fat content is crucial for achieving those coveted layers that shatter with a delicate crunch, rather than crumbling.
The distinctive flavor profile of country butter, often attributed to the diet of the cows, imparts a deeper, more complex taste to your crust, elevating your pie from good to unforgettable. But its magic isn’t just in the taste; it’s in how it behaves when handled correctly.
Cold is Your Best Friend: Ingredients and Tools
The golden rule for a flaky pie crust is simple: keep everything as cold as possible. This means not just your butter, but also your flour, water, and even your mixing tools. When tiny pieces of cold butter are encased in flour and then hit a hot oven, the water within the butter quickly turns to steam, pushing the flour layers apart to create air pockets – the essence of flakiness. If your butter is too warm, it melts into the flour, resulting in a tough, dense crust.
The Perfect Ratio and Flour Choice
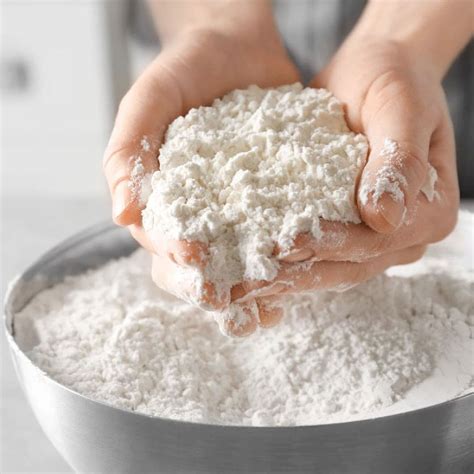
Start with all-purpose flour, preferably unbleached, for a good balance of protein and structure. A standard ratio is usually 2.5 parts flour to 1 part butter by weight, though some prefer slightly more butter for extra richness. Don’t forget a pinch of salt to enhance the flavor; a tablespoon of sugar is optional if you’re making a sweet pie and want a hint of sweetness in the crust.
Measure your flour accurately, preferably by weight, and keep it in the refrigerator for at least 30 minutes before you begin. Your country butter should be cut into small, uniform cubes and returned to the fridge until you’re ready to use it. Ice water, not just cold water, is non-negotiable.
Mastering the Cut-In Technique
The way you incorporate the butter into the flour is critical. The goal is to create pea-sized or even smaller pieces of butter coated in flour. These distinct pieces are what create those beautiful layers. You can use a pastry blender, two knives, or even your fingertips, but work quickly to prevent the butter from warming.
- Pastry Blender: The most common method. Work the butter into the flour until the mixture resembles coarse meal with some larger, flattened pea-sized pieces of butter still visible.
- Fingertips: If using your hands, work swiftly, using only the tips of your fingers to pinch and smear the butter into the flour. Avoid using your palms, as they generate too much heat.
- Food Processor: A quick option, but be careful not to over-process. Pulse the flour and butter together a few times until the desired texture is achieved.

Hydration with Ice Water, Just Enough
Once your butter is cut in, it’s time to add the ice water. This step requires a delicate touch. Add the water a tablespoon at a time, gently tossing the mixture with a fork until it just barely comes together. You’re looking for a dough that holds its shape when squeezed but isn’t sticky or wet. Too much water will develop the gluten, leading to a tough crust, while too little will make it crumbly and difficult to roll.
The Indispensable Chill: Rest and Relaxation
Chilling your dough is not merely a suggestion; it’s a vital step. After mixing, gather the dough into two discs (for a double-crust pie), wrap tightly in plastic wrap, and refrigerate for at least 30 minutes, or preferably an hour or two. This allows the gluten to relax, making the dough easier to roll without shrinking, and it firms up the butter again, ensuring maximum flakiness.
Even after rolling out and placing the crust in your pie plate, a final chill of 15-30 minutes before baking is highly recommended. This helps to prevent shrinkage and maintain the crust’s shape.
Gentle Hands: Rolling and Shaping
When rolling, work on a lightly floured surface, turning the dough frequently to prevent sticking. Roll from the center outwards, aiming for an even thickness (about 1/8 inch). Avoid overworking the dough or stretching it, which can activate the gluten and lead to a tough, shrinking crust. If the dough starts to crack, mend it gently. If it becomes too warm, pop it back into the fridge for a few minutes.
Pre-Baking for Perfection (Blind Baking)
For pies with wet fillings, blind baking (or pre-baking) your crust is essential to prevent a soggy bottom. Line your chilled pie crust with parchment paper and fill it with pie weights, dried beans, or rice. Bake at a higher temperature (around 400-425°F or 200-220°C) for 15-20 minutes, then remove the weights and parchment and continue baking until lightly golden. This creates a sturdy, flaky base that can withstand even the juiciest fillings.

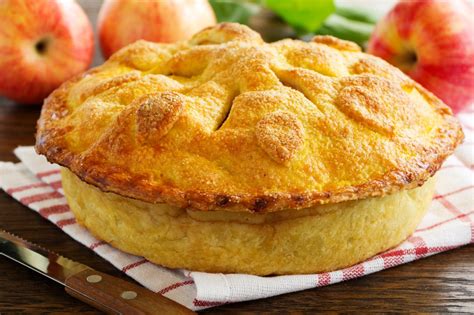
Conclusion: Embrace the Homemade Difference
Making a flaky, tender pie crust with real country butter is a labor of love, but the results are undeniably worth it. By respecting the cold, mastering your technique, and being patient, you’ll produce a homemade pie that showcases the rich, unparalleled flavor and texture that only real butter can provide. Your pies will not only taste incredible but will also carry the hallmark of true homemade excellence.