


Simple canning tips for preserving homegrown summer berries?

There’s nothing quite like the taste of fresh, sun-ripened summer berries straight from your garden. But what do you do when your bushes are overflowing with more fruit than you can eat? Canning is a fantastic way to capture that vibrant summer flavor and enjoy it long after the season ends. It might seem daunting at first, but with a few simple tips, you’ll be preserving your bounty like a pro.
Selecting and Preparing Your Berries
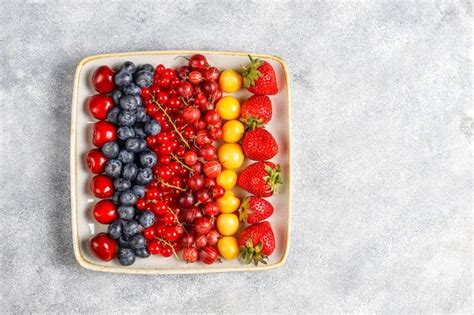
The secret to delicious canned berries starts with the fruit itself. Always choose berries that are ripe, firm, and free from any mold or bruising. Inspect them carefully, discarding any that show signs of spoilage. Gently wash your berries under cool running water, being careful not to crush them. If you’re making jam or jelly, remove stems and hulls as needed.
Essential Equipment for Safe Canning
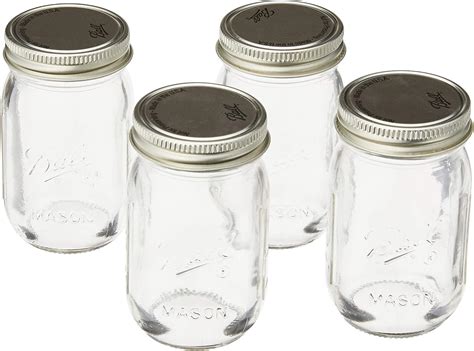
While canning doesn’t require a kitchen full of gadgets, a few key pieces of equipment are crucial for safety and success. You’ll need a large water bath canner with a rack, glass canning jars (pint or half-pint are ideal for berries), new lids, and bands. Other helpful tools include a jar lifter, canning funnel, bubble remover/headspace tool, and a large pot for making your jam or syrup.

Preparing Jars and Filling Them Properly
Before you begin, ensure your canning jars are clean and sterilized. You can do this by washing them in hot, soapy water and then keeping them hot until ready to fill (e.g., in a dishwasher or simmering water). Prepare your berry mixture – whether it’s whole berries in a light syrup, a chunky jam, or a smooth jelly. Carefully fill the hot jars, leaving the recommended headspace (usually 1/4 to 1/2 inch, depending on the recipe). This headspace is vital for a proper seal. Remove air bubbles by gently running a non-metallic utensil around the inside of the jar. Wipe jar rims clean with a damp cloth before placing on new, sterile lids and tightening bands fingertip-tight.

The Water Bath Canning Process
Water bath canning is the standard method for high-acid foods like berries. Place your filled, lidded jars onto the rack in your canner, ensuring they are fully submerged in water by at least an inch. Bring the water to a rolling boil. Once boiling, start your processing timer according to your recipe and altitude adjustments. For most berry jams and preserves, processing times range from 5-15 minutes. It’s crucial not to cut the processing time short.
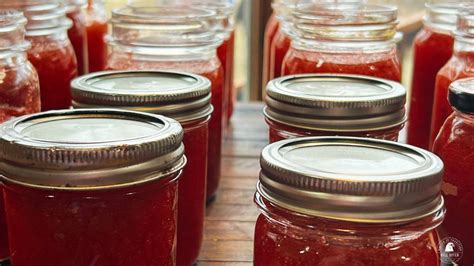
Cooling, Sealing, and Storing Your Preserves
Once the processing time is complete, turn off the heat and carefully remove the canner lid. Let the jars sit in the hot water for 5 minutes before carefully lifting them out with a jar lifter and placing them on a towel-lined counter to cool undisturbed for 12-24 hours. As they cool, you’ll hear the satisfying “ping!” sound as the lids seal. After cooling, check seals by pressing the center of each lid – it should be concave and not flex. Remove bands, wipe jars clean, label them with the contents and date, and store in a cool, dark place. Enjoy your taste of summer all year long!