


Easy canning recipes for surplus homegrown berries?

Making the Most of Your Berry Bounty
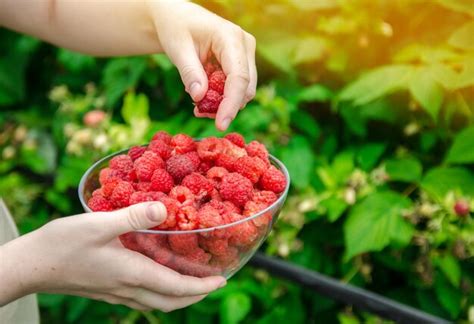
There’s nothing quite like the taste of freshly picked, homegrown berries. Whether you’ve cultivated luscious strawberries, juicy raspberries, tart blueberries, or a mix of all three, an abundant harvest is a true gardener’s delight. However, sometimes the bushes produce more than you can eat fresh, freeze, or give away. That’s where canning comes in! Preserving your surplus berries allows you to enjoy their vibrant flavor long after the growing season has ended, adding a touch of summer to your pantry all year round.
Why Can Your Homegrown Berries?
Canning isn’t just a practical solution for preserving food; it’s a rewarding activity that connects you deeper with your garden’s bounty. Here are a few compelling reasons to consider canning your berries:
- Extend Shelf Life: Properly canned berries can last for a year or more, far longer than fresh or even frozen.
- Save Money: Reduce food waste and avoid buying store-bought preserves filled with unknown ingredients.
- Taste of Summer: Enjoy the pure, intense flavor of your homegrown fruit during colder months.
- Versatility: Canned berries can be used in pies, tarts, smoothies, yogurt, pancakes, or simply eaten on their own.
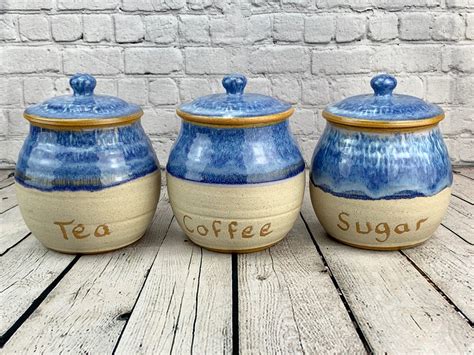
Essential Canning Equipment and Safety Tips
Before diving into recipes, ensure you have the necessary tools and understand basic canning safety. For most berry recipes, a water bath canner is sufficient.
Key Equipment:
- Water bath canner with rack
- Canning jars (pint or half-pint are common for berries) with new lids and bands
- Jar lifter
- Canning funnel
- Ladle
- Non-reactive pot (stainless steel)
- Headspace tool or ruler
Always sterilize your jars and lids by simmering them in hot water or running them through a dishwasher cycle on high heat just before filling. Follow tested recipes precisely, especially regarding processing times and headspace, to ensure food safety.
Easy Canning Recipes for Berries
1. Classic Berry Jam
Jam is perhaps the most popular way to preserve berries, perfect for toast, scones, or as a topping for desserts. This basic recipe can be adapted for strawberries, raspberries, blueberries, or mixed berries.
Ingredients:
- 4 cups crushed berries (about 2 quarts whole)
- 4 cups granulated sugar (adjust for sweetness and pectin type)
- 1 packet (1.75 oz) powdered fruit pectin (optional, but helps with set)
- 1/4 cup lemon juice (enhances flavor and acidity for safety)
Instructions:
- Wash and hull/stem berries. Crush them lightly.
- Combine berries and lemon juice in a large, heavy-bottomed pot. If using pectin, whisk it into a small amount of sugar first, then add to berries.
- Bring to a rolling boil over high heat, stirring constantly.
- Add remaining sugar, stirring until dissolved. Bring back to a strong rolling boil that cannot be stirred down. Boil hard for 1 minute (or according to pectin instructions).
- Remove from heat. Skim off any foam.
- Ladle hot jam into hot, sterilized jars, leaving 1/4 inch headspace. Wipe rims clean.
- Center lids and apply bands finger-tight.
- Process in a boiling water bath for 10 minutes (adjust for altitude).
- Remove jars and let cool undisturbed for 12-24 hours. Check seals.
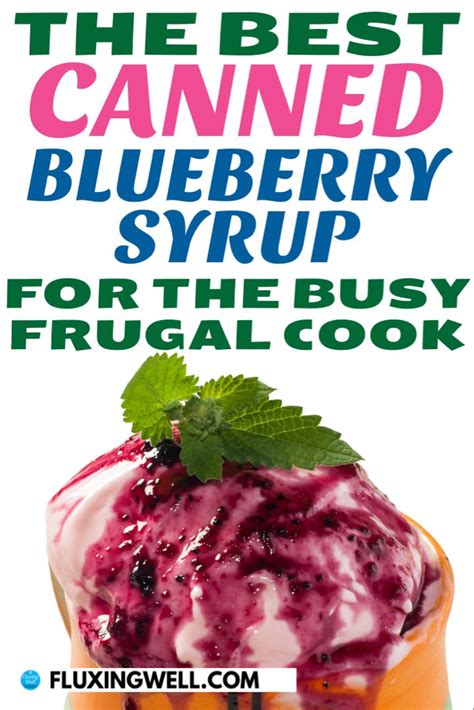
2. Simple Berry Syrup
A versatile syrup is fantastic for pancakes, waffles, ice cream, or even mixed into sparkling water for a refreshing drink.
Ingredients:
- 4 cups fresh berries (any type)
- 2 cups water
- 1-2 cups granulated sugar (to taste)
- 1 tablespoon lemon juice
Instructions:
- Combine berries and water in a large pot. Bring to a boil, then reduce heat and simmer for 10-15 minutes until berries are soft.
- Strain the mixture through a fine-mesh sieve or cheesecloth, pressing gently to extract all liquid. Discard solids.
- Return the berry juice to the pot. Add sugar and lemon juice. Bring to a boil, stirring until sugar dissolves. Reduce heat and simmer for 5-10 minutes, or until desired thickness.
- Ladle hot syrup into hot, sterilized half-pint or pint jars, leaving 1/4 inch headspace. Wipe rims, center lids, and apply bands finger-tight.
- Process in a boiling water bath for 10 minutes (adjust for altitude).
3. Canned Whole Berries in Light Syrup
Preserve your berries whole, perfect for future pies, cobblers, or simply as a topping.
Ingredients:
- Fresh berries (as many as you have)
- Light Syrup: 2 cups sugar to 4 cups water (makes enough for 7-9 pints)
Instructions:
- Wash and sort berries, discarding any soft or damaged ones.
- Prepare light syrup by combining sugar and water in a saucepan and heating until sugar dissolves. Keep hot.
- Pack raw berries tightly into hot, sterilized pint or quart jars. Gently shake jars to settle berries.
- Pour hot light syrup over berries, leaving 1/2 inch headspace. Use a non-metallic utensil to remove air bubbles. Wipe rims clean.
- Center lids and apply bands finger-tight.
- Process pints in a boiling water bath for 15 minutes, quarts for 20 minutes (adjust for altitude).

Tips for Canning Success
- Choose Quality Berries: Always use firm, ripe, and unblemished berries for the best flavor and safest product.
- Follow Recipes: Stick to tested canning recipes from reliable sources (e.g., USDA, university extensions). Do not alter sugar or acid levels.
- Maintain Headspace: Proper headspace is crucial for a good seal and vacuum.
- Check Seals: After cooling, check that all jars have sealed properly (lid concave, no flex when pressed). Unsealed jars should be refrigerated and consumed within a few days.
- Store Properly: Store sealed jars in a cool, dark, dry place for optimal shelf life.
With these easy canning recipes and a little practice, you’ll be well on your way to transforming your garden’s berry abundance into a pantry full of delicious, homemade preserves. Happy canning!