Best DIY method for preserving garden herbs without a dehydrator?

Harvesting Your Herbs for Optimal Preservation
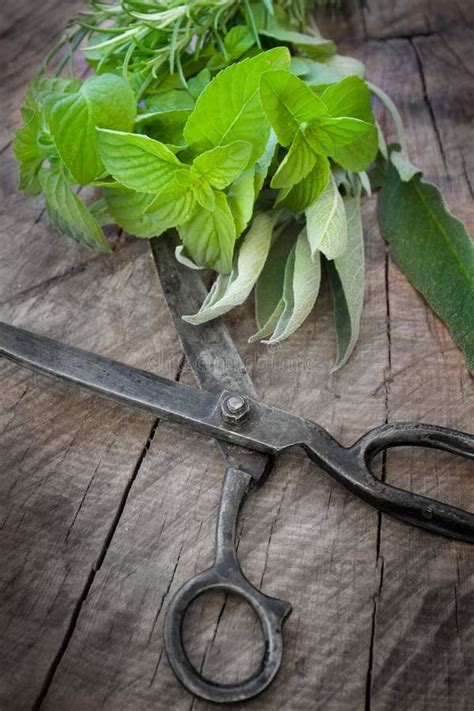
The secret to successfully preserving garden herbs begins even before the process itself: at harvest. For best results, snip your herbs in the morning after the dew has dried but before the midday sun has stressed them. Choose healthy, vibrant leaves and stems, avoiding any that show signs of damage or disease. Gently rinse them under cool water if needed, then pat them completely dry with a clean cloth or paper towel. Excess moisture is the enemy of preservation, regardless of your chosen method.
Method 1: The Classic Air Drying Technique
Air drying is arguably the most traditional and simplest method for preserving many sturdy herbs, requiring nothing more than time and a dry, well-ventilated space. Herbs like rosemary, thyme, oregano, bay leaves, sage, and mint are excellent candidates for air drying.
Steps for Air Drying:
- Bundle: Gather small bunches of 5-10 stems and tie them together at the base with kitchen twine or a rubber band. Don’t make the bundles too large, as this can trap moisture and lead to mold.
- Hang: Hang the bundles upside down in a warm, dry, dark, and well-ventilated area. A pantry, attic, or even a closet works well. Avoid direct sunlight, which can bleach the herbs and diminish their flavor and color.
- Monitor: Drying typically takes 1-3 weeks, depending on the herb and humidity levels. You’ll know they’re ready when the leaves are brittle and crumble easily between your fingers.
- Store: Once fully dry, remove the leaves from the stems (if desired) and store them in airtight containers, such as glass jars, away from light and heat.

Method 2: Freezing for Freshness
Freezing is an excellent alternative for more delicate, high-moisture herbs like basil, parsley, cilantro, chives, dill, and mint, helping them retain much of their fresh flavor and vibrant color. There are a couple of popular ways to freeze your herbs.
Option A: Flash Freezing Whole Leaves
- Prepare: Wash and thoroughly dry whole leaves (e.g., basil, mint).
- Arrange: Lay them in a single layer on a baking sheet lined with parchment paper.
- Freeze: Place the baking sheet in the freezer until the leaves are solid (about 1-2 hours).
- Store: Transfer the frozen leaves to freezer-safe bags or containers, removing as much air as possible before sealing.
Option B: Herb Ice Cubes (with Water or Oil)
- Chop: Finely chop your desired herbs.
- Fill Trays: Pack the chopped herbs into ice cube trays, filling each compartment about two-thirds full.
- Add Liquid: Top with water (for savory dishes) or olive oil (for cooking). For tender herbs like basil, a little olive oil works wonders to prevent freezer burn and keep them green.
- Freeze: Freeze until solid.
- Store: Pop the herb cubes out and transfer them to freezer-safe bags or containers for long-term storage.
Method 3: Low-Temperature Oven Drying
While not a dedicated dehydrator, your oven can be an effective tool for drying herbs, especially if you need to process a larger quantity or if your indoor environment isn’t ideal for air drying. This method works best for sturdier herbs like rosemary, thyme, and sage.
Steps for Oven Drying:
- Prepare: Wash and thoroughly pat dry your herbs. Remove any thick stems.
- Arrange: Spread the herb leaves in a single layer on a baking sheet. You can line it with parchment paper for easier cleanup.
- Set Temperature: Preheat your oven to its lowest possible temperature setting (typically 150-180°F or 65-82°C). It’s crucial to keep the temperature very low to dry, not cook, the herbs.
- Dry: Place the baking sheet in the oven, leaving the oven door slightly ajar to allow moisture to escape.
- Monitor & Flip: Check the herbs every 15-30 minutes, gently flipping them to ensure even drying. Drying time can range from 1 to 4 hours, depending on the herb and your oven.
- Store: Once completely brittle and dry, allow them to cool completely before storing in airtight containers.
Method 4: Salt Curing Herbs
Salt curing is a lesser-known but effective method, particularly good for preserving herbs like rosemary, thyme, sage, and even parsley. The salt draws out moisture and inhibits microbial growth, essentially pickling the herbs in salt.
Steps for Salt Curing:
- Layer: Choose a clean, airtight glass jar. Start by sprinkling a layer of coarse salt (kosher salt or sea salt) at the bottom.
- Add Herbs: Place a layer of clean, thoroughly dry herb leaves or small sprigs over the salt.
- Repeat: Continue layering salt and herbs, ending with a generous layer of salt on top. Ensure the herbs are completely covered by salt.
- Seal & Store: Seal the jar tightly and store it in a cool, dark place (like a pantry). The herbs will last for several months.
- To Use: When ready to use, simply rinse off the excess salt from the herbs before adding them to your dishes. Be mindful of the remaining saltiness and adjust your recipe accordingly.

Tips for Long-Term Herb Storage
- Airtight Containers: Always use airtight containers to prevent moisture and air from degrading your preserved herbs.
- Cool, Dark Place: Store dried herbs away from direct sunlight, heat, and humidity to maintain their flavor and color.
- Labeling: Clearly label containers with the herb name and date of preservation.
- Shelf Life: Properly dried herbs can last up to a year, while frozen herbs retain their quality for 6-12 months. Salt-cured herbs also have a long shelf life.
Preserving your garden herbs is a rewarding way to enjoy the fruits of your labor year-round. With these simple DIY methods, you can keep the fresh flavors of summer alive in your kitchen without needing any specialized equipment.