How to keep homemade pie crust from shrinking for perfect rustic pies?

The Frustration of a Shrinking Pie Crust
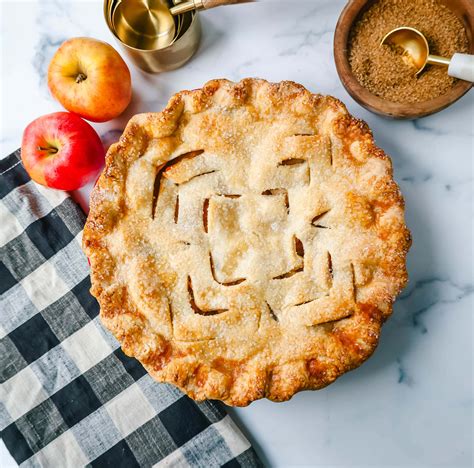
There’s nothing quite as disheartening as pulling a beautiful pie out of the oven only to find its once-perfect crust has receded, leaving a gap between the filling and the pastry wall. For those aspiring to create perfect rustic pies, a stable, non-shrinking crust is paramount. Fortunately, mastering a few key techniques can banish shrinkage frustrations forever, ensuring your homemade pies are as visually appealing as they are delicious.

Understanding the Culprits: Why Does Pie Crust Shrink?
Shrinkage isn’t random; it’s a predictable reaction to certain conditions. The primary culprits are gluten development, temperature fluctuations, and moisture content. When you work pie dough, gluten proteins in the flour begin to develop, forming a stretchy network. If this network is too strong or hasn’t had time to relax, it will contract in the heat of the oven. Similarly, butter melting too quickly or dough being stretched rather than eased can contribute to a significant retraction.
Essential Techniques to Prevent Shrinkage
1. Mindful Dough Handling: Avoid Overworking
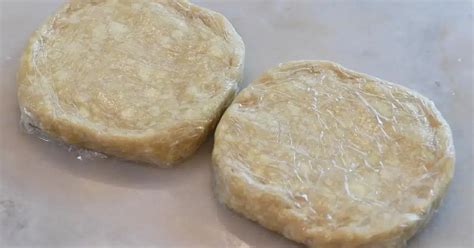
The golden rule of pie crust is to handle it as little as possible. Overworking the dough develops too much gluten, making it tough and elastic—a recipe for shrinkage. Mix ingredients just until combined, and aim for a shaggy texture before chilling. The less you work it, the more tender and less prone to shrinking your crust will be.
Tip: Use cold butter and ice water to inhibit gluten development further and create a flaky texture.
2. The Power of Chilling: Rest and Relax
Chilling your dough is non-negotiable. It serves several crucial purposes:
- Relaxes Gluten: Cold temperatures allow the gluten strands to relax, reducing their elasticity and propensity to shrink.
- Solidifies Fat: Cold butter creates pockets of steam in the oven, essential for flakiness, and prevents it from melting too quickly.
Chill your dough for at least 30 minutes (preferably longer, up to 2 hours) after mixing, and again for 15-30 minutes after rolling it into the pie plate. This double chill is a game-changer.
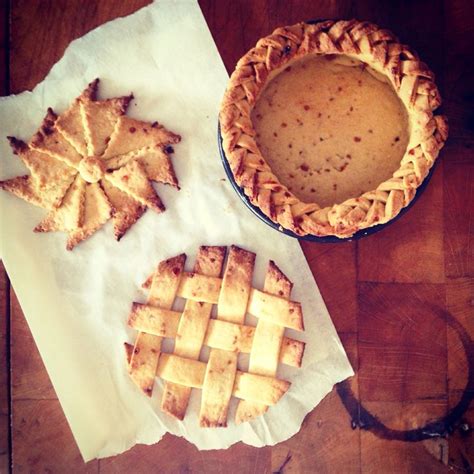
3. Roll, Don’t Stretch: Fitting the Crust
When rolling out your dough, aim for an even thickness and a size that allows for a generous overhang (about 1-2 inches around the pie plate). Critically, do not stretch the dough to fit the pan. Instead, gently ease it into place, pressing it into the corners and up the sides without pulling. Any stretching will cause the dough to snap back once it hits the heat.
Pro Tip: Roll the dough onto your rolling pin and gently unroll it over the pie plate to avoid stretching.
4. Embrace Blind Baking and Pie Weights
For many pies, especially those with wet fillings or that aren’t baked for a long time, blind baking (or pre-baking) the crust is essential. This sets the crust structure before adding the filling. To further combat shrinkage and bubbling, use pie weights, dried beans, or even rice to weigh down the bottom of the crust during blind baking. Line the dough with parchment paper first, then fill with weights. Remove the weights for the last few minutes of blind baking to ensure a crisp bottom.
5. Temperature Management: Cold Dough, Hot Oven
Starting with a well-chilled crust and placing it into a preheated, hot oven minimizes the time the butter has to melt before the gluten structure sets. The initial blast of heat helps to set the crust’s shape quickly, locking it into place before significant shrinkage can occur. Avoid opening the oven door unnecessarily, as sudden temperature drops can also impact the crust.

Bonus Tips for Perfection
- Rest After Trimming: Once the crust is fitted, trimmed, and crimped, pop it back into the fridge for another 15-20 minutes before filling and baking.
- Consider a Thick Edge: A slightly thicker edge around the rim of your pie plate can provide more structure and be less prone to slumping.
- Egg Wash (Optional): While not directly preventing shrinkage, an egg wash can add a beautiful golden sheen and provide a slight protective barrier.
Conclusion: Flaky Perfection Awaits
Preventing pie crust shrinkage is a journey of understanding your dough and applying a few consistent techniques. By handling your dough gently, chilling it thoroughly, rolling and fitting it without stretching, and utilizing blind baking and proper temperature management, you’ll be well on your way to creating stunning, perfectly shaped rustic pies every time. Embrace these steps, and say goodbye to the frustration of a shrinking crust!