Best DIY compost mix for enriching homestead garden soil for abundant harvests?

Unlocking Abundant Harvests: The Power of DIY Compost
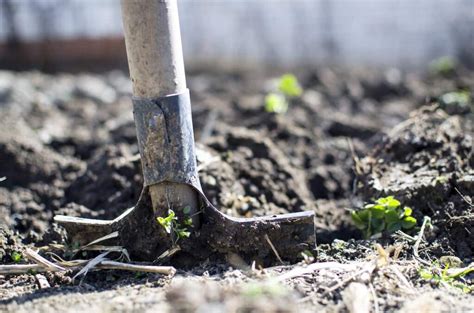
For any homesteader, the dream of an abundant harvest begins with healthy soil. While store-bought amendments can help, nothing quite compares to the rich, living nourishment provided by homemade compost. Crafting your own compost mix not only recycles organic waste but also tailors the nutrient profile specifically for your garden’s needs, transforming depleted earth into a thriving ecosystem. This guide will walk you through creating the best DIY compost mix, ensuring your homestead garden flourishes with vitality and yields bumper crops year after year.
The Fundamental Balance: Browns, Greens, and Activators
The secret to a successful compost pile lies in understanding the core components: carbon-rich “browns” and nitrogen-rich “greens.” Browns provide the energy source for the microorganisms, while greens supply the protein needed for their growth and reproduction. A balanced ratio is crucial for efficient decomposition and a nutrient-dense final product. Generally, a ratio of 2-3 parts brown to 1 part green by volume is ideal, though some experts advocate for higher brown ratios if the green materials are very potent.
Beyond browns and greens, incorporating a good “activator” can significantly speed up the composting process. These activators are usually high-nitrogen materials that kickstart microbial activity, especially in cooler weather or with less active piles.
Essential Ingredients for Your Homestead Compost Mix
Carbon-Rich “Brown” Materials: The Backbone
- Dried Leaves: Abundant, free, and excellent for adding bulk and carbon. Shred them for faster breakdown.
- Straw or Hay: Provides structure and carbon. Avoid hay with weed seeds if possible.
- Wood Chips/Sawdust: Use sparingly and only from untreated wood, as they break down slowly and can temporarily deplete nitrogen.
- Shredded Paper/Cardboard: Non-glossy, non-colored paper products are great carbon sources. Tear into small pieces.
- Twigs and Small Branches: Chop them finely to accelerate decomposition.
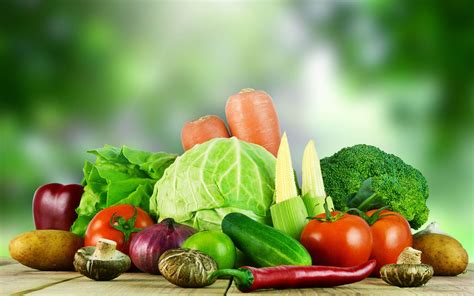
Nitrogen-Rich “Green” Materials: The Power Boost
- Kitchen Scraps: Vegetable and fruit peelings, coffee grounds, tea bags. Avoid meat, dairy, and oily foods as they can attract pests and slow decomposition.
- Grass Clippings: Excellent nitrogen source, but use in thin layers to prevent matting and anaerobic conditions.
- Fresh Manure: From herbivores like chickens, cows, horses, or rabbits. A fantastic activator and nutrient booster.
- Weeds: Non-seeding weeds are perfect, especially young ones. Avoid persistent perennial weeds or those with mature seeds.
- Garden Trimmings: Fresh plant cuttings and spent flowers.
Natural Activators and Enhancers
- Alfalfa Meal: A high-nitrogen plant material that acts as a superb compost activator, also adding trace minerals.
- Compost Starter: Commercial products containing beneficial microbes can give your pile a jumpstart.
- Finished Compost: A handful of existing compost is the best activator, inoculating your new pile with beneficial organisms.
- Blood Meal or Urine (diluted): Potent nitrogen sources; use sparingly.
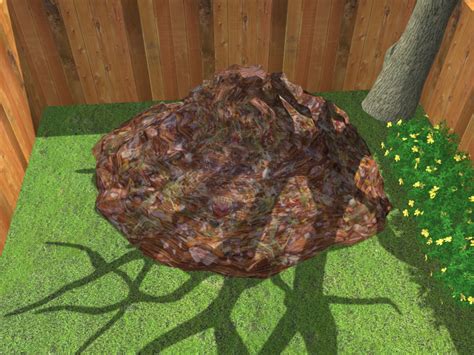
Building Your Ideal Compost Pile
Once you have your materials, it’s time to build! A simple layering method works best:
- Base Layer: Start with 4-6 inches of coarse brown material (like twigs or straw) for aeration and drainage.
- Alternating Layers: Add a 2-4 inch layer of green material, followed by a 4-6 inch layer of brown material.
- Sprinkle Activator: Between layers, sprinkle a thin layer of soil, finished compost, or an activator like alfalfa meal or manure.
- Moisture: Water each layer as you build, aiming for the consistency of a wrung-out sponge.
- Repeat: Continue layering until your pile is at least 3x3x3 feet for optimal heat generation, or your bin is full.
Maintaining Your Compost for Peak Performance
- Turn Regularly: Turning your pile every 1-2 weeks introduces oxygen, prevents compaction, and speeds decomposition. This is crucial for “hot” composting.
- Monitor Moisture: Keep the pile consistently moist, but not waterlogged. Add water during dry spells and dry browns if it gets too wet.
- Check Temperature: A hot compost pile (130-160°F or 54-71°C) breaks down materials quickly and kills weed seeds and pathogens.
- What NOT to Add: Meat, bones, dairy products, greasy foods, diseased plants, pet waste (from carnivorous animals), chemically treated wood, or perennial weeds with seeds.
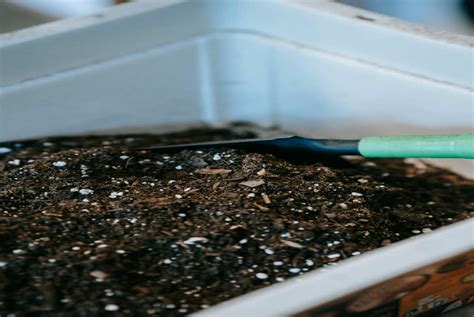
Harvesting and Applying Your Black Gold
Your compost is ready when it’s dark brown, crumbly, smells earthy, and you can no longer identify the original materials. This usually takes anywhere from 2 months to a year, depending on your method and materials.
- Top Dressing: Spread a 1-2 inch layer over your garden beds in spring or fall.
- Soil Amendment: Mix compost into new garden beds or planting holes to improve soil structure and nutrient content.
- Compost Tea: Steep finished compost in water to create a nutrient-rich liquid fertilizer for foliar feeding or watering plants.
- Potting Mix: Blend with other materials (like perlite or coir) to create a custom potting mix for seedlings and containers.

The Abundant Rewards for Your Homestead
By investing time in creating your own compost, you’re not just producing a soil amendment; you’re cultivating the very foundation of a thriving homestead. Finished compost enriches your soil with essential macro and micronutrients, improves water retention, enhances drainage, buffers pH, and introduces a diverse microbial community that protects plants from diseases. The result? Stronger, healthier plants, increased yields, and a truly sustainable gardening practice that supports your journey towards self-sufficiency.
Embrace the cycle of nature and watch your homestead garden transform into a vibrant, productive oasis, providing abundant harvests for years to come.