


How to build a simple, durable DIY garden fence to protect your harvest?

Protect Your Precious Harvest with a DIY Garden Fence
There’s nothing more rewarding than nurturing a vibrant garden and watching your plants thrive. However, the joy of a bountiful harvest can quickly turn to frustration when local wildlife or even curious pets decide to sample your produce before you do. A simple, durable DIY garden fence is an effective and cost-efficient solution to protect your hard work. This guide will walk you through building a sturdy barrier that will keep your vegetables, fruits, and flowers safe from unwanted visitors, ensuring your harvest remains yours alone.
Planning Your Fence: Design and Materials
Before you start digging, a little planning goes a long way. Begin by mapping out the perimeter of your garden. Consider the types of pests you’re trying to deter – rabbits need a shorter fence than deer, for example, but both require the fence to be flush with the ground to prevent burrowing underneath. Decide on the height and length of your fence, which will dictate the amount of material needed.
For materials, common choices include:
- Posts: Treated lumber (4x4s or 2x4s) or metal T-posts for durability.
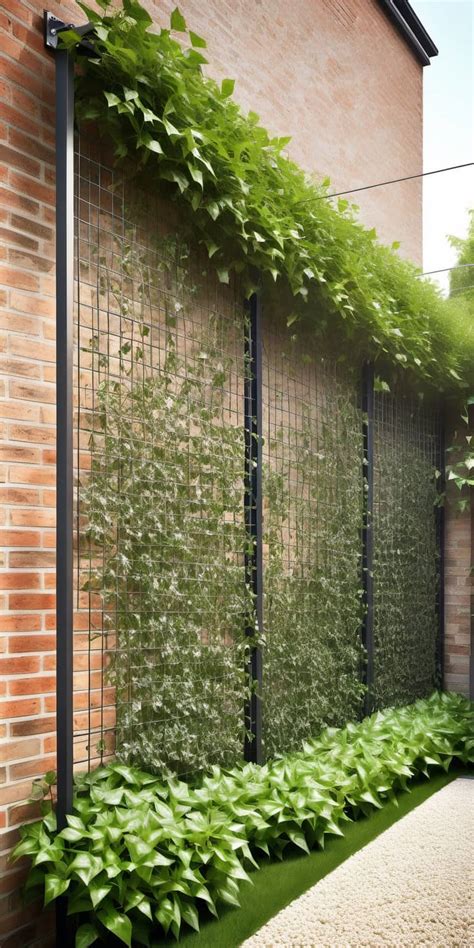
- Fencing Material: Chicken wire (for small animals), hardware cloth (more robust), or woven wire mesh (for larger animals like deer).
- Hardware: Screws, zip ties, staples, gate hinges, and a latch if you’re including a gate.
Gather your tools: a post-hole digger, level, measuring tape, wire cutters, hammer/drill, and safety gloves are essential.
Step-by-Step Construction Guide
1. Lay Out and Mark Post Locations
Using stakes and string, mark the corners of your garden area and then evenly space additional post locations along the perimeter. A good rule of thumb is to place posts every 6-8 feet for optimal stability. Ensure your measurements are accurate to prevent gaps.
2. Install the Fence Posts
Dig post holes using a post-hole digger. The depth should be at least one-third of the post’s height above ground, plus an extra 6 inches for gravel drainage. Place a few inches of gravel at the bottom of each hole, then insert the post. Use a level to ensure the post is perfectly vertical. You can use quick-set concrete for added stability, or simply backfill with soil and tamp it down firmly, adding water to help settle the soil. Allow concrete to cure fully before proceeding if used.
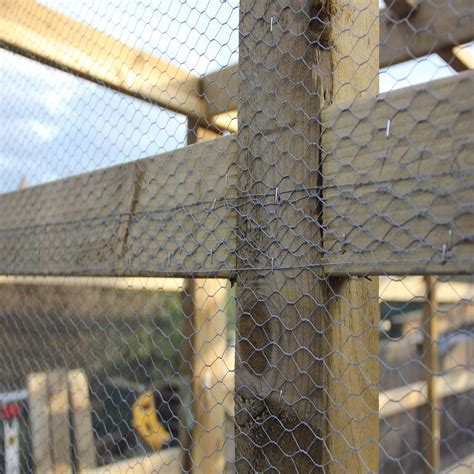
3. Attach the Fencing Material
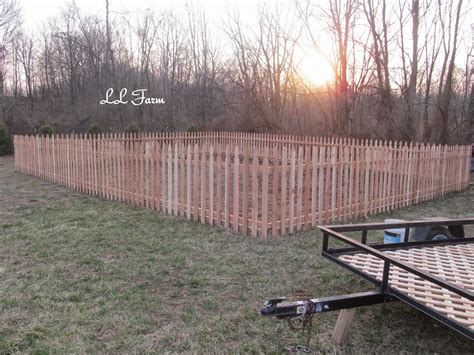
Starting at a corner post, unroll your chosen fencing material. Secure the end of the mesh to the post using heavy-duty staples or screws with washers. Work your way around the perimeter, pulling the fencing taut as you attach it to each post. Ensure the bottom edge of the fence is flush with or slightly buried in the ground to prevent burrowing. Overlap sections of mesh by a few inches and secure them together for extra strength.
If you’re installing a gate, leave a gap between two posts wide enough for your gate frame. Build a simple gate frame from treated lumber, attach the mesh to it, and then hang the gate using sturdy hinges and a latch.
Tips for Enhanced Durability and Longevity
To ensure your DIY garden fence stands the test of time and weather, consider these additional tips:
- Pressure-Treated Wood: Always use pressure-treated lumber for posts and gate frames, as it resists rot and insect damage.
- Proper Anchoring: If you’re not using concrete for posts, ensure the soil is tamped down very firmly. For extra security, you can attach cross-bracing to corner posts.
- Regular Inspections: Periodically check your fence for loose staples, damaged mesh, or weakened posts. Prompt repairs will prevent small issues from becoming larger problems.
- Bury the Bottom: For persistent burrowing pests, bury the bottom 6-12 inches of your fence material, or create an L-shaped apron that extends outward underground.
Enjoy Your Protected Harvest!
Building your own garden fence is a rewarding project that offers peace of mind. With a little effort and the right materials, you can create a secure barrier that protects your precious plants from hungry intruders, allowing you to enjoy the fruits (and vegetables!) of your labor for seasons to come. Step back, admire your handiwork, and look forward to a healthier, more productive garden.


