How to start a simple backyard compost bin for kitchen scraps & garden waste?

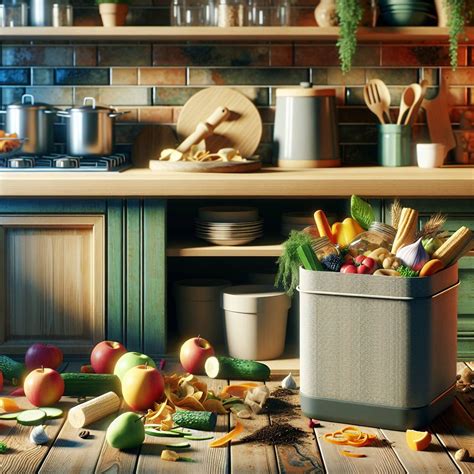
Composting is a fantastic way to reduce household waste, enrich your garden soil, and contribute to a healthier environment. Starting a simple backyard compost bin doesn’t require much effort or specialized equipment. By diverting kitchen scraps and garden waste from landfills, you can create nutrient-dense ‘black gold’ that will supercharge your plants and improve soil structure. This guide will walk you through the easy steps to get your backyard compost bin up and running.
Why Compost?
Composting isn’t just a trend; it’s a centuries-old practice with profound benefits. It transforms organic waste into a valuable soil amendment, reducing the need for chemical fertilizers and improving soil’s ability to retain water and nutrients. For gardeners, it means healthier plants, stronger roots, and better yields. For the environment, it means less methane gas produced by landfills, a significant contributor to climate change, and a closed-loop system for your organic matter. Imagine turning potato peels and grass clippings into something that helps your tomatoes thrive!
Choosing Your Compost Bin & Location
You don’t need a fancy, expensive composter to start. Many options work well, from simple wire mesh cylinders and wooden pallets to store-bought plastic bins or even a designated heap. Consider your space, the amount of waste you generate, and your aesthetic preferences. A good location is key: choose a spot that’s relatively shady to prevent drying out, well-drained, and easily accessible from both your kitchen and garden. Keep it a reasonable distance from your home to avoid any potential odors, though a well-managed compost bin should smell earthy, not foul.

The “Green” and “Brown” of Composting
Successful composting relies on a balance of “greens” (nitrogen-rich materials) and “browns” (carbon-rich materials).
What to Compost (Greens & Browns):
- Greens: Fruit and vegetable scraps, coffee grounds, tea bags, grass clippings, fresh plant trimmings, spent flowers.
- Browns: Dry leaves, wood chips, shredded newspaper, cardboard, straw, hay, sawdust, dry twigs.
What NOT to Compost:
- Meat, dairy products, bones, oily foods (attract pests and create odors).
- Pet waste (can contain harmful pathogens).
- Diseased plants (can spread disease).
- Weeds that have gone to seed (you’ll just be spreading weeds).
- Treated wood (contains chemicals).
Setting Up Your Bin
Once you have your bin and chosen location, it’s time to build your compost pile. Think of it like building a lasagna!
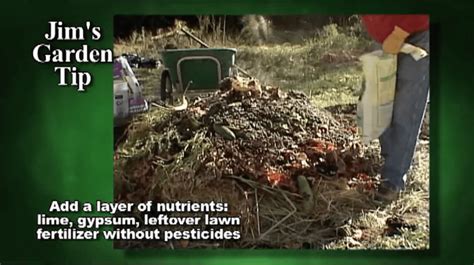
Step-by-Step Layering:
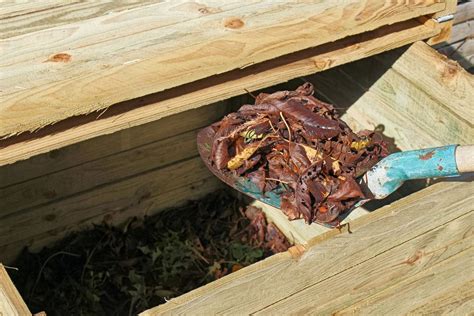
- Start with Browns: Lay a 4-6 inch base of coarse brown material (twigs, straw, wood chips) to ensure good air circulation.
- Add Greens: Follow with a 2-4 inch layer of green materials (kitchen scraps, grass clippings).
- Add More Browns: Cover the greens with another 4-6 inch layer of browns.
- Repeat: Continue alternating layers, aiming for roughly equal parts by volume of greens and browns. Chop larger items into smaller pieces to speed up decomposition.
Moisture is Key:
Each layer should be lightly moistened, like a wrung-out sponge. If your materials are dry, sprinkle them with water as you add them. Too dry, and decomposition slows; too wet, and it can become anaerobic and smelly.
Maintaining Your Compost
Compost is alive, and like any living system, it benefits from a little care.
Turning Your Pile:
Regularly turning your compost pile (every week or two) with a pitchfork or aeration tool is crucial. This introduces oxygen, which is vital for the beneficial microbes that break down the materials. Turning also helps mix the “greens” and “browns” and distributes moisture evenly, preventing hot spots and speeding up the process. A well-aerated pile is a happy, odor-free pile.
Checking Moisture & Temperature:
Keep an eye on the moisture level – if it feels dry, give it a sprinkle. In hot, dry weather, you might need to water more frequently. A healthy, active compost pile will generate heat. While not essential to measure, a warm pile indicates that microbes are hard at work.
When Is Compost Ready?
Patience is a virtue in composting! The time it takes varies from a few months to a year, depending on the materials, maintenance, and environmental conditions. Your compost is ready when it looks like dark, crumbly soil, smells earthy and sweet, and you can no longer distinguish the original materials. It will also have cooled down.
Troubleshooting Common Composting Problems
- Smelly Pile: Usually due to too much green material, too much moisture, or lack of aeration. Turn the pile, add more browns (shredded newspaper, dry leaves), and ensure good drainage.
- Pile Not Heating Up: Often due to lack of nitrogen (add more greens), too dry (add water), or too little material overall.
- Pests: Avoid composting meat, dairy, or oily foods. Ensure your bin is enclosed if rodents are a concern.
Benefits Beyond Your Garden
Beyond the immediate gratification of healthy plants, backyard composting plays a significant role in environmental stewardship. It reduces the volume of waste sent to landfills, conserves water by improving soil’s water retention, and lessens your carbon footprint. It’s a simple, empowering act that connects you more deeply with the natural cycles of growth and decay.

Starting a backyard compost bin is an accessible and rewarding project for any home and garden enthusiast. With a little understanding of “greens” and “browns,” proper layering, and occasional turning, you’ll soon be enjoying the benefits of homemade organic fertilizer. Embrace the cycle of nature in your own backyard and watch your garden thrive!