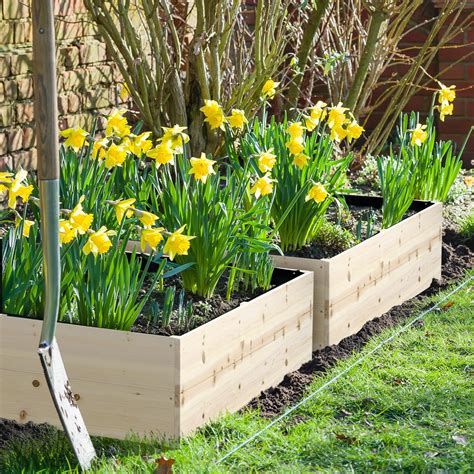
How to build a simple, sturdy DIY raised garden bed from reclaimed materials?

Why Choose a Raised Garden Bed?
Raised garden beds offer numerous benefits for both beginner and experienced gardeners. They provide better drainage, allow for improved soil control, reduce weeding, and make gardening more accessible by minimizing bending and kneeling. Furthermore, building one from reclaimed materials is an excellent way to practice sustainability, reduce waste, and save money.
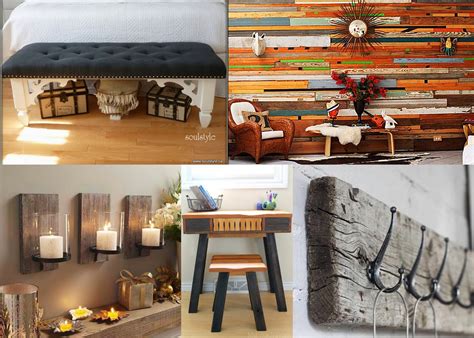
Opting for reclaimed wood, bricks, or other sturdy materials not only gives these items a new purpose but also adds character and a rustic charm to your garden space. It’s a project that combines environmental consciousness with practical gardening solutions.

Gathering Your Reclaimed Materials
The beauty of this project lies in using what you can find. Common reclaimed materials suitable for a raised garden bed include:
- Pallet Wood: Look for heat-treated (HT stamped) pallets, not chemically treated (MB stamped). Disassemble carefully to avoid splitting the wood.
- Old Fence Boards: Weathered but still sturdy fence panels can be repurposed.
- Scrap Lumber: Leftover planks from construction projects or old shelving units.
- Cinder Blocks or Bricks: For a more permanent and robust structure, these can be stacked.
Before using any wood, inspect it for sharp nails, splinters, or excessive rot. Clean it thoroughly. Aim for materials that are reasonably uniform in height for a level bed, or be prepared to cut them to size.
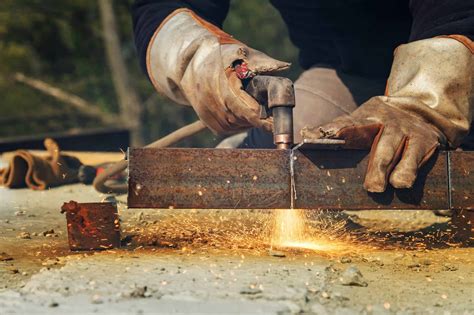
Tools You’ll Need
Most of these tools are standard for DIY projects:
- Tape measure
- Saw (hand saw, circular saw, or miter saw)
- Drill and drill bits
- Screws (exterior grade, ideally 2.5-3 inches) or nails
- Hammer (if using nails)
- Level
- Square (carpenter’s square or speed square)
- Pencil
- Safety glasses and gloves
Step-by-Step Construction Guide
1. Plan Your Dimensions and Location
Decide on the size and shape of your raised bed. Common dimensions are 4×4 feet or 4×8 feet, as a 4-foot width allows easy access to the center from both sides. Choose a location in your garden that receives adequate sunlight (typically 6-8 hours daily for most vegetables).
2. Prepare Your Materials
Cut your reclaimed wood to the desired lengths for the sides of your bed. For a 4×8 foot bed, you’ll need two 8-foot pieces and two 4-foot pieces. If using pallets, carefully pry apart the boards, removing all nails. Clean and sand any rough edges if desired.
3. Assemble the Frame
Lay out your cut pieces on a flat surface to form your rectangular or square frame. Using exterior-grade screws (or nails), fasten the corners together. You can use corner brackets for extra sturdiness, or simply butt joint the ends and screw through one piece into the end grain of the other. Ensure the corners are square using your carpenter’s square.
For added strength, especially with taller beds or softer wood, consider adding internal corner posts (e.g., 2x2s) that you screw into from both sides of the adjacent planks. If building a taller bed, stack a second layer of boards on top of the first, staggering the joints for better stability, and screw them together.
4. Place and Level Your Bed
Move your assembled frame to its chosen location. Use a level to ensure the bed is sitting flat. If your ground isn’t perfectly level, you may need to dig out small amounts of soil or place shims (like flat rocks or small pieces of wood) under the lower sections until the frame is level. This prevents soil from washing out of one side.
5. Add Lining and Fill with Soil
While optional, adding a liner can help protect your wood from constant moisture and prevent weeds from growing up from beneath. You can use hardware cloth (for rodent control), landscape fabric, or even old cardboard. Avoid plastic liners unless you punch drainage holes.
Finally, fill your raised bed with a good quality soil mix. A popular blend is 60% topsoil, 30% compost, and 10% perlite or vermiculite. Once filled, you’re ready to plant!
Maintenance and Tips
To extend the life of your reclaimed wood raised bed, consider lining the inside walls with a barrier like pond liner or thick plastic sheeting (with drainage holes at the bottom) before adding soil. This prevents direct soil-to-wood contact, reducing rot. Reapply a non-toxic, food-safe wood sealant every few years if desired.
Regularly check the fasteners and joints, tightening screws or adding new ones if the wood starts to separate due to weathering. With a little care, your simple, sturdy, and sustainable raised garden bed will provide years of gardening enjoyment.
Conclusion
Building a raised garden bed from reclaimed materials is a rewarding DIY project that benefits both your garden and the environment. It’s an accessible project that doesn’t require advanced carpentry skills, yet yields a functional and attractive addition to your outdoor space. Enjoy the satisfaction of growing your own produce in a bed you built yourself, giving new life to old materials.