Building a simple compost pile for garden scraps & soil enrichment?

Why Compost? The Benefits Unleashed
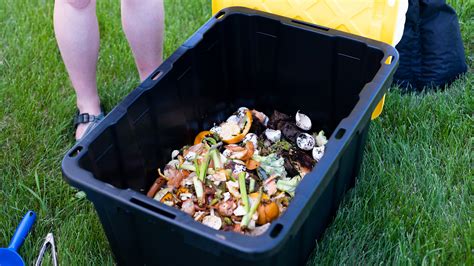
Composting is a simple yet incredibly powerful way to transform your kitchen scraps and garden waste into a valuable resource for your garden. Instead of sending organic matter to the landfill, you can convert it into nutrient-rich soil amendment, often referred to as “black gold.” This process not only reduces household waste but also improves soil structure, water retention, and provides essential nutrients for robust plant growth, all while reducing the need for chemical fertilizers.
Starting a compost pile might seem daunting at first, but with a few basic principles, anyone can successfully create a thriving system. It’s a natural cycle that enriches your garden, saves you money, and contributes positively to the environment.
Choosing the Perfect Spot for Your Compost Pile
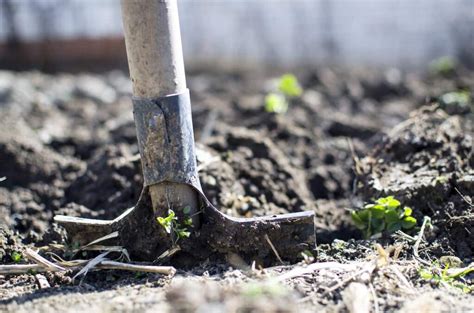
The first step in building your compost pile is selecting an appropriate location. Choose a spot that is easily accessible but not an eyesore. It should ideally be a partially shaded area to prevent the pile from drying out too quickly, especially in warmer climates. Avoid direct, intense sunlight. Proximity to a water source is also a bonus, as your compost will need occasional moistening.
Ensure the area has good drainage and is not prone to waterlogging. While some people opt for enclosed bins, a simple open pile can work just as effectively, particularly for larger volumes of material. Consider its distance from your house – you want it close enough for convenience but far enough not to attract pests directly to your home (though a well-managed compost pile rarely attracts unwanted guests).
Understanding Your Composting Ingredients: Greens and Browns
Successful composting relies on a good balance of “greens” and “browns.” These terms refer to the nitrogen-rich and carbon-rich materials, respectively, that fuel the decomposition process. A general rule of thumb is to aim for a 2:1 or 3:1 ratio of browns to greens by volume.
Greens (Nitrogen-Rich):
- Fruit and vegetable scraps
- Coffee grounds and tea bags
- Fresh grass clippings (in thin layers to prevent matting)
- Spent annual plants and garden trimmings
- Eggshells (crushed)
Browns (Carbon-Rich):
- Dried leaves
- Shredded cardboard and paper (non-glossy, non-colored)
- Straw or hay
- Wood chips and sawdust (in moderation)
- Small twigs and branches (chopped)
Avoid adding meat, dairy products, oils, diseased plants, or pet waste, as these can attract pests and introduce pathogens.
Step-by-Step Guide to Building Your Compost Pile
Once you have your location and materials, you’re ready to build! Think of it like making a lasagna, layering different ingredients to create the perfect environment for decomposition.
- Start with a Base: Lay down a 4-6 inch layer of coarse brown materials like twigs or straw. This provides aeration and drainage.
- Add Brown Layers: Follow with a 6-8 inch layer of finer brown materials (dried leaves, shredded paper).
- Introduce Green Layers: Place a 4-6 inch layer of green materials (kitchen scraps, grass clippings) on top of the browns.
- Moisten: Lightly water each layer as you add it. The pile should be damp, like a wrung-out sponge, not soaking wet.
- Repeat: Continue alternating layers of browns and greens, moistening as you go. Aim to build the pile to at least 3x3x3 feet for optimal heat generation, but smaller piles also work, just slower.
- Top Off: Finish with a layer of browns to help deter pests and keep the pile tidy.

Maintaining Your Compost for Optimal Results
Building the pile is just the beginning; a little maintenance goes a long way in speeding up the composting process and ensuring a healthy batch of black gold.
- Keep it Moist: Regularly check the moisture level. If it feels dry, give it a good soak with water. If it’s too wet and smells putrid, add more brown materials to absorb excess moisture and provide aeration.
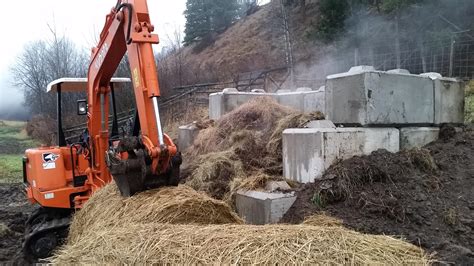
- Turn the Pile: Aeration is crucial for the microbes doing the work. Use a pitchfork or compost aerator to turn your pile every week or two. This mixes the materials, introduces oxygen, and helps distribute moisture and heat. Turning a hot, active pile can be quite satisfying, as you’ll see steam rising!
- Add New Materials: Continue adding new kitchen and garden scraps as they become available, maintaining the balance of greens and browns. Chop larger items into smaller pieces to speed up decomposition.
When Your Compost is Ready: Harvesting and Using Black Gold
The time it takes for compost to mature varies depending on factors like material type, pile size, and turning frequency, but typically ranges from two months to a year. You’ll know your compost is ready when it has a rich, earthy smell, a dark brown or black color, and a crumbly texture similar to rich soil. Most of the original materials should be unrecognizable.
To harvest, you can simply shovel out the finished compost from the bottom or sides of the pile. Use it to enrich your garden beds, top-dress plants, incorporate it into potting mixes, or spread it on your lawn. Your plants will thank you with vigorous growth and improved health.
Embrace the Composting Journey
Building a simple compost pile is a rewarding endeavor that connects you more deeply with the natural cycles of your garden. It’s an effective way to recycle organic waste, reduce your environmental footprint, and create a free, nutrient-rich amendment that will transform your garden’s health and vitality. Start small, learn as you go, and soon you’ll be enjoying the many benefits of your homemade black gold!