Safest DIY method for canning garden tomatoes for winter storage?
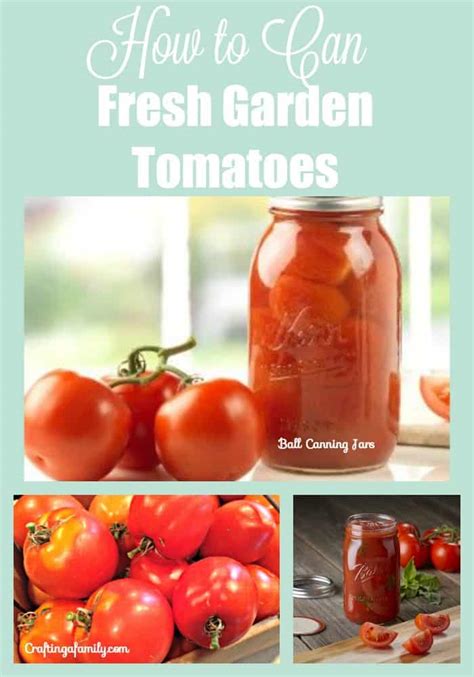
Embrace Winter’s Bounty: Safely Canning Garden Tomatoes
There’s nothing quite like the taste of fresh garden tomatoes, and preserving that flavor for colder months is a rewarding endeavor. While canning can seem daunting, following precise, safe methods ensures you’ll enjoy your homegrown harvest long after the summer sun fades. This guide will walk you through the safest DIY water bath canning method for tomatoes, focusing on critical steps like acidification and sterilization.
Understanding the Pillars of Safe Canning
Safe canning relies on two main principles: adequate heat processing to destroy spoilage microorganisms and the creation of an airtight seal to prevent recontamination. For tomatoes, which are borderline acidic, proper acidification is paramount. While some heirloom varieties might be less acidic, adding an acid source ensures they are safely processed in a boiling water bath, eliminating the need for a pressure canner if done correctly.
Sterilization of jars and lids, along with strict adherence to processing times, prevents the growth of harmful bacteria, including Clostridium botulinum, which thrives in low-acid, oxygen-free environments. Always use approved canning recipes and methods; improvisation can lead to unsafe food.
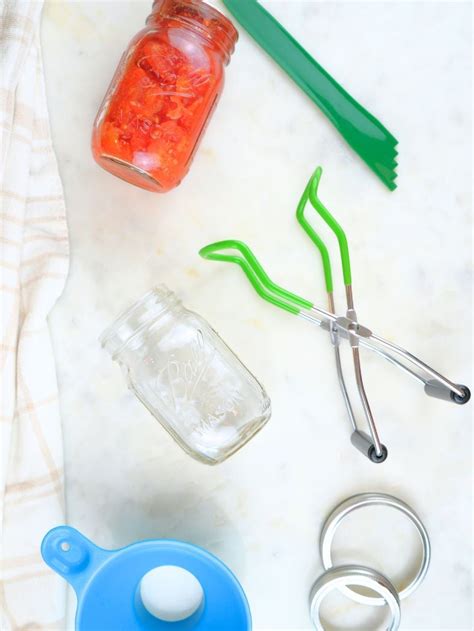
Gathering Your Essential Tools and Perfect Tomatoes
Before you begin, ensure you have all the necessary equipment. You’ll need a large water bath canner with a rack, glass canning jars (pint or quart) with new lids and bands, a jar lifter, a canning funnel, a headspace tool (or ruler), a bubble remover, and clean kitchen towels. For your tomatoes, select only ripe, firm, blemish-free fruit. Over-ripe or bruised tomatoes can harbor bacteria and affect the safety and quality of your canned goods. Acidity can vary, so always plan to add an acidifier.
Step-by-Step Guide to Canning Tomatoes Safely
1. Prepare Your Tomatoes and Jars
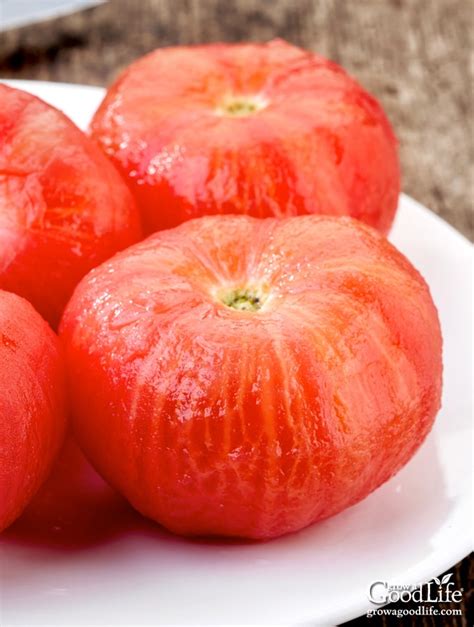
Wash your tomatoes thoroughly under cool running water. For whole or diced tomatoes, you’ll need to peel them. To do this, blanch tomatoes in boiling water for 30-60 seconds, then immediately plunge them into ice water. The skins should slip off easily. Core the tomatoes and remove any green parts or blemishes. You can leave them whole, dice them, or crush them for sauce. Prepare your jars by washing them in hot, soapy water and rinsing well. Keep them hot (in hot water or a warm oven) until filling to prevent thermal shock.
2. Acidify and Pack the Jars
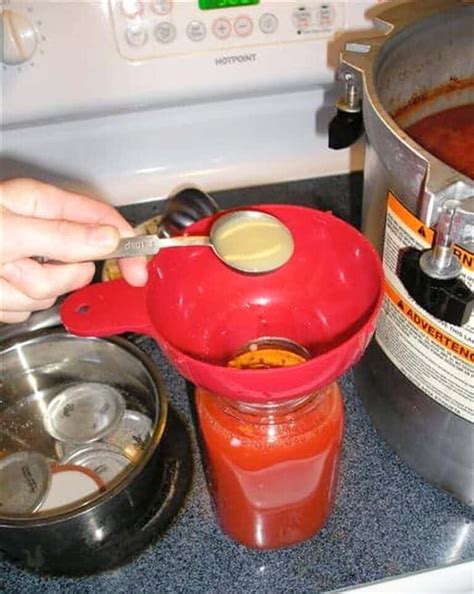
This is a critical safety step for tomatoes. Add 1 tablespoon of bottled lemon juice or 1/4 teaspoon of citric acid per pint jar, or 2 tablespoons of bottled lemon juice or 1/2 teaspoon of citric acid per quart jar. Do not reduce these amounts. You can also add salt for flavor, but it is not a preservative. For crushed tomatoes or sauce, heat them to a simmer before packing. For whole or diced tomatoes, you can either raw pack (filling jars with raw tomatoes) or hot pack (heating tomatoes first and filling hot). Hot packing often results in less floating and a fuller jar. Pack the tomatoes, leaving 1/2 inch of headspace from the rim. If hot packing, add hot liquid to cover the tomatoes, maintaining headspace.
3. Process in a Water Bath Canner
Using a non-metallic tool, remove air bubbles from the jars by running it between the food and the jar. Wipe jar rims clean with a damp cloth. Place new, pre-warmed lids on the jars and screw on bands finger-tight. Place the filled jars on the rack in your water bath canner. The water should cover the jars by at least 1-2 inches. Bring the water to a rolling boil. Once boiling, begin your processing time. For pints of whole or crushed tomatoes, process for 35 minutes; for quarts, process for 45 minutes. Adjust processing time for your altitude if you live above 1,000 feet.
4. Cool and Store Safely
After processing, turn off the heat and let the jars sit in the canner for 5 minutes before removing them with a jar lifter. Place jars on a towel-lined surface in a draft-free area, allowing several inches of space between them. Do not retighten bands. Let them cool undisturbed for 12-24 hours. You should hear a ‘pop’ as the lids seal. After cooling, check seals by pressing the center of each lid; it should not flex. Remove bands, wipe down jars, label with contents and date, and store in a cool, dark, dry place. Any unsealed jars must be refrigerated and consumed within a week.
Essential Safety Tips and Troubleshooting
Always use new lids for canning; bands can be reused. Never reuse old canning recipes without verifying them against current, tested guidelines from reputable sources like the National Center for Home Food Preservation (NCHFP). If a jar fails to seal, you can reprocess it within 24 hours with a new lid, or refrigerate and consume its contents promptly. Discard any jars that show signs of spoilage, such as bulging lids, mold, off-odors, or cloudy liquid, even if sealed. When in doubt, throw it out.
With careful preparation and adherence to these safety guidelines, you can confidently preserve your garden’s bounty. Enjoy the rich, authentic taste of summer tomatoes all winter long, knowing each jar is a testament to your safe and skillful DIY efforts.