Simple steps for beginners to start composting kitchen and yard waste?

Embracing composting is one of the most impactful things you can do for your garden and the environment. It diverts waste from landfills, reduces your carbon footprint, and creates nutrient-rich soil amendment that your plants will love. If you’ve been curious but intimidated, fear not! This guide will break down the process into simple, manageable steps, perfect for the beginner.
Why Composting is a Game-Changer
Composting isn’t just about reducing waste; it’s about creating a powerful resource. Finished compost improves soil structure, aeration, and water retention, while also providing essential nutrients to plants. It can suppress plant diseases and pests, and even reduce the need for chemical fertilizers. For anyone looking to enrich their garden naturally and live more sustainably, composting is an invaluable practice.
Choosing Your Composting Method
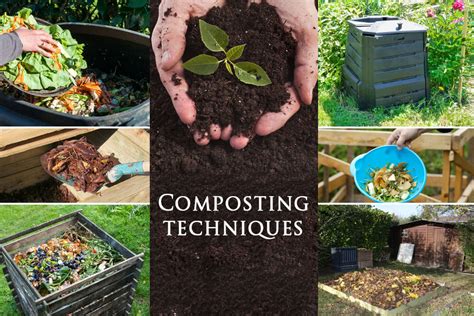
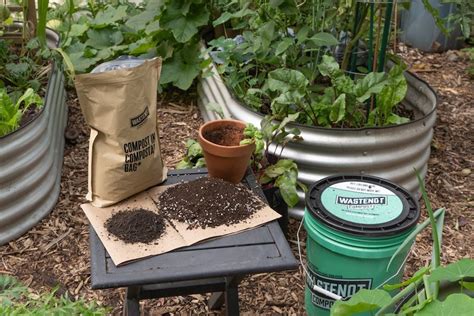
The first step is deciding what kind of composting system works best for you. There are two main approaches:
- Compost Piles: Simple and low-cost, a designated area in your yard where you pile up organic materials. Best for larger volumes of waste.
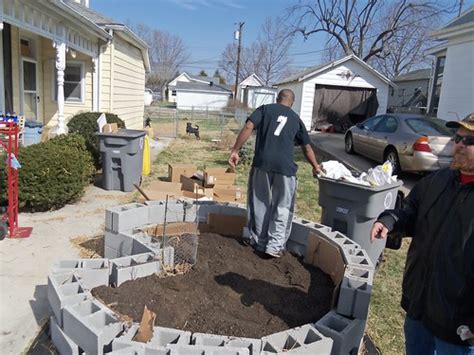
- Compost Bins: Enclosed structures that can be purchased or DIYed. They help contain the pile, retain heat, and can be more aesthetically pleasing. Options range from simple plastic bins to tumblers that make turning easy.
For beginners, a simple stationary bin or a well-placed pile is often the easiest way to start. Consider the space you have available and the amount of waste you anticipate generating.
What to Compost (and What Not To)
A healthy compost pile needs a good balance of ‘greens’ and ‘browns’. Think of it like a recipe!
‘Greens’ (Nitrogen-rich): These are often wet and provide nitrogen for microbial growth.
- Fruit and vegetable scraps (non-citrus preferred initially)
- Coffee grounds and tea bags
- Grass clippings (in moderation)
- Green leaves
- Fresh manure (from herbivores like rabbits, chickens, cows, horses)
‘Browns’ (Carbon-rich): These are typically dry and provide carbon, structure, and air pockets.
- Dry leaves
- Twigs and small branches (chopped)
- Shredded newspaper or cardboard (non-glossy, non-colored)
- Sawdust (from untreated wood)
- Straw
What to Avoid:
- Meat, bones, dairy products, oily foods (attract pests, create odors)
- Pet waste (can contain pathogens)
- Diseased plants (can spread disease)
- Weeds with seeds (can spread weeds)
- Treated wood or coal ash (contain harmful chemicals)
Building Your Compost Pile
Once you have your method and materials, it’s time to build your pile. A good ratio is roughly 2-3 parts browns to 1 part greens by volume. Layering helps achieve this balance:
- Start with a base of browns: Lay down a layer of coarse, woody material like twigs or straw to ensure good aeration at the bottom.
- Alternate layers: Add a layer of greens, then a layer of browns. Keep the layers relatively thin (a few inches each).
- Moisture: Each layer should be moistened as you add it. The pile should feel like a wrung-out sponge – damp but not soggy.
- Chop materials: Smaller pieces break down faster, so chop larger kitchen scraps and yard waste.
Maintaining Your Compost
Composting is an active process that requires a little attention, but it’s not overly demanding.
- Turn it: Aeration is crucial. Turn your pile with a pitchfork or aerating tool every week or two. This introduces oxygen, which helps the microbes work efficiently and speeds up decomposition. Without air, the pile can become anaerobic and smell unpleasant.
- Keep it moist: Periodically check the moisture level. If it’s too dry, decomposition slows down. Add water if necessary, especially during dry spells. If it’s too wet, turn it more often and add more browns.
- Add regularly: Continue adding new greens and browns, maintaining the correct ratio and mixing them in.

When Is Your Compost Ready?
Patience is a virtue in composting, but you’ll eventually be rewarded with rich, dark, crumbly ‘black gold’. Here are the signs it’s ready:
- Appearance: It will be dark brown or black.
- Texture: It should be crumbly, with most of the original materials no longer recognizable.
- Smell: It should have an earthy, pleasant smell, like forest soil, not rotten or sour.
- Temperature: A finished compost pile will no longer heat up in the center.
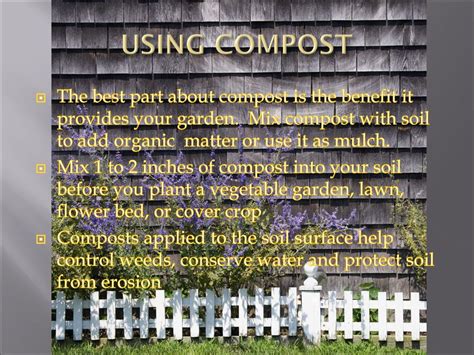
Depending on your method and maintenance, this process can take anywhere from a few weeks (for hot composting) to several months or even a year (for cold composting). Once ready, you can sift it to remove any larger, uncomposted pieces (which can go back into the new pile) and then spread it around your garden beds, mix it into potting soil, or use it as a top dressing for lawns and trees.
Starting to compost is a rewarding journey that connects you more deeply with your garden and the natural cycle of life. With these simple steps, you’re well on your way to transforming your household and yard waste into a valuable resource that will nurture your plants and improve your soil for years to come. Happy composting!