


Easy DIY compost for healthier garden soil?

Unlock a Thriving Garden with Homemade Compost
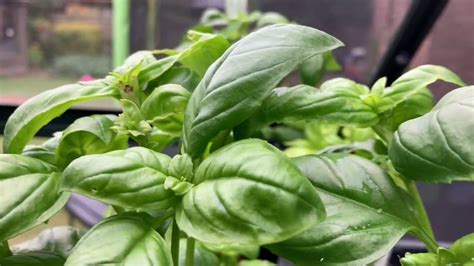
Dreaming of vibrant flowers, bountiful vegetables, and robust plants? The secret often lies beneath the surface – in your soil. Healthy soil is the cornerstone of a successful garden, and there’s no better way to enrich it naturally than with homemade compost. Far from being a complex chore, creating your own “black gold” is surprisingly easy, eco-friendly, and incredibly rewarding.
Why Compost is Your Garden’s Best Friend
Compost isn’t just decaying organic matter; it’s a powerhouse of nutrients and beneficial microbes. When you incorporate compost into your garden soil, you’re not just feeding your plants; you’re nurturing the entire soil ecosystem. Compost improves soil structure, enhances water retention in sandy soils, increases drainage in clay soils, and suppresses plant diseases. It also reduces your household waste, turning kitchen scraps and yard trimmings into a valuable resource instead of landfill fodder.
The Simple Science: What Goes In?
Successful composting relies on a balance of “greens” and “browns.”
- Greens (Nitrogen-rich): These are fresh, moist materials like fruit and vegetable scraps, coffee grounds, tea bags, grass clippings, and fresh plant trimmings. They provide nitrogen, essential for microbial activity and heating the pile.
- Browns (Carbon-rich): These are dry, woody materials such as dead leaves, shredded paper, cardboard (torn into small pieces), sawdust, wood chips, and straw. They provide carbon, which serves as a food source for microbes and adds bulk to the pile.
Aim for roughly a 2:1 or 3:1 ratio of browns to greens for optimal decomposition, though perfection isn’t necessary, especially for beginners.
Getting Started: Your Easy DIY Composting Method
There are many ways to compost, but a simple pile or a basic bin is perfect for most home gardeners.
1. Choose Your Spot
Find a semi-shady, well-drained spot in your yard. It should be easily accessible but not right next to your house, as active compost can attract critters.
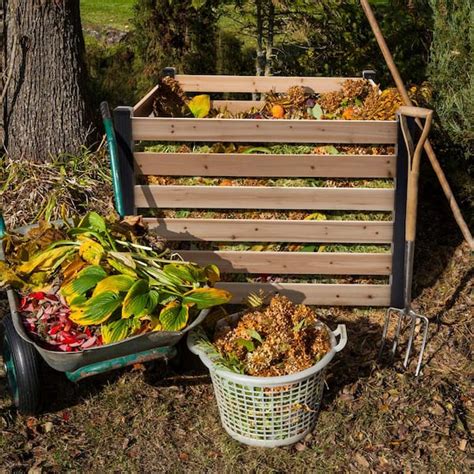
2. Build Your Bin (Optional but Recommended)
While you can just make a pile, a bin helps contain the materials and maintain heat. You can buy pre-made bins, build one from pallets or wire mesh, or even use an old trash can with holes drilled for aeration.
3. Layer It Up
Start with a layer of coarse browns (like twigs or straw) at the bottom for drainage and airflow. Then, alternate layers of greens and browns, chopping larger materials into smaller pieces to speed up decomposition. Moisten each layer as you add it, aiming for the consistency of a wrung-out sponge.
4. Keep It Aerated and Moist
Regularly turn your compost pile (once a week or every few weeks) with a pitchfork or aerating tool. This introduces oxygen, which is crucial for the beneficial aerobic bacteria that break down organic matter. Keep the pile consistently moist, especially during dry spells; a dry pile won’t decompose efficiently.
What to Compost (and What Not To)
Do Compost:
- Fruit and vegetable scraps
- Coffee grounds and filters, tea bags
- Eggshells (crushed)
- Grass clippings, leaves, garden trimmings
- Shredded newspaper and cardboard (non-glossy)
- Sawdust, wood chips (in moderation)
- Straw, hay
Do NOT Compost:
- Meat, fish, bones, dairy products (attract pests, create odors)
- Oils, fats, greasy foods
- Diseased plants (can spread pathogens)
- Weeds with seeds (can spread weeds)
- Pet waste (can contain harmful pathogens)
- Chemically treated wood or plants
Troubleshooting Common Composting Issues
- Smelly Pile: Too many greens, not enough air, or too wet. Add browns, turn the pile, or reduce moisture.
- Dry & Not Decomposing: Not enough moisture. Add water slowly while turning.
- Attracting Pests: Likely due to prohibited items like meat or dairy. Remove these, bury food scraps deeper, and consider a pest-proof bin.
- Slow Decomposition: Too many browns, too dry, or not enough aeration. Adjust greens/browns ratio, add moisture, and turn more frequently.

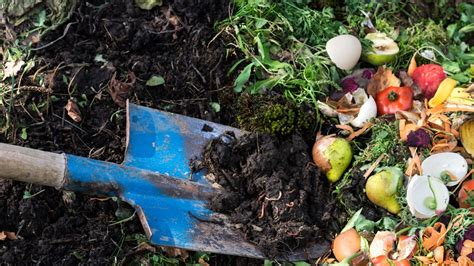
Harvesting and Using Your Black Gold
You’ll know your compost is ready when it’s dark brown, crumbly, and smells like fresh earth. The original materials should be unrecognizable. This usually takes anywhere from a few months to a year, depending on your method and maintenance.
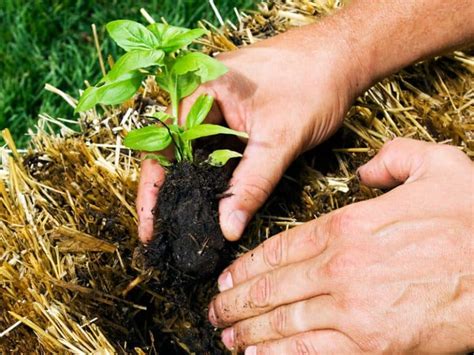
Once ready, spread a 1-2 inch layer of compost over your garden beds and gently work it into the top few inches of soil. You can also use it as a top dressing for potted plants, mix it into potting soil for seed starting, or brew “compost tea” for a liquid fertilizer boost. Your plants will thank you!
![69th BPSC Prelims Question Paper [Solved PDF] - Licchavi Lyceum](/images/aHR0cHM6Ly90czQubW0uYmluZy5uZXQvdGg/aWQ9T0lQLlNNMG9DZ2Q1d0I4THNQNUtMX3BnbXdIYUVBJnBpZD0xNS4x.webp)
Start Composting Today for a Greener Tomorrow
Embracing DIY composting is more than just a gardening technique; it’s a commitment to sustainability and a deeper connection with the natural world. With minimal effort, you can transform everyday waste into a precious resource, creating a vibrant, healthy garden that thrives season after season. So, gather your scraps, find a spot, and start your composting journey – your garden, and the planet, will reap the rewards.