


What’s the best way to blanch garden green beans for freezing fresh?

The Essential Art of Blanching for Freshness
Garden-fresh green beans are a summer delight, but to enjoy their crisp texture and vibrant color long after harvest season, proper preservation is key. Freezing is an excellent method, but simply tossing raw beans into the freezer won’t yield the best results. The secret lies in blanching – a quick, controlled cooking process that halts enzymatic action, preserving the beans’ quality for months.
Blanching is more than just a quick dip in hot water; it’s a critical step that deactivates enzymes responsible for spoilage, color loss, and flavor degradation. Without it, your frozen green beans would turn dull, tough, and lose their characteristic fresh taste. This guide will walk you through the optimal method to blanch your garden green beans, ensuring they emerge from the freezer as close to fresh as possible.
Step 1: Preparing Your Green Beans
Before blanching, ensure your green beans are fresh, tender, and free from blemishes. Younger, more tender beans will yield the best frozen product. Begin by washing them thoroughly under cold running water to remove any dirt or garden debris.
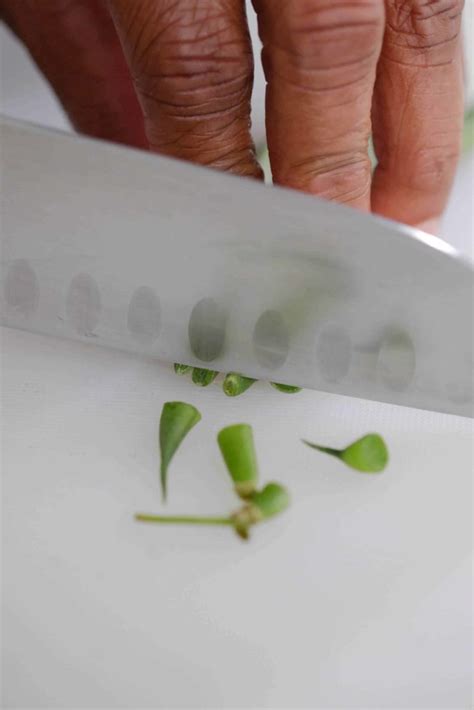
- Trim the Ends: Snap or cut off the stem end of each bean. You can leave the tail end or trim it for a neater appearance.
- Size Consistency: For even blanching, it’s helpful to cut longer beans into 1 to 2-inch pieces. Smaller beans can be left whole.
Step 2: The Blanching Process – Heat and Ice
The actual blanching involves two crucial phases: a quick dip in boiling water followed immediately by an ice-cold bath. This extreme temperature change is what stops the enzymes.
- Boil Water: Fill a large pot with water, ensuring it’s at least two-thirds full. Bring the water to a rolling boil. For every pound of prepared green beans, use at least one gallon of water. Do not add salt – it’s not necessary for blanching and can draw out moisture.
- Prepare Ice Bath: While the water heats, prepare an ice bath in a large bowl. Fill it generously with ice and cold water. This will be used to quickly cool the beans.
- Blanch the Beans: Once the water is boiling, carefully add the prepared green beans in small batches. Overcrowding the pot will lower the water temperature too much, leading to uneven blanching. The water should return to a boil within one minute.
- Timing is Key: Blanch green beans for exactly 3 minutes from the moment the water returns to a boil. This duration is perfect for tender-crisp results.
- Rapid Cooling: Immediately after 3 minutes, use a slotted spoon or spider to transfer the blanched beans directly into the ice bath. This stops the cooking process instantly. Let them cool in the ice water for the same amount of time they were blanched – 3 minutes.

Step 3: Drying and Pre-Freezing
Proper drying is often overlooked but is crucial to prevent ice crystals from forming, which can lead to freezer burn and a soggy texture. Excess moisture is the enemy of quality frozen produce.
- Drain Thoroughly: Remove the cooled beans from the ice bath and drain them well in a colander.
- Pat Dry: Spread the beans in a single layer on clean kitchen towels or a baking sheet lined with paper towels. Gently pat them dry. Allow them to air dry for another 15-30 minutes, turning them occasionally, until they are visibly dry to the touch. This step is non-negotiable for best results.

Step 4: Freezing for Long-Term Storage
Once completely dry, the green beans are ready for freezing. Flash freezing them first prevents clumping, allowing you to easily grab only what you need later.
- Flash Freeze: Spread the dried beans in a single layer on a baking sheet. Place the baking sheet in the freezer for 1-2 hours, or until the beans are solid.
- Package for Storage: Transfer the flash-frozen beans into freezer-safe bags or containers. Remove as much air as possible from bags using a straw or vacuum sealer to prevent freezer burn. Leave a little headspace in rigid containers.
- Label and Date: Clearly label each package with the contents and the date of freezing. Blanched green beans can maintain optimal quality in the freezer for 8-12 months.
By following these steps, you’ll ensure a year-round supply of delicious, garden-fresh green beans, perfect for adding to stir-fries, casseroles, or simply enjoying as a side dish.