


How to properly season cast iron for heirloom family recipes?

Unlocking the Legacy: The Art of Cast Iron Seasoning
Cast iron cookware isn’t just a kitchen tool; it’s often a treasured family heirloom, passed down through generations, holding the secrets and flavors of countless beloved family recipes. From grandma’s cornbread to a great-aunt’s fried chicken, these dishes rely on the unique properties of cast iron. The key to unlocking its full potential and ensuring its longevity for future generations lies in one crucial practice: proper seasoning. A well-seasoned cast iron pan boasts a natural non-stick surface, imparts a distinctive flavor, and is incredibly durable. Let’s delve into the process of creating and maintaining that perfect patina.
Understanding the Magic: What is Cast Iron Seasoning?
At its core, seasoning isn’t just about applying oil; it’s a chemical process called polymerization. When a thin layer of oil is heated on the surface of cast iron, it bonds with the metal, creating a slick, protective, and non-stick layer. This layer prevents rust, makes cooking and cleaning easier, and enhances the pan’s ability to develop rich flavors. Over time, with consistent use and care, this layer builds up, becoming darker, smoother, and more robust.
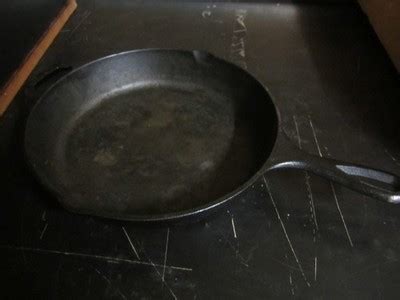
Preparation is Key: Cleaning Your Cast Iron
Before you even think about oil, your cast iron pan needs to be meticulously clean and dry. If you have a new, unseasoned pan, or a rusty old one, you might need a more aggressive cleaning. For new pans, a simple wash with soap and water to remove any factory residue is sufficient. For existing pans that need re-seasoning, scrub away any food residue or rust with a stiff brush or steel wool. The crucial step after washing, regardless of the pan’s history, is to thoroughly dry it. Place it on a stovetop over low heat for a few minutes until all moisture has evaporated. Water is the enemy of cast iron, leading to rust.
The Seasoning Process: Step-by-Step for Perfection
Once your pan is sparkling clean and bone-dry, it’s ready for its first (or next) layer of seasoning. The goal is thin, even layers. Too much oil will result in a sticky, gummy surface.
Step 1: Choose Your Oil
Opt for an oil with a high smoke point. Good choices include flaxseed oil (known for creating a very hard, durable seasoning, though it can be brittle if not applied thinly), grapeseed oil, canola oil, vegetable oil, or Crisco shortening. Avoid olive oil as its low smoke point can lead to a sticky residue.
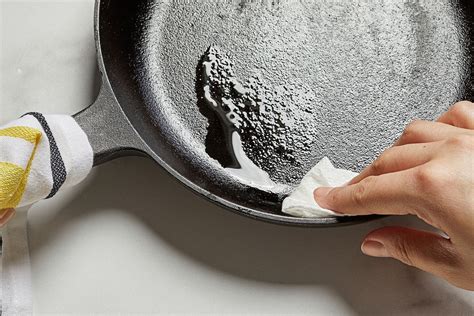
Step 2: Apply a Micro-Thin Layer
Using a paper towel, apply a very, very thin layer of your chosen oil to every surface of the cast iron – inside, outside, handle, and even the bottom. Imagine you’re trying to wipe off the oil, not put it on. The pan should look almost dry, not greasy. Excess oil is the biggest mistake newcomers make.
Step 3: Wipe Off Excess
This step is critical. After applying the oil, take a clean paper towel and wipe the pan down again as if you’ve made a mistake and want to remove all the oil. You’re actually leaving behind an invisible, molecular layer that will polymerize. If you can see the oil, you’ve left too much.
Step 4: Bake It On
Preheat your oven to a high temperature, typically between 450°F and 500°F (232°C – 260°C). Place the cast iron pan upside down on the middle rack of the oven. Place a baking sheet or aluminum foil on the rack below to catch any drips. Bake for one hour. The high heat allows the oil to polymerize and bond with the metal.

Step 5: Cool and Repeat
After one hour, turn off the oven and let the pan cool completely inside the oven. This slow cooling helps the seasoning set. Once cool, the pan should have a slightly darker, less sticky finish. For optimal seasoning, especially for new pans or those rescued from rust, repeat steps 2 through 5 at least 3-5 times, or even more. Each layer builds upon the last, creating a robust, beautiful seasoning.
Maintaining the Legacy: Post-Cooking Care
Proper seasoning isn’t a one-time event; it’s an ongoing relationship. Every time you cook with your cast iron, you’re enhancing its seasoning. Here’s how to maintain it:
- Clean Immediately: After cooking, clean your pan while it’s still warm. Use hot water and a stiff brush or scraper. Avoid harsh soaps if possible, though a little mild soap won’t ruin a well-established seasoning.
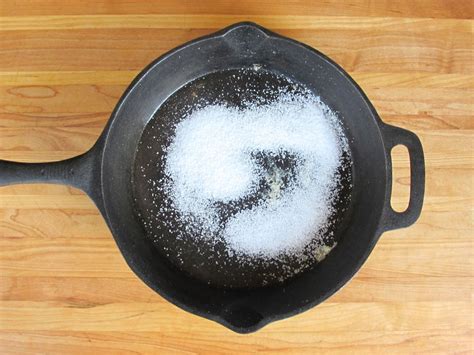
- Scrub Gently: For stuck-on food, use a coarse salt and a little oil as an abrasive scrub.
- Dry Thoroughly: Always dry your cast iron pan immediately after washing. You can place it on a stovetop over low heat for a few minutes to ensure all moisture evaporates.
- Light Oil Wipe: After drying, apply another very thin layer of cooking oil (like vegetable or grapeseed oil) to the entire pan before storing it. This adds another layer of seasoning and protects against rust.
The Heirloom Advantage: Why Seasoning Matters for Family Recipes
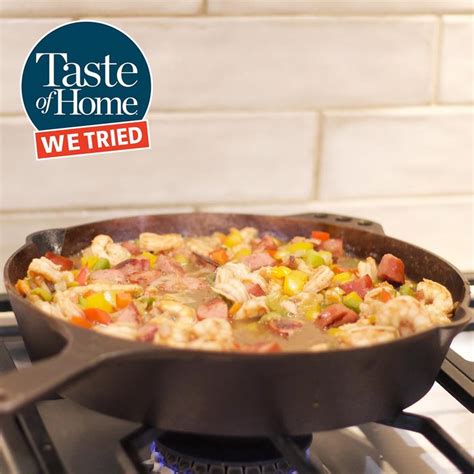
A perfectly seasoned cast iron pan is more than just non-stick; it’s a foundation for flavor. The polymerized oil creates a naturally non-reactive surface that won’t leach metallic tastes into your food, allowing the true flavors of your heirloom ingredients to shine. The superior heat retention and even distribution of cast iron are unparalleled for achieving the perfect crust on cornbread, the crispiness of fried chicken, or the tender sear on a steak – all hallmarks of classic family recipes. With each meal cooked, your pan’s seasoning deepens, becoming a living testament to the culinary heritage you’re preserving.
Conclusion: A Lifetime of Flavor
Investing the time to properly season and care for your cast iron isn’t just about pan maintenance; it’s about preserving a piece of culinary history and ensuring that the cherished flavors of your family’s heirloom recipes can be enjoyed for generations to come. A well-seasoned cast iron pan is a gift that keeps on giving, becoming more beautiful and functional with every meal shared around the family table.