


How to prevent soggy bottom crust on your homemade garden fruit pies?
Conquering the Soggy Bottom: A Baker’s Guide
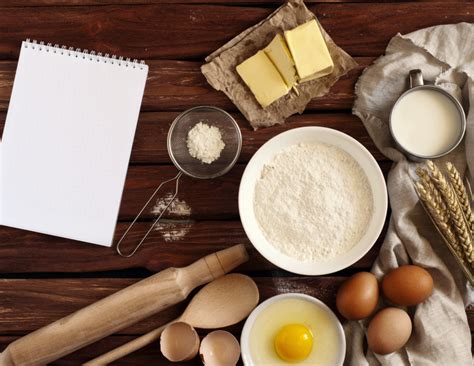
There’s nothing quite as disheartening as pulling a beautiful, golden-brown fruit pie from the oven, only to find that its bottom crust is disappointingly soggy and undercooked. This common baking woe, often dubbed the “soggy bottom,” can undermine even the most delicious homemade garden fruit filling. But fear not, fellow bakers! With a few strategic techniques, you can achieve that coveted flaky, crisp bottom crust every time. Let’s dive into the science and solutions behind preventing this pie pastry peril.

Understanding the Enemy: Why Pie Crusts Get Soggy
The primary culprit behind a soggy bottom is excess moisture. Fruit fillings, especially those made with juicy garden produce like berries, peaches, or apples, release a significant amount of liquid as they bake. This moisture seeps into the bottom crust, preventing it from fully cooking and crisping up. Combine this with insufficient baking time or a crust that isn’t adequately protected, and you’ve got a recipe for disappointment.
Fortifying Your Foundation: Crust Preparation Strategies
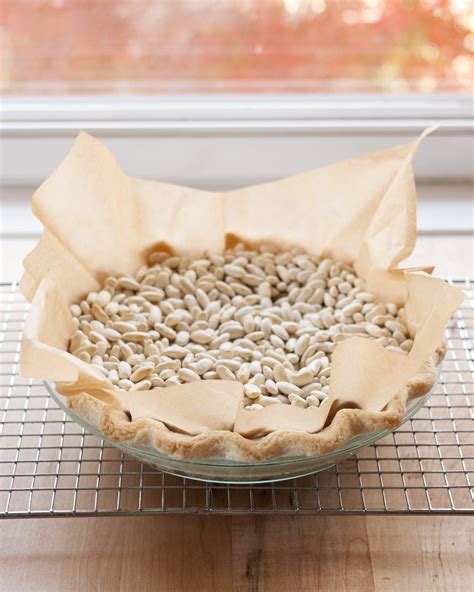
1. The Art of Blind Baking (Par-Baking)
This is arguably the most effective defense against a soggy bottom. Blind baking involves partially baking your bottom crust before adding the filling. This pre-cooks the dough, allowing it to set and firm up before it’s exposed to the fruit’s moisture.
- How To: Roll out your dough, fit it into your pie plate, crimp the edges, and chill for at least 30 minutes. Line the chilled crust with parchment paper and fill with pie weights, dried beans, or rice. Bake in a preheated oven (typically 400°F/200°C) for 15-20 minutes, or until the edges are lightly golden. Remove the weights and parchment, then bake for another 5-10 minutes until the bottom looks dry and set.
2. Create a Moisture Barrier
Even with blind baking, an extra layer of protection can make a big difference.
- Egg Wash: After blind baking and removing weights, brush the bottom of the par-baked crust with a lightly beaten egg white or whole egg. The egg protein will cook and create a waterproof seal.
- Breadcrumbs or Crushed Cereal: A thin layer of finely crushed graham cracker crumbs, vanilla wafers, or even a sprinkle of flour or semolina on the bottom of the crust before adding the filling can absorb excess moisture.
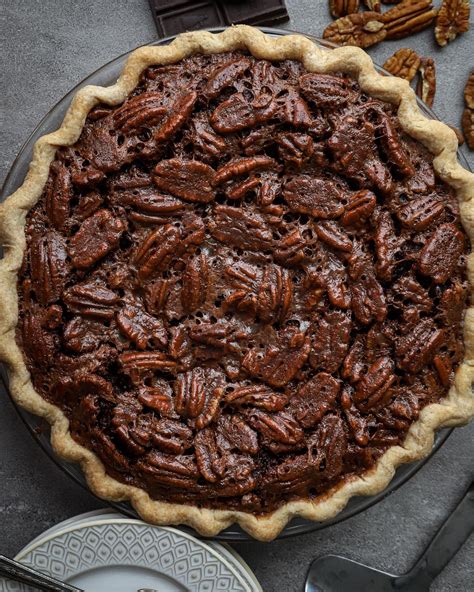
- Melted Chocolate: For chocolate-friendly fruit pies (like cherry or raspberry), a thin layer of melted dark or white chocolate brushed onto the blind-baked crust makes a delicious and effective barrier.
Taming the Juices: Filling Preparation Techniques
1. Choose the Right Thickener
Thickening your fruit filling is crucial to prevent excess liquid from pooling at the bottom of your pie.
- Flour: Good for creamy fillings, but can sometimes make fruit fillings cloudy.
- Cornstarch: Provides a clear, glossy finish but can break down if overcooked or frozen.
- Tapioca (Instant or Pearl): A popular choice for fruit pies, it absorbs liquid well and gives a clear finish. Use instant tapioca without pre-soaking, or finely grind pearl tapioca.
- Pectin: Found naturally in some fruits, commercial pectin can also be added for extra thickening power.
Always mix your chosen thickener with the sugar and fruit before adding it to the crust to ensure even distribution and prevent clumps.
2. Drain Excess Liquid
If your fruit is particularly juicy (e.g., defrosted frozen berries), consider draining some of the liquid before mixing it with sugar and thickener. You can always reduce this drained liquid on the stovetop and add it back if desired for extra flavor, but often, less liquid in the pie means a crisper crust.
3. Don’t Overfill
While a generous filling is tempting, overfilling can lead to juices bubbling over and saturating the bottom crust. Leave a little room at the top.
Baking to Perfection: Oven and Temperature Control
1. Start Hot, Finish Moderate
Begin baking your pie in a very hot oven (425-450°F / 220-230°C) for the first 15-20 minutes. This initial burst of heat helps set the bottom crust quickly. Then, reduce the temperature to a moderate 375°F (190°C) for the remainder of the baking time to ensure the fruit cooks thoroughly without burning the crust.
2. Use a Hot Baking Surface
Preheat a pizza stone or an inverted heavy-duty baking sheet in your oven before placing the pie on it. The direct, intense heat from the hot surface will help cook the bottom crust more efficiently and crisp it up from underneath.
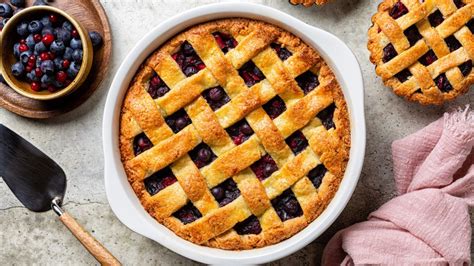
3. Bake Until Golden (and Bubbly!)
Don’t pull your pie too soon! The bottom crust needs sufficient time to bake. Look for a truly golden-brown bottom and ensure the filling is actively bubbling in the center, not just around the edges. This indicates that the thickeners have activated and the fruit juices are sufficiently cooked down.
4. Protect the Edges
If your top crust or edges are browning too quickly, loosely tent the pie with aluminum foil or use a pie shield to prevent burning while the bottom continues to bake.
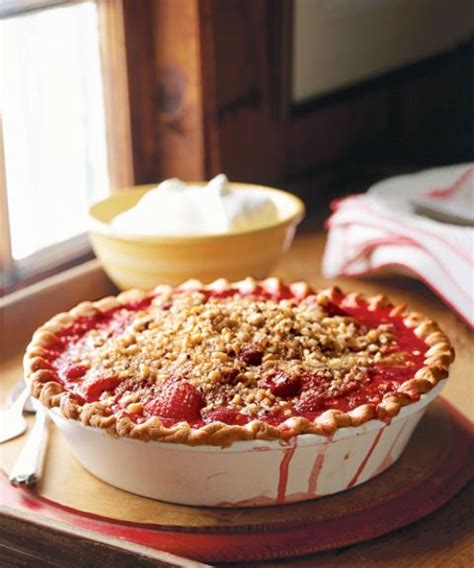
The Sweet Reward: A Perfectly Baked Pie
Achieving a perfectly crisp bottom crust on your homemade garden fruit pies is a rewarding experience that elevates your baking from good to extraordinary. By combining smart crust preparation, careful filling management, and precise baking techniques, you can bid farewell to soggy bottoms forever. So go ahead, bake with confidence, and enjoy every flaky, fruity bite!