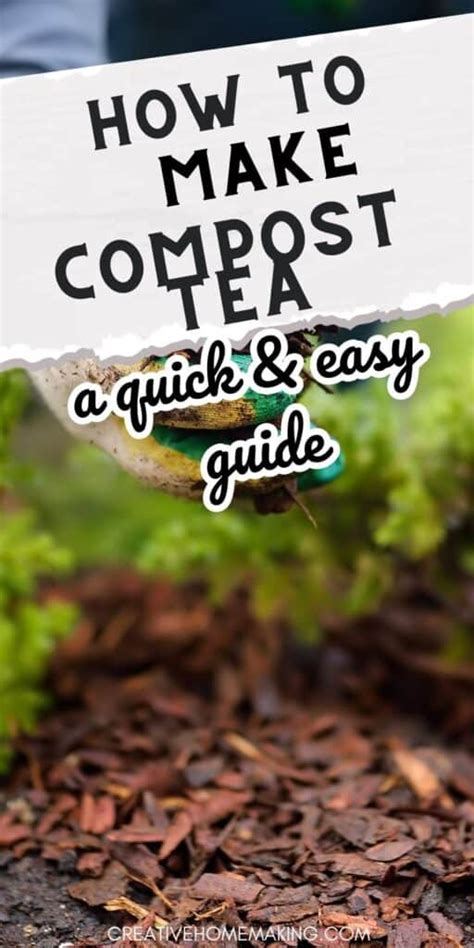


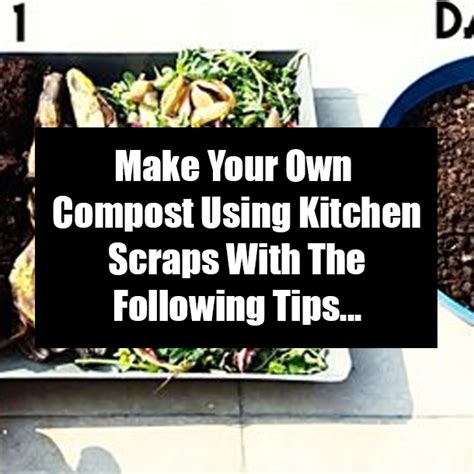
Simplest way to make rich compost from kitchen scraps for the garden?
Unlock the Power of Kitchen Scrap Composting
Many gardeners dream of fertile soil without relying on synthetic fertilizers. The good news is, the secret to soil enrichment often lies right in your kitchen bin! Composting kitchen scraps is not just an eco-conscious habit; it’s a practical, incredibly simple way to create a valuable resource for your garden. Forget complicated formulas and specialized equipment; we’re breaking down the absolute simplest method to turn your everyday food waste into gardener’s gold.
The Essential Ingredients: What Goes In (and What Stays Out)
The beauty of simple composting is that it doesn’t require precise measurements, just a general understanding of what helps the decomposition process. Composting is about balancing ‘greens’ (nitrogen-rich materials that provide moisture) and ‘browns’ (carbon-rich materials that provide bulk and air).
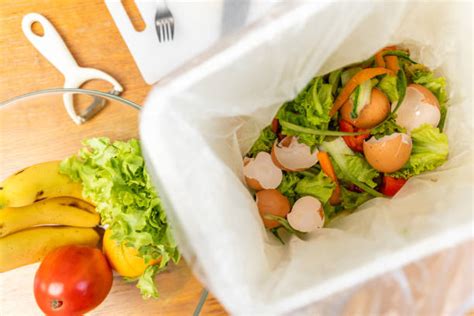
Greens (Kitchen Scraps):
- Fruit and vegetable peels, cores, and scraps
- Coffee grounds and tea bags (paper removed)
- Eggshells (crushed)
Browns (for balance – can be added from the garden or household):
- Dried leaves
- Shredded newspaper or cardboard (non-glossy)
- Sawdust or wood chips (untreated)
- Straw or hay
What to AVOID:
To keep your compost simple, odor-free, and pest-free, steer clear of:
- Meat, bones, fish
- Dairy products (milk, cheese, yogurt)
- Oils, grease, and fatty foods
- Pet waste
- Diseased plants
- Weeds with seeds
Choosing Your Simple Composting Method
You don’t need a fancy, expensive compost tumbler. A simple pile or a basic bin will work perfectly. The key is accessibility and convenience.
The Open Pile Method:
If you have some space in your yard, a simple pile is the easiest. Choose a shaded, well-drained spot directly on the soil. The ground contact allows beneficial organisms to easily enter the pile. Aim for a pile that’s at least 3x3x3 feet for optimal heat generation, though smaller piles will still decompose, just slower.
The Simple Bin Method:
For a neater look or smaller spaces, a basic compost bin is ideal. This could be a DIY bin made from wire mesh, pallets, or even an old plastic garbage can with holes drilled in the bottom and sides for drainage and aeration. Commercial bins are also available, but the goal is simplicity, so don’t overthink it!

Building Your Simple Compost Pile/Bin
Once you have your method chosen, it’s time to start layering. This isn’t baking, so don’t stress about perfect ratios. Think of it as building a lasagna:
- Start with a base of browns: Lay down a few inches of straw, dried leaves, or small twigs. This helps with drainage and aeration.
- Add a layer of greens: Dump your kitchen scraps on top of the brown layer.
- Cover with browns: Always try to cover your kitchen scraps with a layer of browns. This helps deter pests, keeps odors down, and balances the moisture.
- Repeat: Continue alternating layers of greens and browns.
A good rule of thumb is roughly equal volumes of greens and browns, though having a bit more brown material is often beneficial for aeration.

Maintaining Your Compost: Moisture & Air
Compost microbes need two things to thrive: moisture and oxygen.
- Moisture: Your compost pile should feel like a damp sponge – moist, but not soggy. If it looks dry, give it a sprinkle with the hose. If it’s too wet and smelly, add more browns.
- Aeration: The simplest way to aerate is to turn the pile occasionally. Once a week or every few weeks, use a pitchfork to mix the layers. This introduces oxygen, which speeds up decomposition. If you’re really going for minimal effort, you can skip turning entirely, but expect the composting process to take longer.
Harvesting and Using Your Rich Compost
You’ll know your compost is ready when it’s dark brown, crumbly, smells earthy, and you can no longer recognize the original materials. This can take anywhere from a few months to a year, depending on the materials, moisture, and how often you turn it.
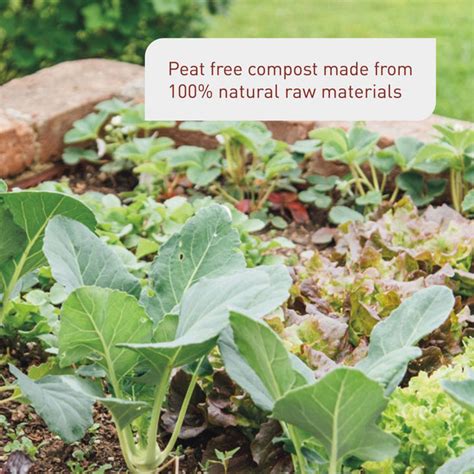
To harvest, simply scoop from the bottom or sides of your pile/bin. The material at the bottom is usually the most finished. Spread your rich compost around the base of plants, mix it into garden beds, or use it as a nutrient-rich top dressing. Your plants will thank you with healthier growth and more vibrant blooms.
Conclusion
Making rich compost from kitchen scraps for your garden is one of the most rewarding and sustainable practices a gardener can adopt. By simply diverting your fruit and vegetable waste, adding some available brown materials, and providing a little moisture and air, you’re not just reducing landfill waste; you’re creating a powerful, free soil amendment that will revolutionize your garden’s health. Start today and watch your garden (and your conscience) flourish!