


How do I keep my homemade pie crust flaky, not tough, using real butter?

There’s nothing quite like a homemade pie, and at its heart lies a perfectly flaky, tender crust made with real butter. While butter offers unparalleled flavor, it can also be a trickier fat to work with compared to shortening, often leading to tough, brittle results if not handled correctly. Fear not, aspiring pie makers! Mastering a few fundamental techniques will ensure your butter crusts are consistently light, ethereal, and utterly delicious.
The Science of Flakiness
The secret to a flaky pie crust lies in creating layers of fat within the dough. As the crust bakes, the water in the butter turns to steam, pushing apart these layers and creating airy pockets. When the butter melts, it leaves behind thin, delicate strata of baked dough. The key is to keep the butter distinct, not fully incorporated, and to minimize gluten development, which can make the crust tough.
Cold is Your Friend
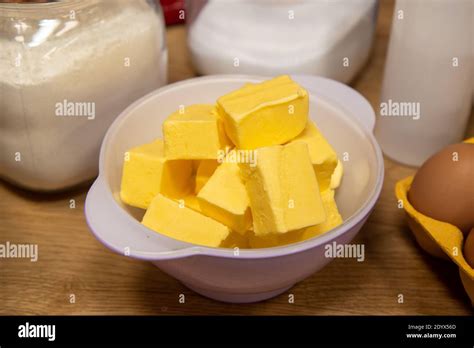
This is perhaps the most critical rule for a butter-based pie crust. Both your butter and water must be as cold as possible. Cold butter resists melting into the flour too quickly, allowing you to create those essential distinct pieces. When butter melts into the flour too much, it coats the gluten strands, leading to a sandy, shortbread-like texture rather than flakiness.
Equally important is ice-cold water. Cold water slows down gluten development, preventing the dough from becoming elastic and tough. It also helps keep the butter firm during mixing.
Proper Butter Incorporation
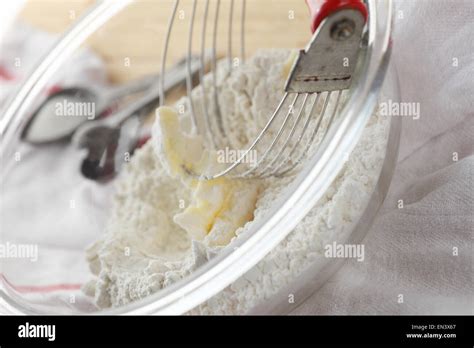
The goal is to cut the cold butter into various pea-sized pieces, with some even a bit larger, scattered throughout the flour. These larger pieces are what create the most dramatic flakes. You can achieve this using a pastry blender, two knives, or even your fingertips (working quickly to avoid warming the butter). A food processor can also work, but be very careful not to over-process, which can lead to a uniform, mealy texture.
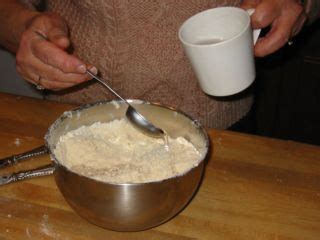
Minimal Water, Maximum Flakiness
Add water gradually, a tablespoon at a time, until the dough just barely comes together. Too much water encourages gluten formation, which is the primary cause of tough crusts. You’re looking for a shaggy mixture that, when squeezed, holds its shape. It’s better to err on the side of slightly too dry than too wet.
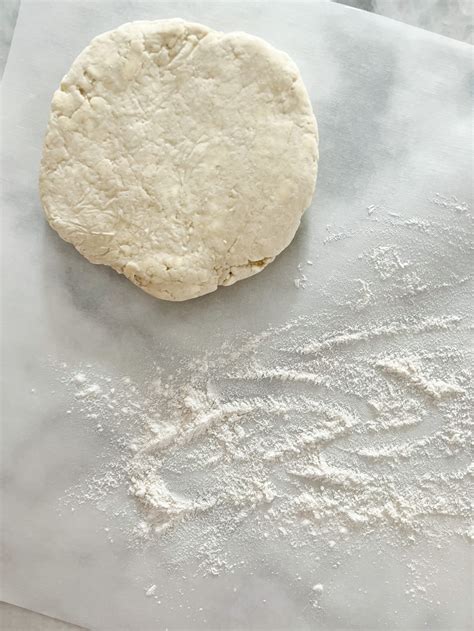
Don’t Overwork the Dough
Once you’ve added the water, resist the urge to knead or over-mix. Overworking develops the gluten, making the dough elastic and difficult to roll, and ultimately resulting in a tough crust. Gently gather the dough into a ball or disc. You should still see visible streaks of butter.
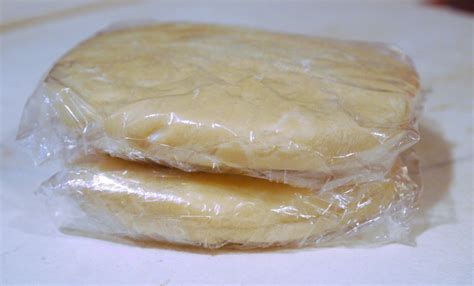
The Importance of Chilling
After forming, wrap the dough tightly in plastic wrap and chill it for at least 30 minutes, or preferably an hour or more (up to two days). Chilling serves two crucial purposes: it allows the gluten to relax, making the dough easier to roll, and it re-solidifies the butter, which is essential for flakiness. Don’t skip this step!
Rolling with Care
When you’re ready to roll, work on a lightly floured surface. Roll from the center outwards, rotating the dough frequently to prevent sticking and to achieve an even thickness. If the dough starts to crack, it’s too cold; let it sit for a few minutes. If it becomes sticky, chill it again. Aim for a consistent thickness, as uneven areas will cook differently.
Baking for Success
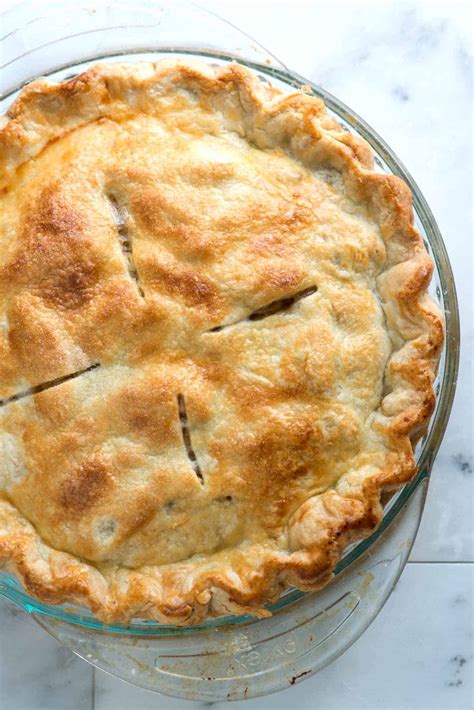
The baking process itself also plays a role in achieving flakiness. For most pies, blind baking (pre-baking) the crust is crucial, especially for wet fillings, to prevent a soggy bottom. Use pie weights or dried beans to keep the crust from puffing up or shrinking. Bake at a relatively high temperature initially (around 400-425°F or 200-220°C) to help set the butter and create steam, then reduce if needed for the filling.
Achieving a consistently flaky, tender butter pie crust is a skill that improves with practice. Focus on keeping ingredients cold, handling the dough minimally, and giving it ample time to chill. With these techniques, your homemade pies will not only taste incredible but will also boast that coveted, melt-in-your-mouth texture that only real butter can provide. Happy baking!