


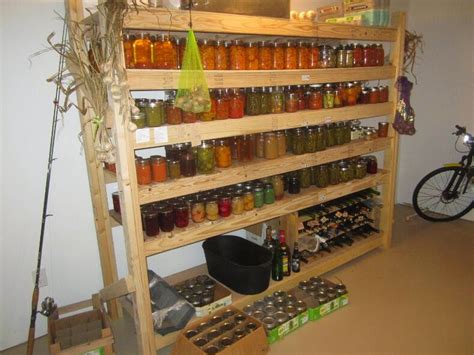
Best method to build a durable, rustic wooden shelf for canning jars using reclaimed wood?
Creating a robust and aesthetically pleasing storage solution for your canning jars is a rewarding DIY project, especially when you can give new life to reclaimed wood. Not only does reclaimed wood offer unique character and a charming rustic appeal, but it also promotes sustainability. The key to this project lies in ensuring the shelf is exceptionally durable to safely support the considerable weight of filled canning jars, while still embodying that farmhouse-style aesthetic.
Planning Your Rustic Canning Shelf
Before you begin cutting, careful planning is essential. Consider the dimensions required for your canning jars – their height and depth. Standard quart jars are about 7 inches tall, so shelves should be spaced accordingly. Measure your available wall space and determine the ideal width and height of your shelf unit. Remember that filled canning jars are heavy, so design for strength. Think about a simple, sturdy design like a ladder-style unit or a box frame with solid supports.
Essential Tools and Materials
Gathering the right tools and materials upfront will make the building process smoother and safer. For tools, you’ll need a measuring tape, pencil, speed square, circular saw or miter saw, drill/driver, sandpaper or an orbital sander, a level, and safety glasses. For materials, the star is your reclaimed wood – look for sturdy planks or boards free of significant rot or insect damage. You’ll also need wood screws (appropriate length for your wood thickness), wood glue for extra strength, and a durable finish like polyurethane or tung oil.
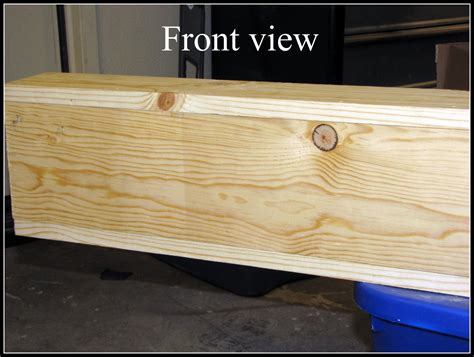
Preparing Your Reclaimed Wood
Reclaimed wood often comes with a story, and sometimes, a few nails or splinters. Begin by thoroughly cleaning your wood. Use a wire brush to remove dirt, loose paint, or debris. Carefully inspect each piece for embedded nails, screws, or staples and remove them with a claw hammer or pry bar. Lightly sand the surfaces to smooth out any rough spots and prevent splinters, but don’t over-sand; you want to retain the wood’s natural character and imperfections that contribute to its rustic charm. Select the strongest, straightest pieces for your vertical supports and shelf edges.
![How to Finish Reclaimed Wood | 8 Easy Steps [Ultimate Guide]](/images/aHR0cHM6Ly90czMubW0uYmluZy5uZXQvdGg/aWQ9T0lQLnNGNG42VmJjTXBta3hkSnZmd2poSHdIYUU4JnBpZD0xNS4x.webp)
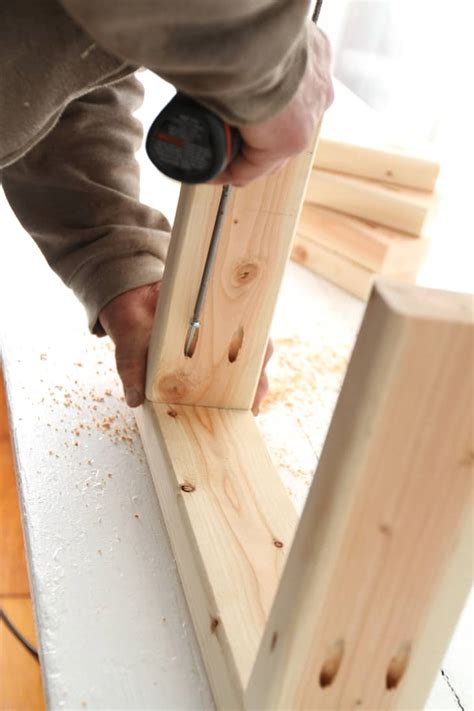
Step-by-Step Construction for Durability
Start by cutting your reclaimed wood to the planned dimensions for your shelf uprights and horizontal shelves. For maximum strength, consider using joinery methods like pocket hole screws or dado joints if you have the tools, as these provide excellent support. However, strong butt joints reinforced with wood glue and long, heavy-duty screws driven at an angle (toe-screwing) can also be highly effective. Assemble the side frames first, ensuring they are square. Then, attach the shelf boards to the uprights, using at least two screws per joint and plenty of wood glue. For very heavy loads, add additional support braces underneath the shelves or reinforce the corners with metal brackets.
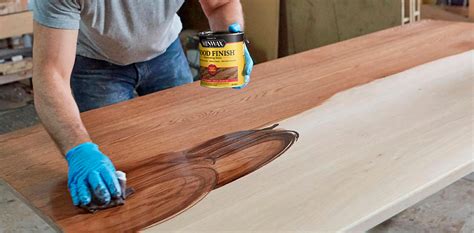
Finishing for Protection and Aesthetics
Once assembled, give your shelf a final sanding, paying attention to any sharp edges. For a true rustic look, you might opt for minimal finishing to let the wood’s natural patina shine through. However, for a durable shelf exposed to kitchen environments, a protective finish is highly recommended. Apply several coats of a water-resistant finish such as a satin or matte polyurethane, tung oil, or a durable clear wax. This will protect the wood from moisture, spills, and wear and tear, making it easier to clean and preserving its beauty for years to come. Allow ample drying time between coats and before loading the shelves.
Secure Wall Mounting for Heavy Loads
This is arguably the most critical step for a canning jar shelf. Do not rely solely on drywall anchors. You must locate wall studs using a stud finder and securely attach your shelf unit directly into at least two, preferably more, studs using long lag screws or heavy-duty construction screws. If your shelf design doesn’t allow for direct stud attachment, you can create a sturdy ledger board (a horizontal piece of wood) securely screwed into the studs, and then attach your shelf to the ledger board. Use a level to ensure the shelf is perfectly straight before marking and drilling pilot holes. Once mounted, give it a firm tug to ensure it is absolutely secure before placing your precious jars.
Building a durable, rustic wooden shelf from reclaimed wood for your canning jars is a fulfilling project that combines practicality with aesthetic appeal. By following these steps, you’ll create a storage solution that not only beautifully displays your homegrown goods but also stands the test of time, proudly serving your home for generations.