


How do I build healthy, fertile soil for a new homestead vegetable garden?

Laying the Foundation: Why Soil Health Matters
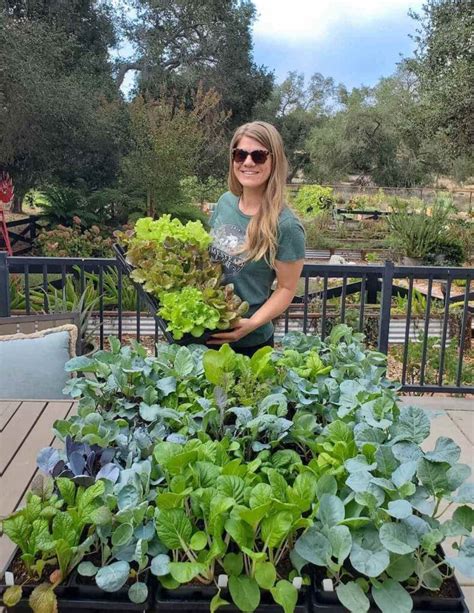
Starting a new homestead vegetable garden is an exciting endeavor, but its long-term success hinges on one crucial element: the soil. Healthy, fertile soil isn’t just a growing medium; it’s a living ecosystem teeming with microorganisms, providing essential nutrients, proper drainage, and aeration for robust plant growth. Neglecting soil health from the outset can lead to disappointing yields, pest problems, and nutrient deficiencies. Therefore, investing time and effort into building your soil’s fertility is the most important step you can take.
Step 1: Understand Your Starting Point with a Soil Test
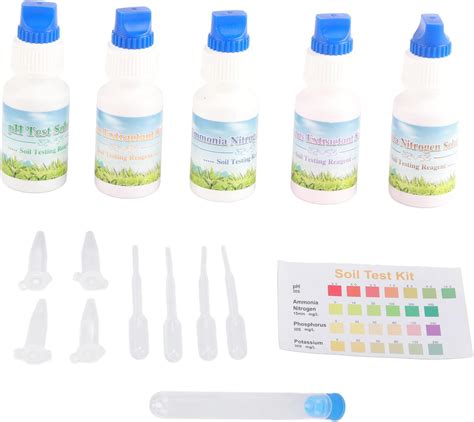
Before you add anything to your soil, you need to know what you’re working with. A professional soil test is invaluable. It provides a detailed analysis of your soil’s pH, nutrient levels (macronutrients like nitrogen, phosphorus, and potassium, and micronutrients), and organic matter content. Local cooperative extensions often offer affordable testing services and can help you interpret the results, providing specific recommendations tailored to your garden’s needs. This will guide your amendments, preventing guesswork and unnecessary expenses.
Step 2: Embrace Organic Matter: The Heart of Healthy Soil
The single most important ingredient for fertile soil is organic matter. It improves soil structure, enhances water retention in sandy soils, improves drainage in clay soils, provides a slow-release source of nutrients, and feeds beneficial soil microbes. Aim to incorporate a significant amount of organic matter into your new beds, ideally 3-6 inches mixed into the top 6-12 inches of soil.
Composting: Your Garden’s Gold Mine
Compost is decomposed organic material and is arguably the best amendment for any garden. It’s rich in nutrients and microbial life. You can purchase high-quality compost, but starting your own compost pile is a sustainable and cost-effective way to produce a continuous supply. Combine kitchen scraps, yard waste, leaves, and shredded newspaper to create a nutrient-dense amendment.

Other Organic Amendments:
- Aged Manure: Cow, horse, chicken, or other animal manures, fully composted or aged for at least 6 months, add nutrients and organic matter. Never use fresh manure directly on garden beds, as it can burn plants and introduce pathogens.
- Leaf Mold: Decomposed leaves create a wonderful soil conditioner, improving soil structure and water retention.
- Peat Moss (sustainable sources): Can improve water retention and aeration, but use sparingly due to environmental concerns regarding harvesting.
- Wood Chips/Arborist Mulch: Best used as a top mulch layer, they break down slowly, enriching the soil over time.
Step 3: Leverage Cover Crops and Green Manures
Cover crops (also known as green manures) are plants grown specifically to benefit the soil, not for harvest. They protect the soil from erosion, suppress weeds, add organic matter when tilled under, and some (like legumes) fix nitrogen from the atmosphere into the soil. Planting a cover crop like clover, vetch, or oats in your new garden areas during off-seasons or before planting your first vegetables can significantly boost soil fertility and structure.
Step 4: Embrace No-Till and Mulching Practices
Once you’ve built your soil, minimize disturbance through no-till or minimal-till practices. Tilling can disrupt the delicate soil structure and destroy the beneficial microbial networks you’re trying to foster. Instead, add organic amendments to the surface, allowing earthworms and other soil organisms to pull them down. Mulching is another cornerstone of healthy soil management. A 2-4 inch layer of organic mulch (straw, leaves, wood chips) around your plants:
- Suppresses weeds.
- Retains soil moisture, reducing watering needs.
- Moderates soil temperature.
- Breaks down over time, continuously adding organic matter to the soil.

Step 5: Address Drainage and Soil pH
Good drainage is crucial. Waterlogged soil deprives roots of oxygen, leading to root rot. If your soil has heavy clay, amending with ample organic matter and potentially creating raised beds can significantly improve drainage. Conversely, sandy soils benefit from organic matter to retain moisture.
Your soil test results will indicate your soil’s pH. Most vegetables thrive in a slightly acidic to neutral range (pH 6.0-7.0). If your pH is too low (acidic), add agricultural lime. If it’s too high (alkaline), sulfur or organic materials like peat moss can help lower it. Make adjustments gradually, as dramatic changes can harm soil life.
Step 6: Long-Term Soil Nurturing
Building healthy soil isn’t a one-time event; it’s an ongoing process. Continuously feed your soil by:
- Top-dressing with compost annually.
- Planting cover crops between seasons or in unused beds.
- Maintaining a consistent mulch layer.
- Practicing crop rotation to prevent nutrient depletion and reduce pest/disease issues.
- Minimizing chemical fertilizers and pesticides, which can harm beneficial soil organisms.
By focusing on these principles from day one, you’ll establish a vibrant, living soil ecosystem that will reward your new homestead vegetable garden with abundant, healthy harvests for years to come. Your plants, and the planet, will thank you.
![[100+] Vibrant Backgrounds | Wallpapers.com](/images/aHR0cHM6Ly90czIubW0uYmluZy5uZXQvdGg/aWQ9T0lQLjhJUnc2NVhtV2NqczdjbTB3RWRmWGdIYUU4JnBpZD0xNS4x.webp)