


How to safely home can garden tomatoes for year-round real food?
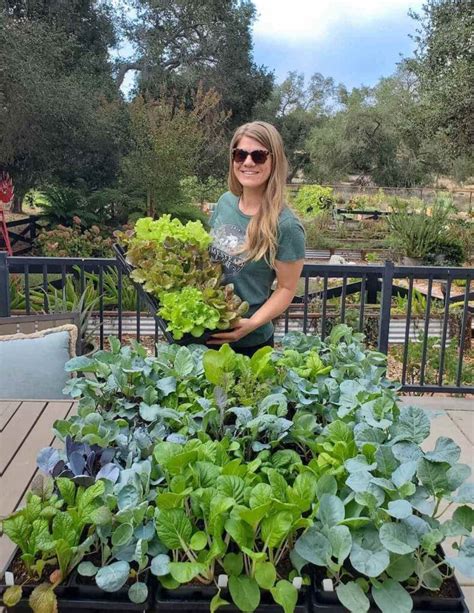
There’s nothing quite like the taste of a sun-ripened garden tomato. But what happens when the growing season ends? Home canning offers a fantastic solution, allowing you to capture that peak flavor and preserve a bountiful harvest for enjoyment throughout the year. Not only does it provide a supply of real, wholesome food, but it also empowers you with self-sufficiency and reduces food waste.
Why Can Your Own Tomatoes?
Beyond the simple pleasure of fresh taste, home canning your tomatoes provides numerous benefits. You control the ingredients, avoiding unwanted additives, preservatives, and excessive sodium found in many store-bought products. It’s an economical way to utilize an abundant garden yield, turning potential waste into pantry staples like crushed tomatoes, sauces, and whole peeled tomatoes. Plus, the satisfaction of opening a jar of your own home-canned tomatoes on a cold winter day is truly incomparable.

Essential Equipment for Safe Canning
Before you begin, gather your tools. You’ll need:
- Canning Jars: Mason-type jars with new lids and bands are crucial. Inspect jars for chips or cracks.
- Canner: A large water bath canner for high-acid foods like tomatoes, or a pressure canner for low-acid variations or specific recipes.
- Utensils: Jar lifter, canning funnel, headspace tool, bubble remover, clean towels.
- Basic Kitchen Tools: Large pots, sharp knives, cutting boards.
Choosing and Preparing Your Tomatoes
Selecting the Best Tomatoes
For canning, choose ripe, firm tomatoes free from blemishes, cracks, or soft spots. Roma, paste, or plum tomatoes are often preferred for their meaty texture and lower water content, making them ideal for sauces and diced tomatoes. However, any variety can be canned effectively with proper preparation.
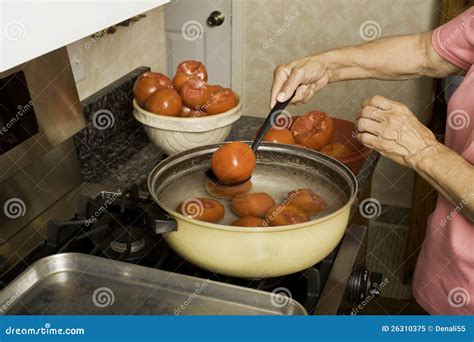
Washing and Peeling
Thoroughly wash your tomatoes under cool running water. To peel, core the tomatoes and make a small “X” incision on the bottom. Blanch them in boiling water for 30-60 seconds, then immediately transfer to an ice bath. The skins should slip off easily. Alternatively, some recipes allow for canning unpeeled tomatoes, especially for crushed or pureed forms, but blanching helps with texture and safety.
The Canning Process: Water Bath Method
Tomatoes are generally considered high-acid foods, making them suitable for water bath canning. However, modern varieties or recipes that add low-acid ingredients (like onions, peppers, or mushrooms) require acidification to ensure safety. Always add 1 tablespoon of bottled lemon juice or 1/4 teaspoon of citric acid per pint jar, or 2 tablespoons of lemon juice or 1/2 teaspoon citric acid per quart jar, directly to the jar before filling.
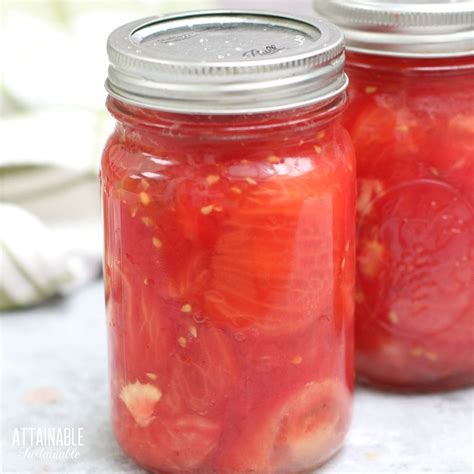
Filling Jars and Ensuring Headspace
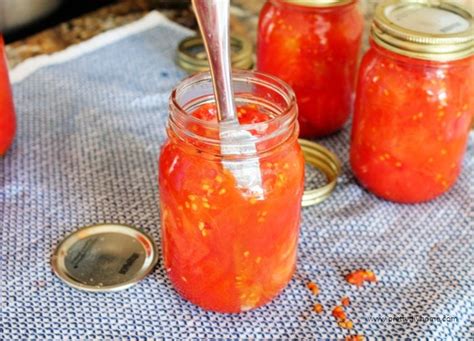
Pack your prepared tomatoes (whole, diced, or crushed) into clean, hot canning jars. Ladle hot liquid (water, tomato juice, or sauce) over the tomatoes, leaving the recommended headspace (usually 1/2 inch for tomatoes). Use a non-metallic utensil to remove air bubbles, then adjust headspace if necessary. Wipe jar rims clean to ensure a proper seal, place on new, pre-warmed lids, and secure with bands fingertip tight.
Processing in the Water Bath Canner
Carefully lower the filled, lidded jars onto the rack in your water bath canner, ensuring they are fully submerged by at least one inch of water. Bring the water to a rolling boil and begin timing according to your recipe and altitude. Processing times vary significantly based on tomato form (whole, crushed, sauce) and jar size. After the processing time is complete, turn off the heat, remove the canner lid, and let the jars sit for 5 minutes before carefully lifting them out with a jar lifter.

Cooling, Sealing, and Storage
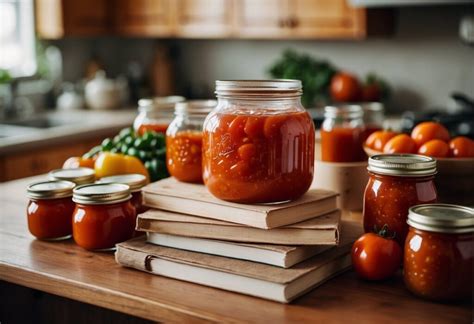
Place the hot jars on a clean towel or cooling rack, ensuring there’s space between them for air circulation. Do not disturb them for 12-24 hours. As they cool, you’ll hear the satisfying “ping” of lids sealing. After cooling, check seals by pressing on the center of the lid; it should be concave and not flex when pressed. If a jar hasn’t sealed, refrigerate and use promptly, or reprocess with a new lid within 24 hours. Remove bands, wash jars, label with contents and date, and store in a cool, dark, dry place for up to 18 months.
Prioritizing Safety and Avoiding Common Mistakes
Safe canning practices are paramount to prevent foodborne illness, especially botulism. Always use tested recipes from reliable sources (USDA, university extensions). Never alter recipes, especially the amount of lemon juice or citric acid. Ensure proper headspace, processing times, and check seals meticulously. If a jar’s seal is broken, the contents look or smell off, or the lid is bulging, do not taste or consume the food. Discard it safely.
Enjoy Your Year-Round Real Food
Home canning garden tomatoes is a rewarding endeavor that connects you to your food supply and preserves the bounty of your garden. With careful preparation and adherence to safety guidelines, you can enjoy the vibrant flavors of summer-fresh tomatoes in your meals all year long, providing healthy, real food for your family and savoring the fruits of your labor.