


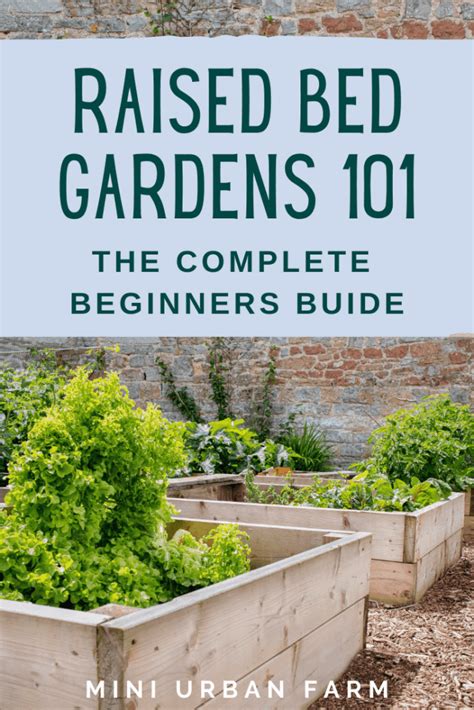
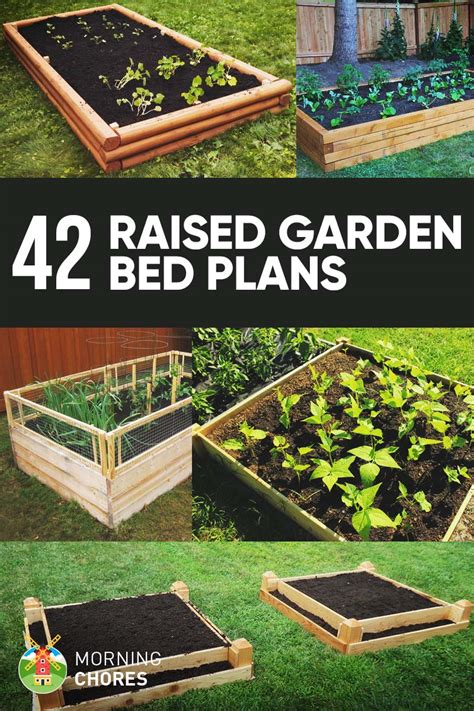
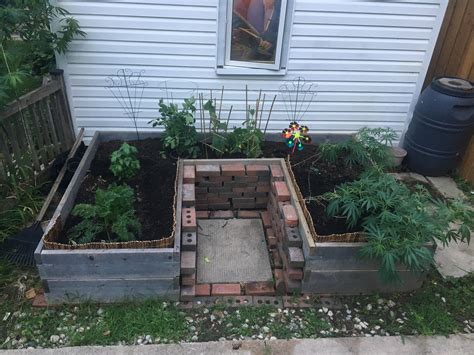
How to build a simple, durable raised garden bed using reclaimed wood?
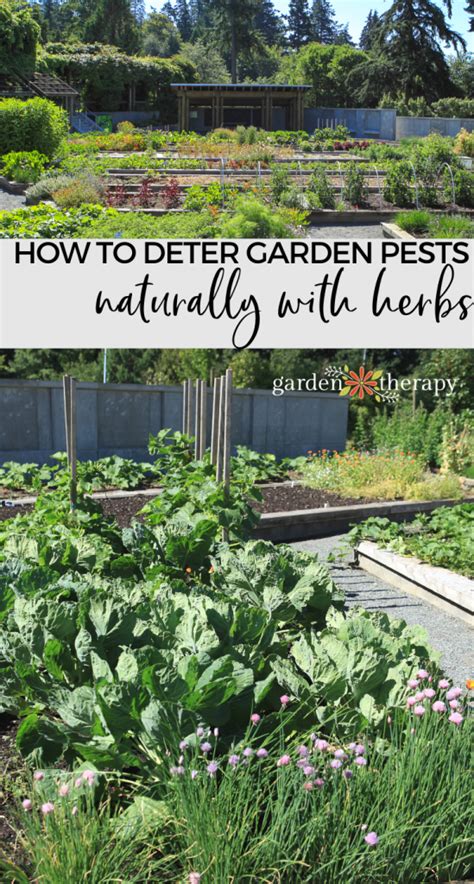
Creating a raised garden bed is an excellent way to improve soil drainage, warm the soil earlier in the season, and make gardening more accessible. Building one from reclaimed wood not only saves money but also gives a second life to materials, making your garden project sustainable and unique. This guide will walk you through the process of constructing a simple, durable raised bed that will serve your gardening needs for years to come.
The Appeal of Reclaimed Wood for Your Garden
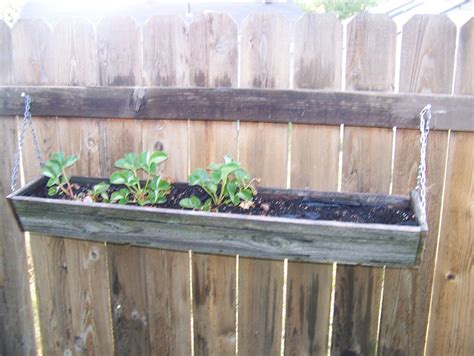
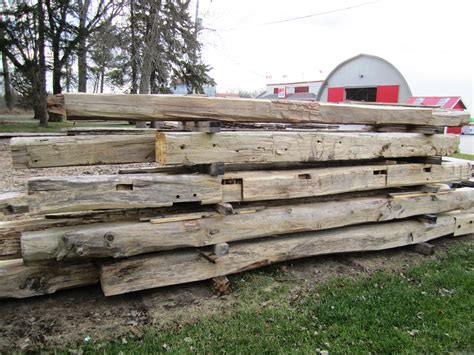
Opting for reclaimed wood offers several compelling advantages. Environmentally, it reduces waste and the demand for new lumber, lessening your project’s carbon footprint. Aesthetically, reclaimed wood often boasts a beautiful, weathered character that new wood simply can’t replicate, adding a rustic charm to your garden space. Financially, it can be significantly cheaper, or even free, if you source it from local demolition sites, old fences, pallets, or even discarded furniture.
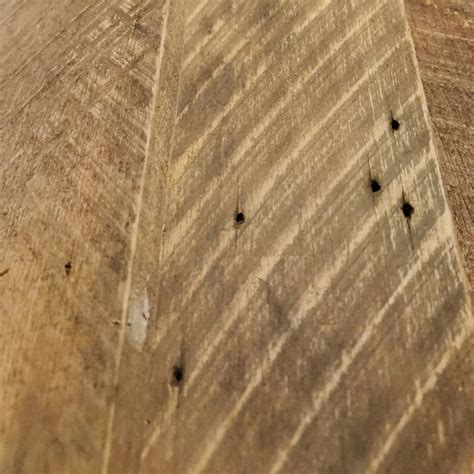
When selecting reclaimed wood, prioritize pieces that are free from rot, excessive splitting, or pest infestations. Be cautious about wood that might have been treated with harmful chemicals (like old railroad ties or some pressure-treated lumber), especially if you plan to grow edibles. Untreated hardwoods or softwoods like cedar, redwood, or even pine are generally safe and durable choices.

Gathering Your Materials and Tools
Materials:
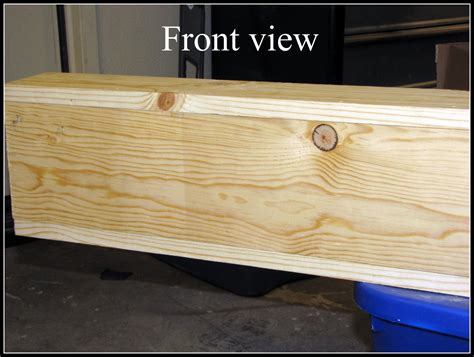
- Reclaimed wood boards (e.g., fence panels, pallet wood, barn wood, or old decking) – aim for boards at least 1-2 inches thick and 6-12 inches wide, depending on your desired bed height.
- Internal corner posts or stakes (2×4 or 4×4 lumber scraps work well)
- Wood screws (exterior grade, 2.5-3 inches long)
- (Optional) Landscaping fabric or heavy-duty plastic sheeting (for lining)
- (Optional) Non-toxic wood sealant or preservative (e.g., linseed oil, tung oil)
Tools:
- Tape measure
- Pencil or marker
- Circular saw or hand saw
- Drill/driver with appropriate bits
- Level
- Speed square or combination square
- Gloves and safety glasses
Step-by-Step Construction Guide
Step 1: Plan Your Layout and Dimensions
Decide on the desired length, width, and height of your raised bed. Common dimensions are 4×8 feet or 4×4 feet, as a 4-foot width allows easy access to the center from either side. A height of 10-12 inches is sufficient for most vegetables, while 18-24 inches provides deeper root growth and easier access for gardeners.
Step 2: Prepare Your Reclaimed Wood
Measure and cut your reclaimed boards to the desired lengths for the sides and ends of your bed. For a 4×8 foot bed with two layers of 6-inch boards, you’ll need four 8-foot boards and four 4-foot boards. If you want a taller bed, cut more boards accordingly. Ensure all cuts are straight and clean for a tight fit.
Step 3: Assemble the Frame
Start by laying out your first layer of boards on a flat surface in a rectangular or square shape. Place an internal corner post (e.g., a 2×4 cut to the height of your bed) flush against the inside corner where two boards meet. Pre-drill pilot holes to prevent splitting, then secure the boards to the corner post with two screws per board end. Repeat this for all four corners.
Step 4: Add Corner Bracing and Reinforcement
Once the first layer is complete, stack subsequent layers of boards on top, aligning them with the layer below. Attach each new board to the internal corner posts with screws, ensuring they are level. For added durability and to prevent bowing, especially with longer beds, you can add additional vertical bracing posts in the middle of the longer sides, attaching the boards to them as well.
Step 5: (Optional) Line the Bed
While not strictly necessary, lining the inside of your raised bed with landscaping fabric or heavy-duty plastic can extend its lifespan by creating a barrier between the soil and the wood, protecting it from moisture. If using plastic, puncture small drainage holes at the bottom. Staple the liner to the inside walls of the bed, leaving enough slack for the soil pressure.
Step 6: Fill with Soil and Plant!
Once your raised bed is constructed, move it to its final location. Ensure the ground beneath is level or nearly level for stability. Fill your bed with a high-quality soil mix designed for raised beds, which typically includes compost, topsoil, and perlite or vermiculite for drainage. Now it’s ready for planting your favorite vegetables, herbs, or flowers!
Tips for Longevity and Success
- Seal the Wood: While reclaimed wood has natural character, applying a non-toxic, exterior-grade wood sealant (like linseed or tung oil) can help protect it from the elements and prolong its life. Reapply every few years.
- Ensure Drainage: Raised beds excel at drainage. Make sure the bottom of your bed has direct contact with the soil below, or if placed on a hard surface, ensure adequate drainage holes if using a full bottom.
- Prevent Pests: If gophers or other burrowing pests are an issue in your area, consider stapling hardware cloth (a fine wire mesh) to the bottom of your raised bed before filling it with soil.
- Monitor Moisture: Raised beds tend to dry out faster than in-ground gardens. Check soil moisture regularly, especially during hot, dry spells.
Conclusion
Building a simple, durable raised garden bed from reclaimed wood is a rewarding project that combines practical gardening with sustainable living. With a bit of planning and effort, you can create a beautiful and functional space for growing your own food or flowers, adding character and eco-friendliness to your outdoor area. Enjoy the fruits (and vegetables!) of your labor!