


Easiest DIY raised bed design for beginners growing real food?
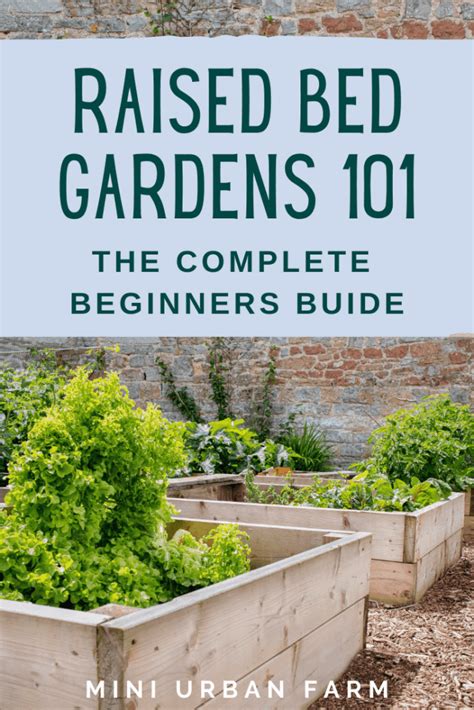
Are you dreaming of fresh, homegrown vegetables but intimidated by traditional gardening? A DIY raised garden bed is often the perfect entry point for aspiring food growers, offering a simpler, more controlled environment. For beginners, the key is simplicity: a design that requires minimal tools, basic materials, and straightforward construction. Forget complex joinery or expensive lumber; we’re focusing on getting you growing real food with the least hassle possible.
Why Raised Beds Are Beginner-Friendly
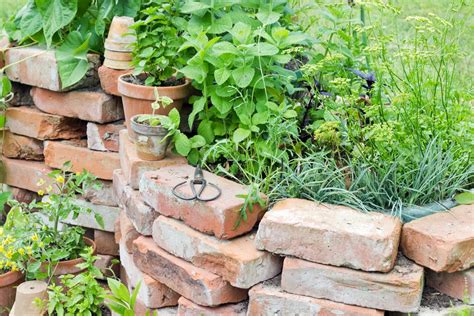
Raised beds offer numerous advantages, especially for those new to gardening. They provide superior drainage, which is crucial for healthy root development and preventing waterlogging. The soil in a raised bed warms up faster in spring, extending your growing season. They also allow for better soil control – you can fill them with a custom blend optimized for vegetables, avoiding heavy clay or sandy native soil. Plus, they reduce bending and kneeling, making gardening more accessible and enjoyable.
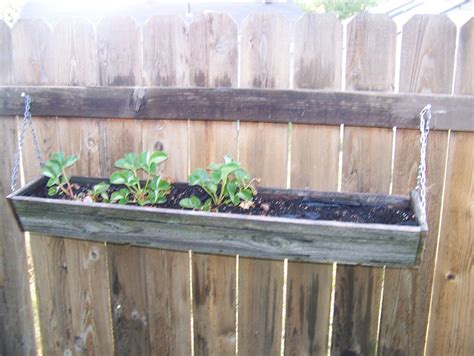
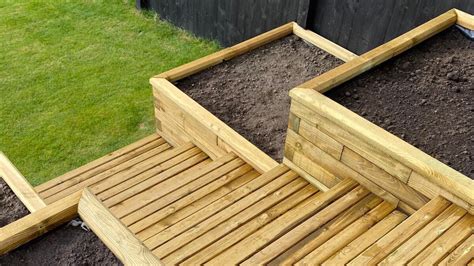
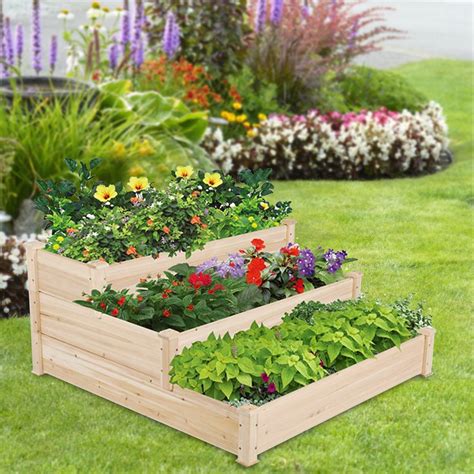
The Simplest Design: A Stacked Lumber Bed
The easiest DIY raised bed design for beginners typically involves stacking untreated lumber or composite planks. This method often requires no cutting (if you buy pre-cut lengths) and minimal, if any, fasteners. We’ll outline a simple 4×8 foot or 4×4 foot design, which are popular sizes that offer ample growing space without being overwhelming.
Materials You’ll Need:
- Untreated Wood Planks: (e.g., cedar, redwood, or fir) – eight 2×6 or 2×8 boards, 4 feet long each, for a 4×4 bed, or four 8-foot boards and four 4-foot boards for a 4×8 bed. Untreated wood is safe for food production.
- Corner Brackets or Rebar (Optional but Recommended): For added stability, especially if not using screws. Corner brackets provide structural integrity, while rebar stakes driven through pre-drilled holes in the corners can hold stacked boards firmly.
- Mallet or Hammer: If using rebar stakes.
- Tape Measure and Pencil: For marking (if cutting is needed).
- Drill and Screws (Optional): If you opt for screwing the corners together instead of stacking with rebar or brackets.
- Cardboard: To line the bottom (weed barrier).
- Quality Potting Mix/Compost Blend: For filling.
Step-by-Step Construction Guide
1. Choose Your Location:
Select a spot that receives at least 6-8 hours of direct sunlight daily. Ensure the ground is relatively level. A sunny, accessible location is key for happy plants and a happy gardener.
2. Prepare the Site:
Clear any existing weeds or grass from the chosen area. Lay down a layer of cardboard over the soil. This acts as a weed barrier, suppressing weeds and eventually breaking down to enrich the soil. Moisten the cardboard thoroughly.
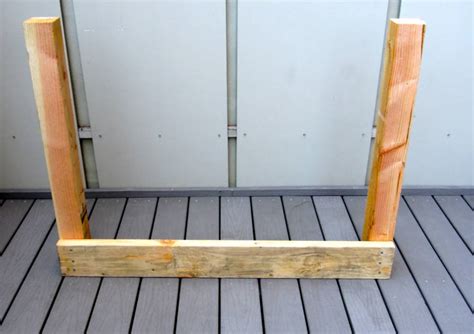
3. Assemble the Frame:
For a 4×4 bed, lay out two 4-foot planks parallel to each other. Place two more 4-foot planks at the ends to form a square. If using screws, pre-drill pilot holes and secure the corners with suitable outdoor screws. If using the stacked, no-screw method with rebar, simply align the boards. Then, stack the second layer of planks directly on top, offsetting the corners slightly for more stability if using rebar, or aligning precisely if using brackets.
If using rebar, once two layers are stacked, gently hammer rebar stakes down through the corners, ensuring they go into the ground a foot or so for firm anchoring. For brackets, attach them according to manufacturer instructions.
Filling Your Raised Bed for Optimal Growth
1. The “Lasagna Layer” Approach (Optional, but Recommended for Soil Health):
While you can simply fill your bed with a good quality raised bed mix, a “lasagna layer” approach can reduce the amount of expensive topsoil needed and provide a rich, slow-release nutrient source.
- Bottom Layer (1/3): Coarse materials like branches, logs (untreated), straw, or wood chips. This improves drainage and slowly decomposes.
- Middle Layer (1/3): Grass clippings, leaves, kitchen scraps (non-meat), and compost. These layers add nitrogen and organic matter.
- Top Layer (1/3): High-quality raised bed soil mix or a blend of topsoil, compost, and perlite/vermiculite. This is where your plants will directly grow.
Thoroughly water each layer as you add it to help compaction and decomposition.
2. Simple Fill Method:
Alternatively, simply fill your raised bed with a high-quality raised bed soil mix, available at most garden centers. Aim for a mix specifically formulated for vegetables, which will provide good drainage and nutrients. Leave about an inch or two of space from the top rim to prevent soil overflow when watering.
Benefits and Tips for Beginner Success
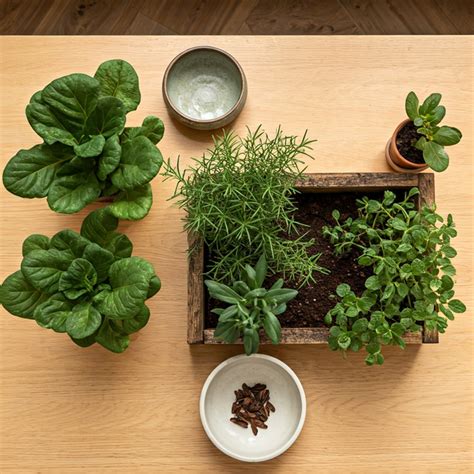
Once your raised bed is built and filled, you’re ready to plant! For beginners, consider easy-to-grow vegetables like lettuce, spinach, radishes, bush beans, cherry tomatoes, and herbs. The contained environment of a raised bed makes it easier to manage soil health, watering, and even pest control.
Tips for Ongoing Success:
- Watering: Raised beds tend to dry out faster than in-ground gardens. Check soil moisture daily and water consistently, especially during hot, dry spells.
- Fertilizing: Even with good soil, your plants will benefit from occasional feeding with organic liquid fertilizer or compost tea.
- Mulching: Apply a layer of straw or wood chips around your plants to help retain soil moisture, suppress weeds, and regulate soil temperature.
- Succession Planting: Plant small batches of quick-growing crops every few weeks to enjoy continuous harvests.
Start Your Gardening Journey Today!
Building an easy DIY raised bed is a rewarding project that quickly pays dividends in fresh, delicious produce. By choosing a simple design and focusing on quality soil, even absolute beginners can enjoy a bountiful harvest. So, gather your materials, pick a sunny spot, and get ready to experience the joy of growing your own food!