

DIY worm farm for kitchen waste & garden enrichment?
Are you looking for an eco-friendly way to reduce kitchen waste and supercharge your garden? A DIY worm farm, also known as vermicomposting, is a simple, effective, and rewarding solution. This guide will walk you through setting up your own worm farm, turning your food scraps into valuable ‘black gold’ for your plants.
Why Start a DIY Worm Farm?
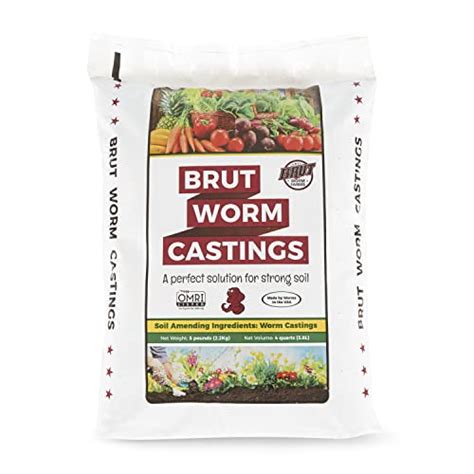
The benefits of a home worm farm extend far beyond just composting. Environmentally, you’re diverting organic waste from landfills, reducing methane emissions, and lessening your carbon footprint. For your garden, the reward is a continuous supply of highly potent, organic fertilizer – worm castings – packed with nutrients and beneficial microbes that enhance soil structure and plant health.
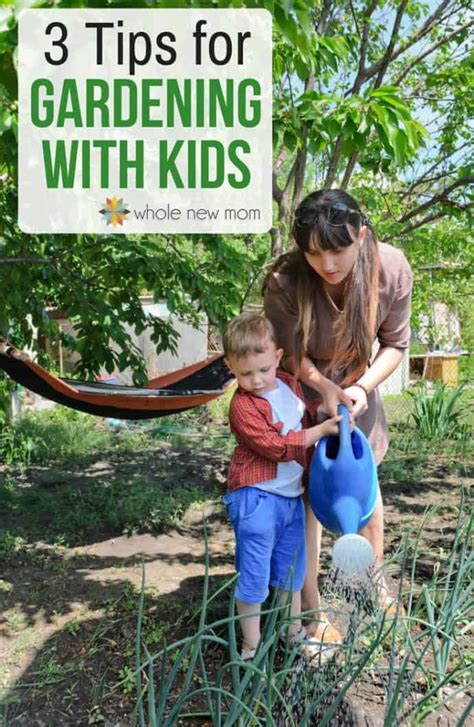
Worm farms are also incredibly space-efficient, odorless if managed correctly, and relatively low-maintenance, making them perfect for urban dwellers or those with small outdoor spaces. Plus, it’s a fantastic educational project for families, teaching about waste reduction and ecological cycles.
What You’ll Need to Build Your Worm Farm
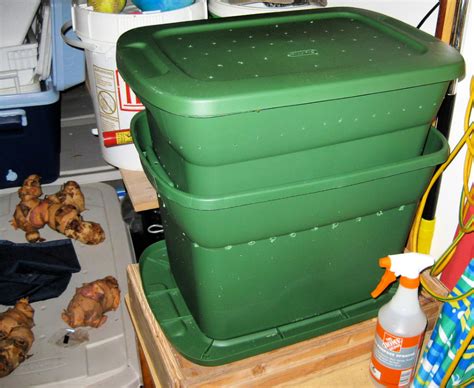
Building a basic worm farm is surprisingly simple and often requires materials you might already have or can acquire affordably. The most common setup involves stackable bins, allowing worms to migrate upwards as they process food, leaving nutrient-rich castings behind.
- Two or Three Opaque Plastic Bins: Preferably 10-15 gallon size. Opaque bins keep light out, which worms dislike. Make sure one bin has a lid.
- Drill with a 1/4 to 1/2-inch bit: For creating drainage and ventilation holes.
- Bedding Material: Shredded newspaper, cardboard, coco coir, or aged leaves.
- Red Wiggler Worms (Eisenia fetida): These are the best composting worms, not regular garden earthworms. You’ll need about 1-2 lbs to start.
- Brick or Wood Blocks: To elevate the bottom bin.
- Watering Can or Spray Bottle: For moistening bedding.
Step-by-Step DIY Worm Farm Construction
Follow these steps to set up your multi-tier worm composting system:
- Prepare the Bottom Bin: This bin will collect ‘worm tea’ (leachate). Drill 4-6 small holes in the bottom of this bin. Place bricks or wood blocks on the ground, then place this bin on top of them. This creates space for a spigot or for a collection tray underneath.
- Prepare the Working Bins: For the remaining one or two bins, drill numerous 1/4-inch holes in the bottom of each (about 15-20 holes evenly spaced). These holes allow worms to move between layers and for moisture to drain. Also, drill 8-12 smaller holes around the sides near the top of these bins for aeration.
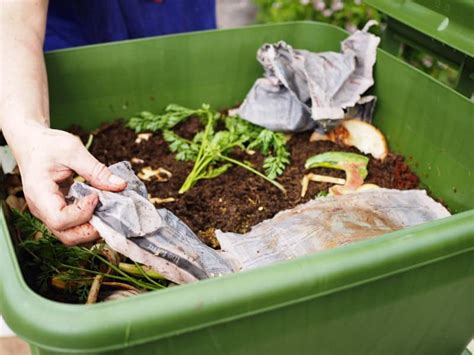
- Add Bedding to the First Working Bin: Place a thick layer (6-8 inches) of moistened bedding material into the first working bin (the one with holes in the bottom). The bedding should be as damp as a wrung-out sponge.
- Introduce Your Worms: Gently place your red wigglers on top of the bedding. They will burrow down to escape the light.
- Add Initial Food Scraps: Bury a small amount of kitchen scraps (e.g., a handful of fruit and vegetable peels) under the bedding in one corner.
- Stack and Cover: Place the lid on the top working bin. Initially, you’ll only use one working bin over the leachate collection bin. Once it’s full of processed material, you’ll add the next working bin.
Feeding and Maintaining Your Worm Farm
The success of your worm farm hinges on proper feeding and maintenance:
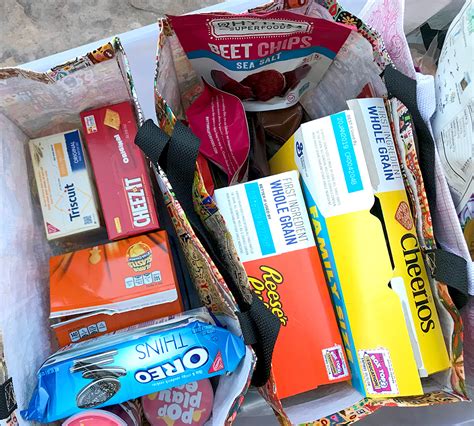
- What to Feed: Fruit and vegetable scraps, coffee grounds and filters, tea bags, crushed eggshells, plain pasta or bread (in moderation), and small amounts of shredded paper or cardboard. Always bury food scraps beneath the bedding.
- What NOT to Feed: Meat, dairy products, oily foods, citrus peels (in large quantities), onions, garlic, spicy foods, pet waste, and chemically treated materials. These can attract pests, create foul odors, or harm your worms.
- Moisture and Aeration: Keep the bedding consistently moist but not waterlogged. If it gets too wet, add more dry bedding. Gently aerate the bedding occasionally by turning it with a small hand trowel, being careful not to harm the worms.
- Temperature: Worms thrive in temperatures between 55-77°F (13-25°C). Protect your farm from extreme heat or cold.
- Adding New Bins: Once your first working bin is nearly full of processed castings, place the second working bin (with bedding and a new layer of food) directly on top. The worms will migrate upwards to the fresh food.
Harvesting Your “Black Gold”
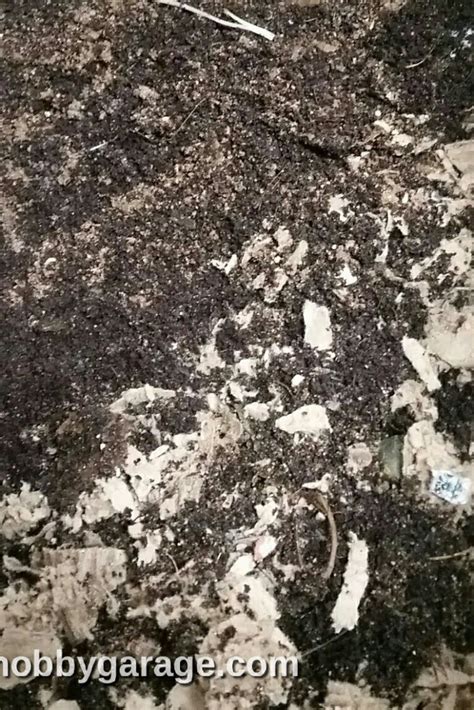
Worm castings are an incredibly rich, all-natural soil amendment. You’ll know they’re ready when the material in your bottom working bin is dark brown, earthy-smelling, and crumbly, with very few visible scraps.
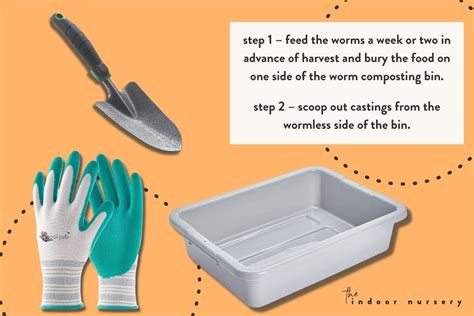
There are several methods for harvesting. The easiest is the ‘migration method’ where worms move to the upper bin. Once they’ve largely moved, you can remove the bottom bin, which should be full of castings, and separate any remaining worms by hand. Another method involves spreading the castings on a tarp in the sun. Worms will burrow down to escape the light, allowing you to scrape off the top layers of castings. Collect the ‘worm tea’ from the bottom leachate bin as well, diluting it 1:10 with water before using it as a liquid fertilizer.
Troubleshooting Common Worm Farm Issues
- Bad Odor: Usually caused by overfeeding (especially with food worms don’t like) or too much moisture. Reduce feeding, aerate, and add more dry bedding.
- Pests (Fruit Flies, Ants): Often a sign that food isn’t buried deeply enough or that the system is too wet. Bury food, ensure the lid is snug, and make sure the bedding isn’t soggy.
- Worms Trying to Escape: Indicates an unfavorable environment (too wet, too dry, wrong temperature, too much acidic food). Check conditions and adjust.
Conclusion
Setting up a DIY worm farm is a fantastic step towards a more sustainable lifestyle. It’s an affordable, eco-friendly way to manage organic waste, providing your garden with some of the best natural fertilizer available. With a little care and attention, your worm farm will thrive, turning your kitchen scraps into a powerful resource for a healthier, more vibrant garden.