


How to DIY sturdy pantry shelves for canning jars?
Build Robust Shelves for Your Canning Collection
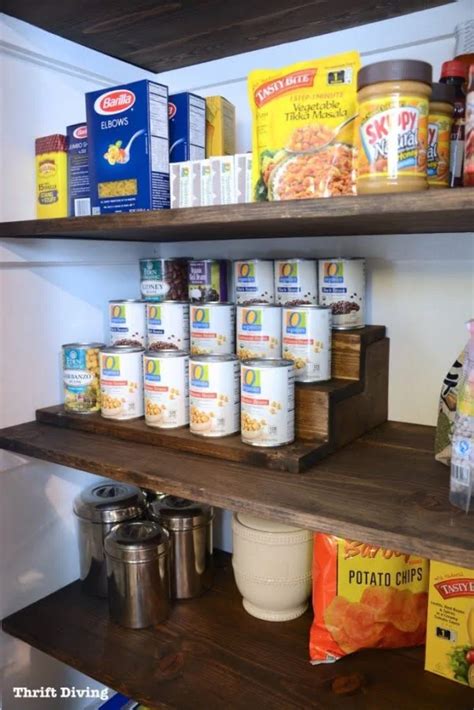
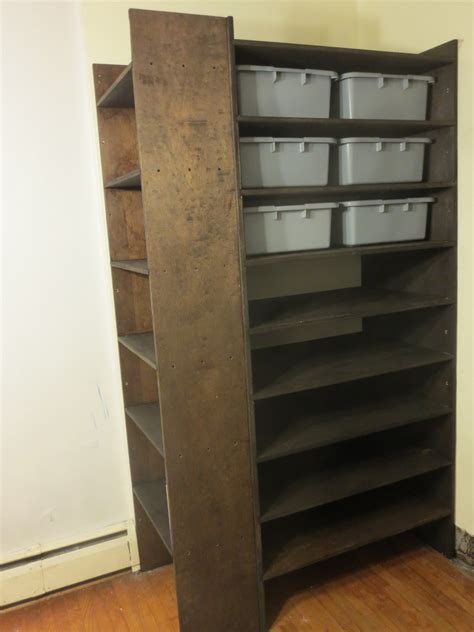
For avid canners, finding sturdy and reliable storage for heavy jars is a constant challenge. Standard shelves often buckle under the cumulative weight, leading to potential hazards and broken glass. Building your own heavy-duty pantry shelves ensures not only safety but also maximizes your storage space efficiently. This guide will walk you through the process of creating custom shelves that can withstand the substantial weight of your precious canning jars.
Planning Your Ultimate Canning Pantry
Before you even think about cutting wood, meticulous planning is crucial. Start by evaluating the space where your shelves will go. Measure the height, width, and depth of your pantry or designated area. Consider the types and sizes of canning jars you typically use; this will dictate the optimal shelf height to avoid wasted vertical space. A good rule of thumb is to allow an extra inch or two above your tallest jar. Also, think about accessibility – can you easily reach jars on all shelves?
Crucially, identify your preferred material. Plywood (at least 3/4-inch thick, exterior grade if humidity is a concern) or solid lumber (like 2x4s or 2x6s for framing, and 3/4-inch pine or similar for shelves) are excellent choices for their strength. The deeper the shelf, the more support it will need, so don’t skimp on front-to-back depth if you have a lot of jars. Aim for shelves no deeper than 16-18 inches to prevent items from getting lost at the back.
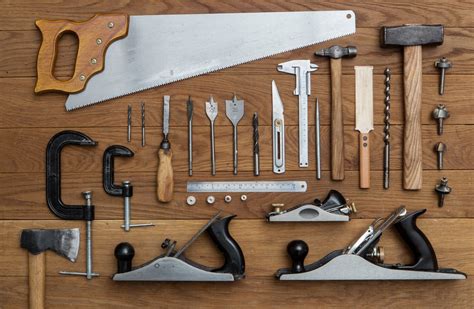
Essential Tools and Materials
Having the right tools and materials on hand will make the project smoother and safer. Here’s a list to get you started:
- Materials:
- 3/4-inch plywood or solid wood boards for shelves
- 2x4s or 2x6s for vertical supports and ledger boards
- Wood screws (2.5-3 inches for ledger boards, 1.5-2 inches for shelf attachment)
- Wood glue
- Stud finder
- Level
- Measuring tape
- Pencil
- Tools:
- Circular saw or miter saw (for cutting wood)
- Drill/driver with appropriate bits
- Sanding block or electric sander
- Safety glasses and hearing protection
- Optional: Wood filler, paint or stain, sealant
Step-by-Step Construction Guide
1. Measure and Cut Your Lumber
Based on your planning, cut your shelf boards to the desired length and depth. Then, cut your vertical support posts and the horizontal ledger boards (which will be attached to the wall) to size. Remember to account for the thickness of the shelf material when determining the height of your ledger boards.
2. Locate Studs and Attach Ledger Boards
Using a stud finder, carefully locate and mark the wall studs where your shelves will be installed. These studs are critical for providing the necessary support. Mark the height of your first shelf, and use a level to draw a straight line across the wall. Attach your ledger board along this line, driving long wood screws (at least 2.5 inches) securely into every stud it crosses. Repeat this process for all shelf levels on both side walls and the back wall if applicable.

3. Build and Install Front Supports (If Needed)
For wider shelves or shelves holding exceptionally heavy loads, consider adding front vertical supports. These can be 2x4s or 2x6s running from floor to ceiling, or strategically placed shorter supports extending from the front of the shelf down to a lower shelf or the floor. Attach these to the ends of your ledger boards and directly to the shelf with screws and wood glue.
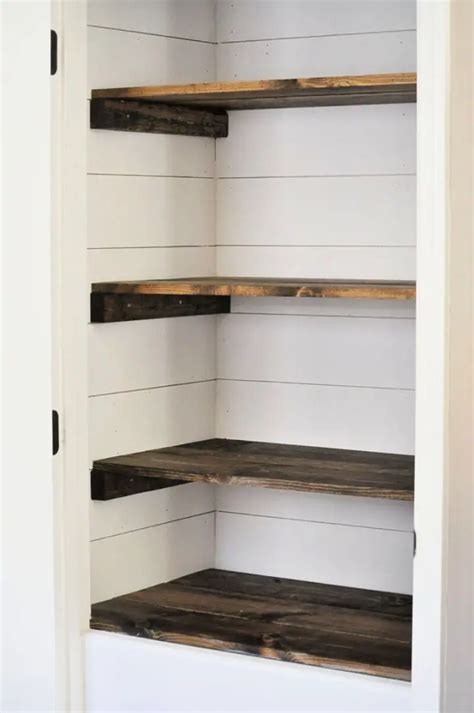
4. Install the Shelves
With your ledger boards firmly in place, it’s time to add the shelf surfaces. Place your pre-cut shelf boards onto the ledger boards. Secure them from the top down by driving screws through the shelf into the ledger boards below. For added strength, you can also use small L-brackets or cleats underneath the shelves, attached to the ledger boards and the shelves themselves. Ensure each shelf is level before fully securing it.
Finishing Touches and Durability Tips
Once all shelves are installed, perform a stability check. Gently push and pull on them to ensure there’s no wobbling. Fill any screw holes with wood filler, then sand all surfaces smooth to prevent splinters and make cleaning easier. For a professional look and added protection, paint, stain, or seal your new pantry shelves. A durable, washable finish is ideal for a pantry environment.
To maximize the longevity of your shelves:
- Always distribute the weight evenly, avoiding concentrated loads in one spot.
- Check the screws periodically and tighten them if necessary.
- Avoid excessively deep shelves if you’re concerned about reaching items or putting too much weight far from the wall supports.
Conclusion
Building your own sturdy pantry shelves for canning jars is a rewarding DIY project that provides peace of mind and incredible functionality. With careful planning, the right materials, and a bit of effort, you’ll have a robust storage solution that will serve your canning needs for years to come. Enjoy your organized and safe pantry!