


What are sturdy DIY plans for a raised garden bed using reclaimed wood?
Embrace Sustainable Gardening with Reclaimed Wood Raised Beds
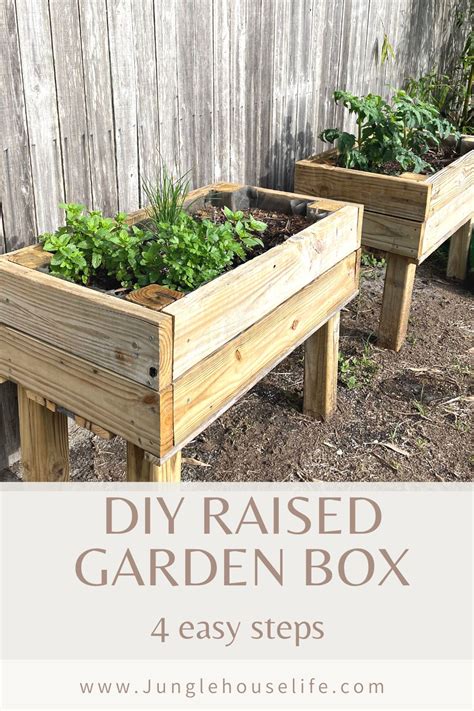
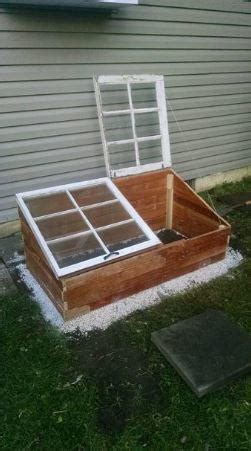
Creating a raised garden bed is an excellent way to improve soil drainage, extend the growing season, and manage your garden with greater ease. Opting for reclaimed wood not only makes your project environmentally friendly but also adds a unique, rustic charm to your outdoor space. This guide will walk you through sturdy DIY plans for building a resilient raised garden bed from reclaimed materials.
Why Choose Reclaimed Wood for Your Raised Bed?
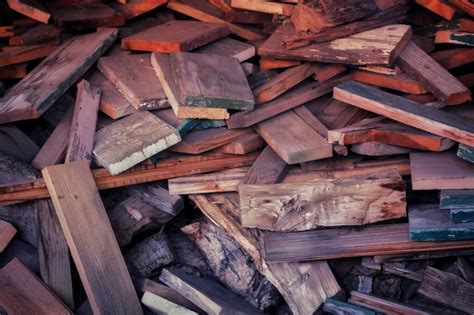
Reclaimed wood, often sourced from old fences, pallets, barns, or construction sites, offers numerous benefits. It’s cost-effective, reduces waste, and often boasts a character that new lumber simply can’t match. More importantly, many types of reclaimed wood are naturally seasoned and incredibly durable, standing up well to the elements for years.
Selecting Your Reclaimed Wood
The type of wood you choose is crucial for the longevity of your raised bed. Look for durable species like cedar, redwood, cypress, oak, or even pressure-treated lumber (ensure it’s older, non-CCA treated for safety). Always avoid wood treated with chromated copper arsenate (CCA) if it will be in direct contact with edibles, as arsenic can leach into the soil. Pallets are a popular choice, but confirm they are heat-treated (marked ‘HT’) rather than chemically treated (‘MB’ for methyl bromide). Examine wood for excessive rot, pests, or damage that would compromise its structural integrity.
Planning Your Raised Garden Bed
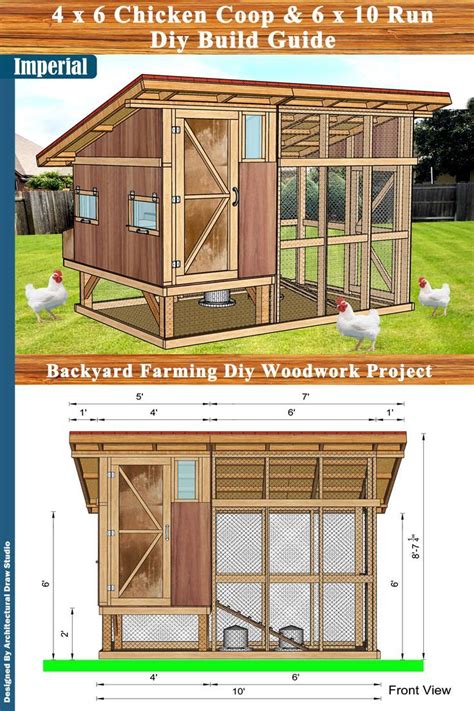
Before cutting any wood, a solid plan is essential. Consider the size and location of your bed. A common recommendation is a width no more than 4 feet so you can reach the center from either side without stepping into the bed. Length can vary. Decide on the height; 10-12 inches is good for most vegetables, while 18-24 inches is ideal for deep-rooting plants or if you prefer less bending. Factor in the dimensions of your reclaimed wood; designing around existing plank lengths can minimize cuts and waste.
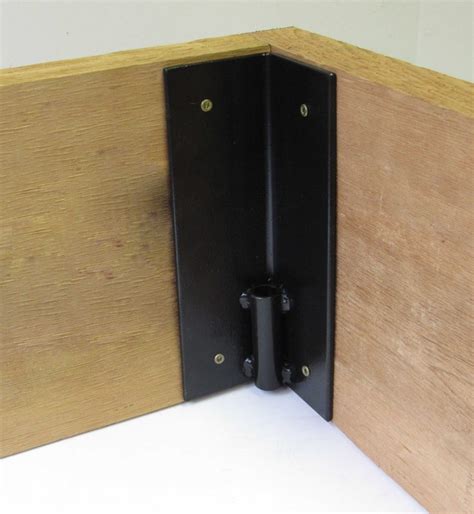
Design Considerations for Durability
- Corner Reinforcement: Strong corners are key. Use sturdy corner posts or metal brackets for added stability.
- Wall Thickness: Thicker planks (1.5 inches or more) will last longer and withstand soil pressure better.
- Cross Bracing: For beds longer than 6-8 feet, consider adding internal cross braces to prevent bowing.
Essential Tools and Materials
- Reclaimed wood (planks and possibly larger pieces for corner posts)
- Tape measure and pencil
- Circular saw or hand saw
- Drill and drill bits
- Galvanized or stainless steel screws (2.5-3 inches) or deck screws
- Wood glue (optional, for extra strength)
- Level
- Square
- Shovel
- Landscaping fabric or cardboard (for lining, optional)
Step-by-Step Construction Guide
1. Prepare Your Lumber
Clean your reclaimed wood thoroughly, removing any nails, staples, dirt, or loose splinters. Measure and cut your planks to the desired lengths for the sides and ends of your raised bed. You’ll need four pieces for each layer: two longer sides and two shorter ends. If using corner posts, cut these to the full height of your bed.
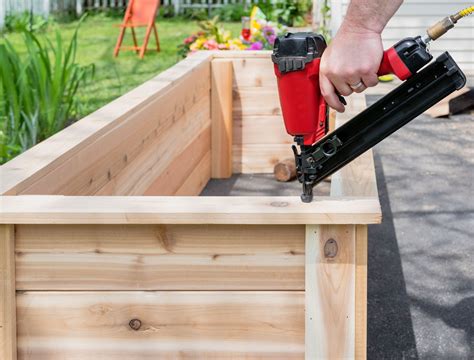
2. Assemble the First Layer
Lay out your first set of planks on level ground to form a rectangle. If using corner posts, align the end planks flush with the inner edge of the side planks, and screw them into the corner posts. If not using posts, butt the end planks against the side planks and secure them with at least two screws per joint, ensuring they are flush and square. Pre-drilling pilot holes will prevent the wood from splitting, especially with older, drier wood.
3. Stack and Secure Additional Layers
Once the first layer is complete and level, stack the subsequent layers. Offset the joints if possible for added strength, like bricklaying. Secure each new plank to the layer below it and to the corner posts (if used) with screws. Ensure all layers are level and plumb as you go. For beds without dedicated corner posts, you can use additional wood blocks or metal brackets on the inside corners to reinforce the joints between layers.
4. Add Internal Bracing (For Longer Beds)
If your bed is longer than 6-8 feet, internal cross braces will prevent the long sides from bowing outwards under the pressure of the soil. Cut short pieces of wood (e.g., 2x4s) to span the width of the bed. Position them in the middle of the long sides, securing them to both sides with screws. You can add one brace per layer or just at the top and bottom layers for stability.
5. Install a Liner (Optional but Recommended)
While optional, lining your raised bed can offer several benefits. A layer of landscaping fabric, hardware cloth (to deter gophers), or even overlapping cardboard pieces at the bottom will prevent weeds from growing up into your bed and keep soil from washing away. If using landscaping fabric for the sides, staple it to the inside walls to protect the wood from direct soil contact and help retain moisture, though ensure it doesn’t impede drainage at the bottom.
6. Fill and Plant
Once your raised bed structure is complete, it’s time to fill it! A common approach is the ‘lasagna’ method: start with a layer of cardboard, then twigs and small branches, followed by leaves, grass clippings, compost, and finally, a top layer of good quality potting mix or amended garden soil. This provides excellent drainage and enriches the soil over time.
Maintaining Your Reclaimed Wood Raised Bed
To maximize the lifespan of your reclaimed wood raised bed, consider a few maintenance tips. Periodically check screws and joints for looseness and tighten or replace as needed. While reclaimed wood often has natural resistance, applying a non-toxic, food-safe wood sealant to the exterior can further protect it from weathering. Good drainage is also essential; ensure water doesn’t pool around the base of the bed.
Building a raised garden bed from reclaimed wood is a rewarding project that combines sustainability with practicality. With careful planning and sturdy construction, your eco-friendly garden oasis will provide years of bountiful harvests.