


Best way to blanch and freeze garden green beans for winter’s best taste?

There’s nothing quite like the taste of fresh-picked green beans straight from the garden. While the peak season is fleeting, preserving that vibrant flavor for colder months is entirely possible with the right technique. Freezing green beans effectively means more than just tossing them into a bag; it requires a crucial step known as blanching. This guide will walk you through the best way to blanch and freeze your garden green beans, ensuring they emerge from the freezer with their best taste, texture, and color intact.
Why Blanching is Essential for Freezing Green Beans
Blanching is a quick heat treatment that serves several vital purposes before freezing. Firstly, it deactivates enzymes responsible for spoilage, color changes, and nutrient loss, which would otherwise continue to degrade the beans even in freezing temperatures. Secondly, it helps clean the beans and brightens their color. Lastly, blanching softens them slightly, making them easier to pack and preventing them from becoming mushy when cooked from frozen.
Step-by-Step Guide to Blanching and Freezing
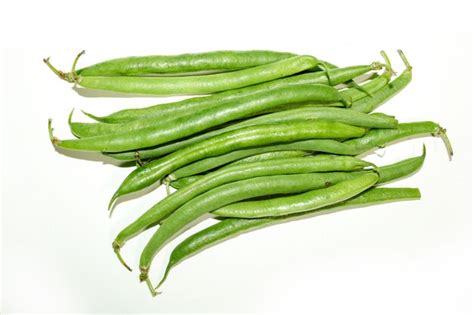
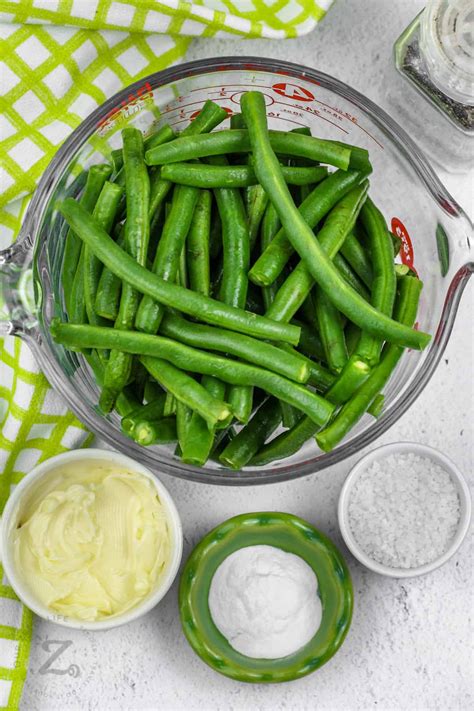
1. Harvest and Prepare Your Beans
Start with the freshest beans possible. Harvest them when they are young, tender, and snap crisply. Wash them thoroughly under cold running water. Snap off both ends and either leave them whole or cut them into 1 to 2-inch pieces, depending on your preference for future use.
2. The Blanching Process
Bring a large pot of water to a rolling boil. For every pound of beans, you’ll need at least a gallon of water to ensure the temperature doesn’t drop too much when you add the beans. Prepare a large bowl of ice water nearby – the colder, the better. Submerge the prepared green beans into the boiling water. Do not overcrowd the pot; work in batches if necessary. Allow them to blanch for exactly 2-3 minutes. The beans should turn a brighter green.

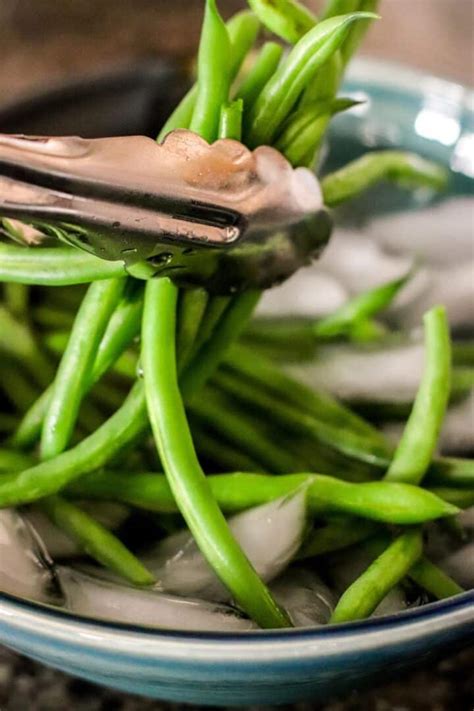
3. Rapid Cooling (Ice Bath)
Immediately after 2-3 minutes, use a slotted spoon or spider to transfer the blanched beans from the boiling water directly into the ice bath. This rapid cooling stops the cooking process and helps retain their crisp texture and vibrant color. Let them sit in the ice bath for the same amount of time they were blanched – typically 2-3 minutes – ensuring they are thoroughly chilled.
4. Thorough Drying
Once cooled, drain the beans thoroughly. This is a critical step! Excess moisture can lead to ice crystals and freezer burn. Spread the beans in a single layer on clean kitchen towels or paper towels and pat them as dry as possible. Air dry for a few minutes if needed.
5. Flash Freezing for Best Texture
For best results, especially if you want individual beans that don’t clump together, flash freeze them. Arrange the completely dry beans in a single layer on a baking sheet lined with parchment paper. Place the baking sheet in the freezer for 1-2 hours, or until the beans are solid.
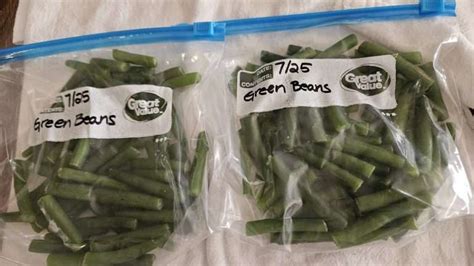
6. Packaging and Storing
Once flash-frozen, transfer the solid beans into freezer-safe bags or containers. Squeeze out as much air as possible from the bags to prevent freezer burn. A vacuum sealer is ideal for this. Label each bag with the date and contents. Frozen blanched green beans can maintain their quality for 8-12 months.
Tips for Enjoying Your Winter Harvest
- Don’t Thaw Completely: For most recipes, you can add frozen green beans directly to your cooking without thawing. They will cook faster than fresh beans.
- Versatile Use: Use them in stir-fries, casseroles, steamed side dishes, or even roasted with a little olive oil and seasoning.
- Avoid Overcooking: Because they were blanched, they require less cooking time than fresh beans.
With these steps, you can confidently preserve your garden’s bounty, bringing the taste of summer sunshine to your winter table. Enjoy the crisp, flavorful goodness of your own frozen green beans!