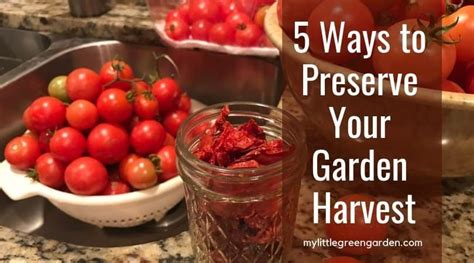

Best methods for preserving a plentiful garden harvest from scratch?

Maximizing Your Bountiful Garden Harvest
There’s nothing quite like the satisfaction of harvesting fresh produce from your own garden. But what do you do when your garden yields more than you can eat in a week? Preserving your harvest from scratch is a rewarding way to extend the bounty of summer and fall, ensuring you have delicious, homegrown ingredients all year long. Forget store-bought preservatives; with a few simple techniques, you can lock in flavor, nutrients, and the essence of your garden’s hard work.

Freezing: The Quick and Easy Method
Freezing is arguably the simplest and least labor-intensive preservation method, perfect for a wide variety of fruits and vegetables. Most produce requires a quick blanching process (submerging in boiling water, then rapidly cooling in ice water) before freezing to stop enzyme activity, which can cause loss of flavor, color, and texture.
Steps for Freezing Produce:
- Clean and Chop: Wash your produce thoroughly and chop it into desired sizes.
- Blanch (if necessary): For most vegetables (beans, broccoli, corn), blanch for 1-5 minutes, then immediately plunge into ice water. Fruits like berries, peaches, and bananas usually don’t require blanching.
- Drain and Dry: Pat dry thoroughly to prevent ice crystals.
- Flash Freeze: Spread a single layer on a baking sheet and freeze until solid.
- Package: Transfer to freezer-safe bags or containers, removing as much air as possible to prevent freezer burn.
Canning: Sealing in Freshness
Canning offers shelf-stable preservation, creating airtight seals that prevent spoilage. There are two primary methods: water bath canning for high-acid foods and pressure canning for low-acid foods.
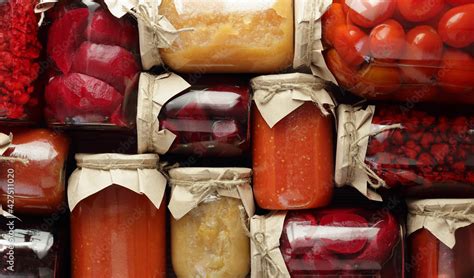
Water Bath Canning (High-Acid Foods):
Ideal for fruits, jams, jellies, pickles, and tomatoes (often with added acid). Jars are submerged in boiling water for a specific time to kill molds, yeasts, and bacteria.
- Sterilize Jars: Ensure jars and lids are clean and warm.
- Prepare Food: Fill jars with your prepared recipe, leaving appropriate headspace.
- Process: Place sealed jars in a boiling water canner, ensuring they are covered by at least an inch of water. Boil for the recommended time.
- Cool: Remove and cool undisturbed for 12-24 hours. Check seals.
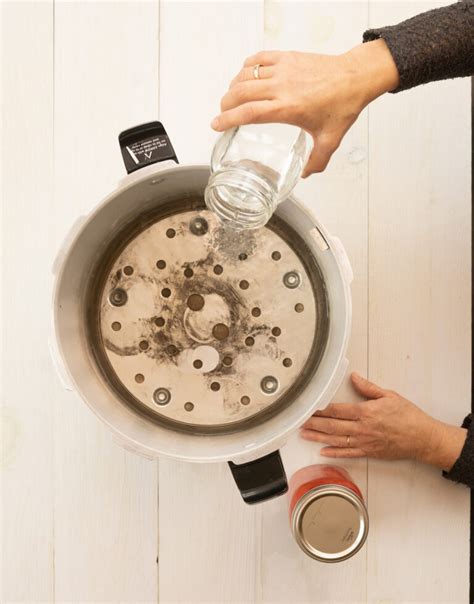
Pressure Canning (Low-Acid Foods):
Essential for vegetables (beans, corn, carrots), meats, and mixed recipes like soups. Pressure canning reaches higher temperatures (above boiling point) to destroy dangerous bacteria like Clostridium botulinum spores.
- Prepare Jars and Food: Same as water bath.
- Process: Place jars in a pressure canner with the specified amount of water. Follow your canner’s instructions for venting, pressurizing, and processing time based on altitude and food type.
- Depressurize and Cool: Allow the canner to cool naturally before opening. Remove jars and cool.
Drying and Dehydrating: Concentrating Flavors
Drying removes moisture, inhibiting microbial growth and concentrating natural flavors. This method is excellent for herbs, fruits (apples, berries), and some vegetables (tomatoes, peppers).
Methods:
- Sun Drying: Best for hot, dry climates. Requires protection from insects.
- Oven Drying: Use the lowest oven setting with the door ajar for ventilation.
- Dehydrator: A dedicated appliance offers controlled heat and airflow for consistent results.
Always slice food thinly and uniformly for even drying. Store dried foods in airtight containers in a cool, dark place.
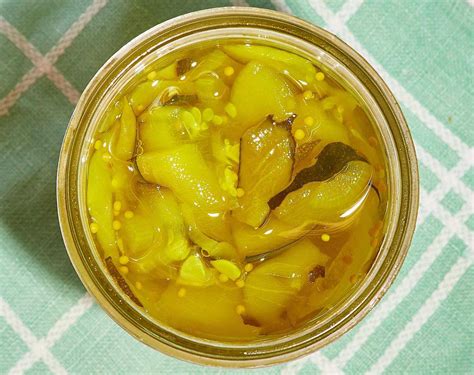
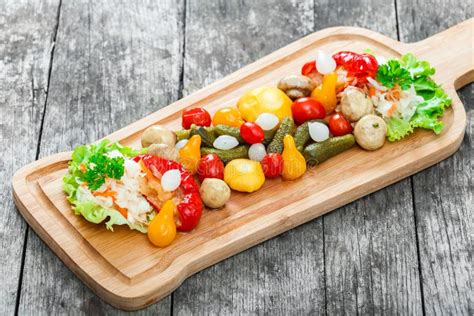
Pickling and Fermenting: Tangy Preservations
These methods use acid (vinegar for pickling, lactic acid from fermentation) to preserve food and create distinct, tangy flavors. Fermentation also introduces beneficial probiotics.
Pickling:
Involves submerging food (cucumbers, beans, onions) in an acidic brine, usually vinegar-based, often with spices. Can be done with a simple refrigerator pickle (no canning required) or hot-packed and water-bath canned for shelf stability.
Fermenting:
A natural process where beneficial bacteria convert sugars into lactic acid, preserving the food. Examples include sauerkraut, kimchi, and lacto-fermented pickles. Requires a salt brine and an anaerobic (oxygen-free) environment.
- Prepare Food: Chop or shred vegetables.
- Brine: Mix with salt or a saltwater brine (typically 2-3% salt by weight).
- Pack: Pack tightly into a clean jar, ensuring all vegetables are submerged below the brine (use a weight if needed).
- Ferment: Cover loosely to allow gases to escape. Ferment at room temperature for several days to weeks, tasting periodically.
- Store: Once desired flavor is reached, transfer to the refrigerator.

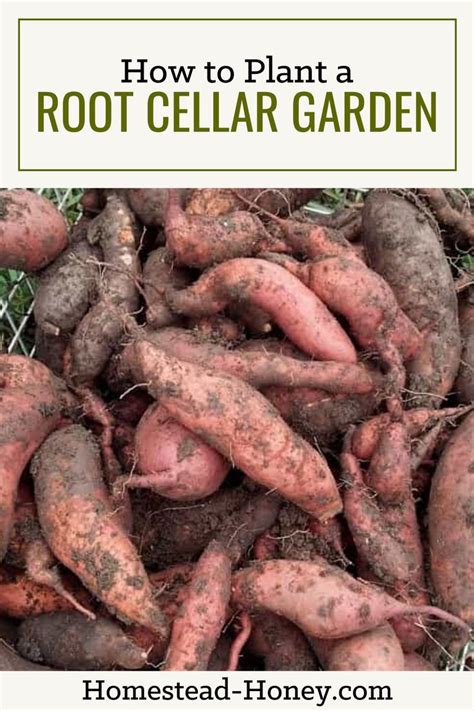
Root Cellaring and Cool Storage
For certain root vegetables (carrots, potatoes, beets), apples, and winter squash, a cool, dark, and humid environment can extend their freshness for months without processing. A true root cellar is ideal, but a cool basement, garage, or even a buried container can work.
Ensure produce is clean and free of blemishes. Store in breathable containers (crates, burlap sacks) or layered in damp sand or sawdust to maintain humidity.
Conclusion: Enjoying Your Garden’s Bounty All Year
Preserving your garden’s harvest from scratch is a deeply satisfying and economical practice. Whether you choose the speed of freezing, the shelf-stability of canning, the concentrated flavors of drying, or the tangy notes of pickling and fermenting, each method offers a unique way to enjoy your hard-earned produce long after the growing season ends. Experiment with different techniques to find what works best for your garden, your kitchen, and your palate, ensuring a year-round supply of fresh, homegrown goodness.