


Safest DIY method for canning garden tomatoes for winter meals?
Preserving Your Harvest: The Importance of Safe Tomato Canning
The vibrant bounty of a summer garden is a joy to behold, and for many home gardeners, the harvest of ripe, juicy tomatoes is a particular highlight. Canning these sun-kissed gems allows you to savor their flavor long after the growing season ends, bringing the taste of summer to your winter meals. However, home canning isn’t just about preserving food; it’s about preserving it safely. Understanding and adhering to proper canning techniques is paramount to prevent spoilage and, more importantly, to eliminate the risk of foodborne illnesses.

Why Safety Comes First: Understanding the Risks
When canning low-acid foods, the primary concern is the potential for Clostridium botulinum, a bacterium that produces a deadly toxin in anaerobic (oxygen-free) environments, such as sealed canning jars. While tomatoes are generally considered high-acid (pH 4.6 and below), some varieties can be borderline, and their acidity can vary. This variability makes proper acidification a non-negotiable step to ensure a safe environment for water bath canning. High-acid foods (like most fruits and properly acidified tomatoes) can be safely processed in a boiling water bath, while low-acid foods (like most vegetables, meats, and poultry) require a pressure canner to reach much higher temperatures.
The Safest Method: Boiling Water Bath Canning for Tomatoes
For tomatoes, the recommended and safest method for home canning is the boiling water bath. This method is effective for high-acid foods when sufficient heat is applied for a specific duration. Due to the borderline acidity of tomatoes, acidification is crucial, making them safe for water bath processing. This method is generally easier for beginners and requires less specialized equipment than pressure canning, but strict adherence to guidelines is vital.
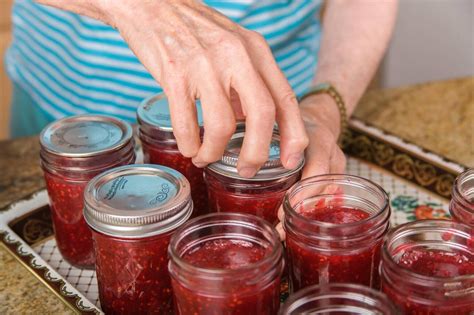
Essential Steps for Safely Canning Tomatoes
1. Preparation is Key
- Select Your Tomatoes: Choose ripe, firm tomatoes free from blemishes. Overripe or diseased tomatoes can have lower acidity. Wash them thoroughly.
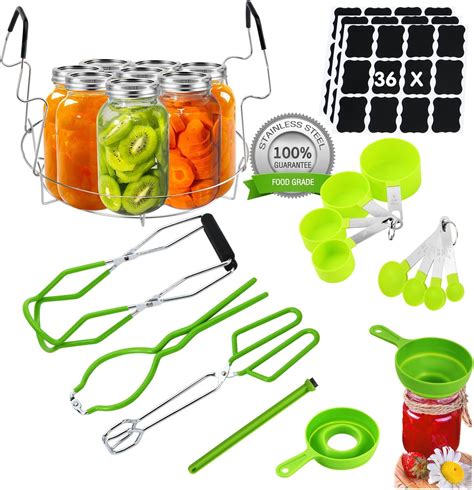
- Gather Your Equipment: You’ll need a large water bath canner with a rack, canning jars (pint or quart), new lids, screw bands, a jar lifter, a funnel, a bubble remover, and clean towels. Ensure all jars are sterilized (washed in hot soapy water and rinsed, or run through a dishwasher cycle). Lids should be prepared according to manufacturer instructions.
2. Acidification: A Non-Negotiable Step
This is the most critical safety step for canning tomatoes. To ensure adequate acidity for water bath canning, you must add acid to each jar:
- For Pints: Add 1 tablespoon of bottled lemon juice or 1/4 teaspoon of citric acid.
- For Quarts: Add 2 tablespoons of bottled lemon juice or 1/2 teaspoon of citric acid.
Bottled lemon juice is preferred over fresh lemon juice because its acidity level is standardized and reliable. Do not reduce the amount of acid specified.

3. Packing and Processing
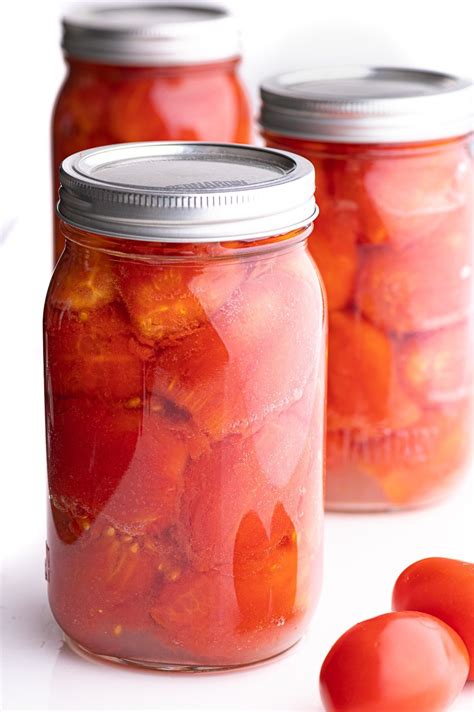
- Prepare Tomatoes: Depending on your recipe, peel, core, and chop your tomatoes. You can pack them raw (raw pack) or heat them first (hot pack). Hot packing often results in a fuller jar and better quality.
- Fill Jars: Add the pre-measured acid to each hot, sterilized jar. Then, using a canning funnel, fill the jars with prepared tomatoes (and any canning liquid if hot packing), leaving 1/2 inch of headspace at the top.
- Remove Air Bubbles: Slide a non-metallic utensil (like a plastic spatula or wooden chopstick) around the inside of the jar to release trapped air bubbles. Adjust headspace if necessary.
- Clean Rims and Seal: Wipe jar rims thoroughly with a clean, damp cloth to remove any food residue. Place a new, clean lid on each jar, followed by a screw band tightened “fingertip tight” (not too tight, allowing air to escape during processing).
- Process in Water Bath: Carefully place filled jars onto the rack in your canner. Ensure the jars are covered by at least 1-2 inches of boiling water. Bring the water to a rolling boil. Once boiling, start your processing time (which varies based on altitude and tomato type – consult a reliable canning guide like the USDA National Center for Home Food Preservation).
4. Cooling and Storage
- Cool Down: Once processing is complete, turn off the heat and let the jars sit in the canner for 5 minutes. Then, carefully remove them with a jar lifter and place them on a towel-lined surface in a draft-free area, leaving space between jars for air circulation. Do not disturb for 12-24 hours.
- Check Seals: After 12-24 hours, check for a proper seal. The center of the lid should be concave and not flex when pressed. If a jar hasn’t sealed, refrigerate it and use it within a week, or reprocess it immediately with a new lid (within 24 hours of initial processing).
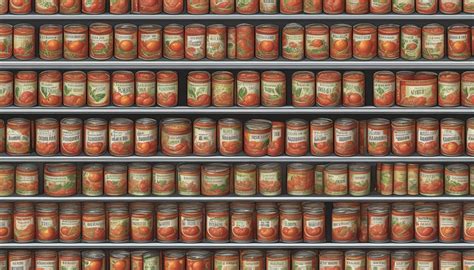
- Store Properly: Remove screw bands, wipe jars clean, label them with contents and date, and store in a cool, dark, dry place for up to one year.
Enjoying Your Winter Harvest
Canning garden tomatoes is a rewarding DIY project that extends the bounty of summer into the colder months. By diligently following these safe water bath canning methods, particularly the crucial step of acidification, you can confidently preserve your harvest. Imagine the delight of opening a jar of your own canned tomatoes on a snowy day, ready to become the base of a hearty soup, a rich pasta sauce, or a comforting chili. It’s a taste of your garden, safely preserved for delicious winter meals.