

What’s the secret to perfectly set homemade fruit jam without added pectin?

The Magic of Naturally Set Jam
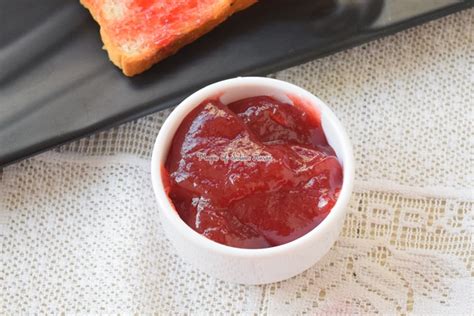
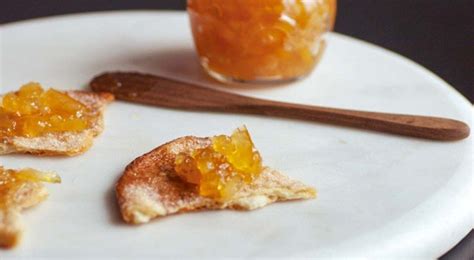
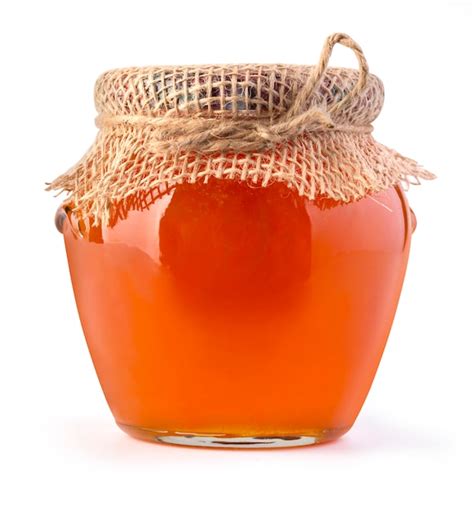
There’s a unique satisfaction that comes from a jar of homemade fruit jam, bursting with natural flavor and a beautiful, glistening set. For many home cooks, the idea of achieving this without the aid of commercial pectin can seem daunting. However, the secret lies not in complex additives, but in understanding the natural chemistry of your ingredients and mastering a few key techniques. It’s a return to traditional jam-making, celebrating the inherent gelling power of fruit itself.
Understanding the Core Ingredients for a Perfect Set
To make jam without added pectin, you need to harness the power of three essential components: natural pectin, sugar, and acid. These three work in harmony to create the desired gel structure.
Natural Pectin: Your Fruit’s Secret Weapon
Pectin is a naturally occurring polysaccharide found in the cell walls of fruits. When heated with sugar and acid, it forms a gel. Fruits vary widely in their pectin content:
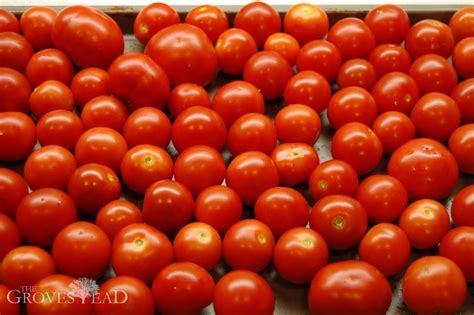
- High-pectin fruits: Apples (especially tart green ones), citrus (peel and pith), cranberries, currants, gooseberries, quince, plums, and some under-ripe berries.
- Low-pectin fruits: Strawberries, raspberries, cherries, blueberries, peaches, apricots.
For low-pectin fruits, you can either combine them with a high-pectin fruit or add a source of natural pectin like lemon juice or grated apple. Using slightly under-ripe fruit often yields more pectin.
The Role of Sugar: Structure and Preservation
Sugar is crucial not just for sweetness, but for its role in the gelling process. It draws water out of the fruit, allowing the pectin to bond and form a network. Too little sugar, and your jam might not set; too much, and it could crystallize. A general rule of thumb is a 1:1 ratio of fruit to sugar by weight, though this can be adjusted based on the fruit’s natural sweetness and pectin content.
Acid: The Unsung Hero
Acid, often in the form of lemon juice, is vital. It helps to extract pectin from the fruit and sets the stage for the pectin and sugar to bind effectively. Without sufficient acidity, even high-pectin fruits might struggle to form a firm gel. Lemon juice is a common choice, adding a bright flavor without overpowering the fruit.
Mastering the Cook: Reaching the Setting Point
The cooking process is where the magic truly happens. Rapid boiling is key. As the fruit mixture boils, water evaporates, concentrating the fruit sugars, pectin, and acid. This concentration, combined with sustained heat, allows the pectin molecules to intertwine and form a gel.
The ideal temperature for jam to set is around 220°F (104.5°C) at sea level. However, relying solely on temperature can be misleading due to variations in altitude and equipment. It’s more reliable to use visual and physical tests.
The Crucial Test: Knowing When It’s Ready
This is arguably the most important step for pectin-free jam: knowing precisely when to stop cooking. Overcooking can result in a stiff, candy-like texture, while undercooking leaves you with syrup. There are two primary methods to test for a set:
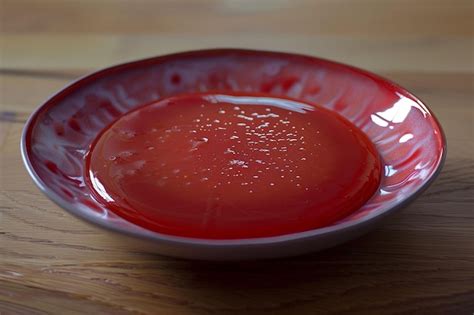
The Chilled Plate Test (Wrinkle Test)
- Place a small plate or saucer in the freezer before you start cooking your jam.
- Once you suspect the jam is ready, spoon a small amount (about a teaspoon) onto the chilled plate.
- Return the plate to the freezer for 1-2 minutes to rapidly cool the jam.
- Remove the plate and gently push the edge of the jam with your fingertip. If the surface wrinkles, your jam is ready. If it’s still runny, continue cooking and retest after a few more minutes.
The Sheet Test (Spoon Test)
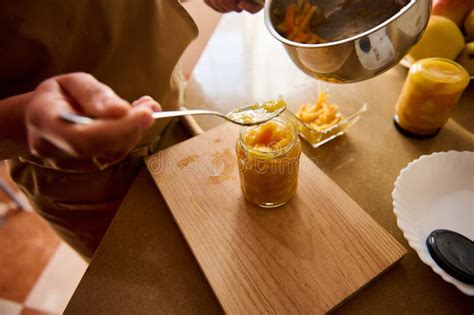
Dip a cold metal spoon into the simmering jam, letting any excess drip off. Hold the spoon horizontally a few inches above the pot. If the jam has reached its setting point, it will no longer fall off the spoon in individual drops, but instead, two or three thickened drops will run together and ‘sheet’ off the spoon.
Essential Tips for Jam-Making Success
- Start with quality fruit: Use fresh, ripe (or slightly under-ripe for higher pectin) fruit.
- Don’t make huge batches: Smaller batches (4-6 cups of fruit) cook more quickly and evenly, reducing the risk of overcooking or scorching.
- Use a wide, heavy-bottomed pot: This allows for faster evaporation and prevents sticking.
- Sterilize your jars: Proper sterilization is crucial for safe, long-term storage of your homemade jam.
- Skim the foam: As jam cooks, foam may rise to the surface. Skim it off for a clearer, more attractive finished product.
Mastering the art of pectin-free jam takes a little practice and patience, but the rewards are immeasurable. Each spoonful will be a testament to your culinary skill and the pure, unadulterated flavor of fruit. Embrace the natural process, trust your senses, and soon you’ll be enjoying perfectly set homemade jam, just like grandma used to make.