


Simple canning tips for preserving garden tomatoes?

Unlock the Flavor: Why Preserve Your Garden Tomatoes?
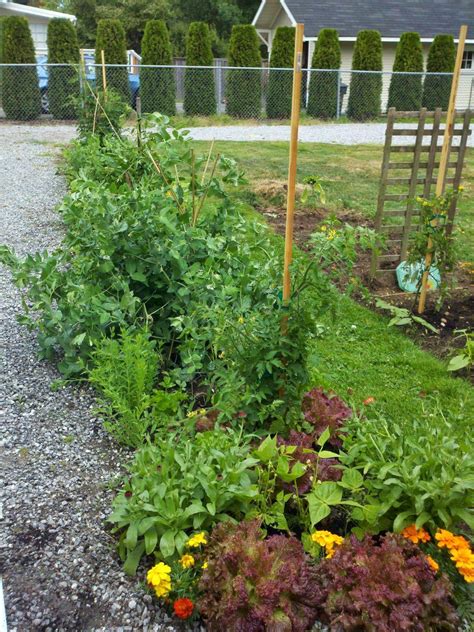
There’s nothing quite like the taste of a sun-ripened tomato straight from the garden. But what happens when your harvest is abundant, and you can’t eat them all fresh? Canning is a fantastic way to capture that peak flavor, allowing you to enjoy your homegrown tomatoes in sauces, stews, and chilis throughout the colder months. It might seem daunting at first, but with a few simple tips, preserving your tomato bounty can be a rewarding and straightforward process.
Before diving in, remember that safety is paramount in home canning. Always follow tested recipes and guidelines to ensure your preserved food is safe to eat. Let’s get started on turning your garden’s generosity into delicious pantry staples.
Gather Your Essential Canning Equipment
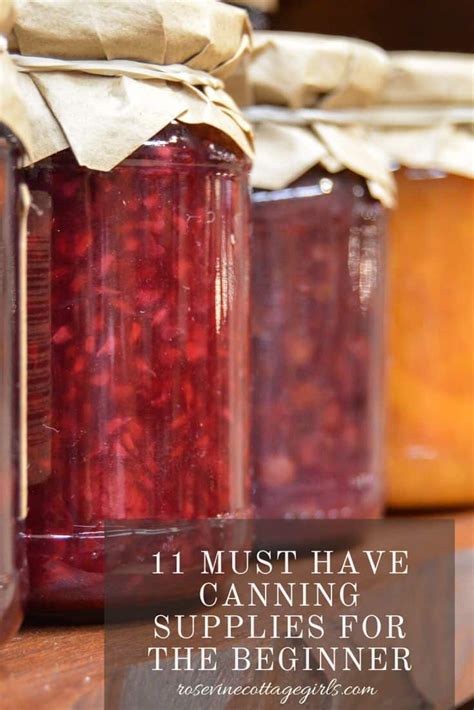
Having the right tools makes the canning process much smoother. Here’s a checklist of what you’ll need:
- Canning Jars: Use standard Mason-style canning jars with new lids and clean rings. Never reuse canning lids.
- Water Bath Canner: A large pot with a lid and a rack to keep jars off the bottom.
- Jar Lifter: For safely moving hot jars.
- Canning Funnel: Helps prevent spills when filling jars.
- Headspace Tool/Ruler: To measure the space between the food and the rim of the jar.
- Bubble Remover Tool/Non-Metallic Spatula: To release air bubbles from filled jars.
- Large Pot: For blanching tomatoes and cooking any sauces.
- Basic Kitchen Utensils: Knives, cutting boards, measuring spoons, ladles.
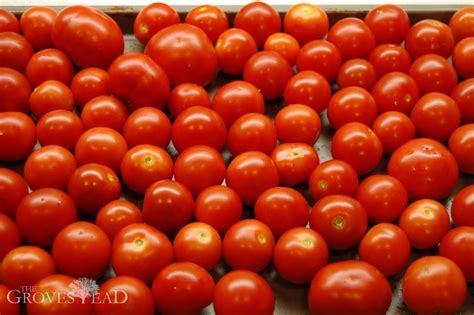
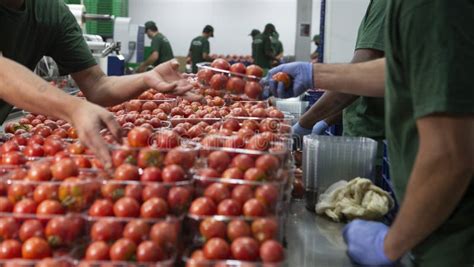
Selecting and Preparing Your Tomatoes
The quality of your canned tomatoes starts with the quality of the fresh fruit. Choose ripe, firm, blemish-free tomatoes. Avoid any that are soft, bruised, or moldy. For processing, plum varieties like Roma are often preferred due to their meaty texture and fewer seeds, but any firm slicing tomato can be used.
Preparation Steps:
- Wash Thoroughly: Rinse tomatoes under cool running water.
- Blanch for Peeling: Make a small ‘X’ incision on the bottom of each tomato. Dip tomatoes into boiling water for 30-60 seconds, then immediately transfer to an ice bath. The skins should slip off easily.
- Core and Chop: Remove the core and any remaining tough bits. You can leave them whole, halve them, or chop them depending on your recipe.

Acidity is Key: Ensuring Safe Water Bath Canning
Tomatoes are generally considered a high-acid food, making them suitable for water bath canning. However, some varieties can be borderline, and for safety, it’s crucial to add additional acid. This step helps prevent the growth of harmful bacteria.
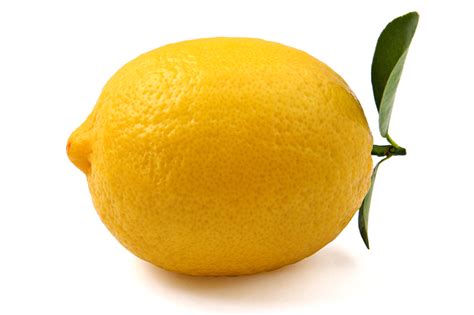
- Lemon Juice: Add 1 tablespoon of bottled lemon juice per pint jar, or 2 tablespoons per quart jar. Bottled lemon juice is recommended over fresh because its acidity level is consistent and regulated.
- Citric Acid: As an alternative, use 1/4 teaspoon of citric acid per pint jar, or 1/2 teaspoon per quart jar.
Add the lemon juice or citric acid directly to the empty jars before filling them with tomatoes. You can also add salt for flavor, but it is optional and does not affect safety.
The Canning Process: Step-by-Step for Success
Once your tomatoes are prepped and your jars are acidified, you’re ready to fill and process!
- Prepare Jars: Wash jars in hot, soapy water and rinse well. Keep them hot (in hot water or a warm oven) to prevent thermal shock when adding hot food.
- Fill Jars: Pack your prepared tomatoes into the hot jars, leaving 1/2 inch of headspace (the space between the food and the rim). If packing whole tomatoes, you can add hot water or tomato juice to cover, maintaining headspace.
- Remove Air Bubbles: Use your bubble remover tool or a non-metallic spatula to gently remove any trapped air bubbles by running it along the inside of the jar. Add more liquid if necessary to restore headspace.
- Wipe Rims: Clean the jar rims thoroughly with a damp cloth to remove any food residue. This ensures a proper seal.
- Place Lids and Rings: Center a new, flat lid on each jar, then screw on the band fingertip-tight (just until you feel resistance, don’t overtighten).
- Process in Water Bath Canner: Carefully place the filled jars onto the rack in your water bath canner, ensuring they are not touching each other. Add hot water to the canner until the water level is at least 1-2 inches above the jar tops. Bring to a rolling boil.
- Start Timing: Once the water is at a full boil, cover the canner and start your timer. Processing times vary by recipe, altitude, and jar size, so consult a reliable canning guide (e.g., USDA National Center for Home Food Preservation).
- Cool Down: After the processing time is complete, turn off the heat and let the jars sit in the canner for 5 minutes. This helps prevent siphoning (loss of liquid from jars).
- Remove and Cool: Using your jar lifter, carefully remove the hot jars and place them on a towel-lined counter, leaving at least an inch between them to allow for even cooling. Do not tighten rings or disturb them.
- Check Seals: After 12-24 hours, check for seals. Lids should be concave (curved inward) and not flex when pressed. If a lid does not seal, refrigerate and use within a few days or reprocess within 24 hours with a new lid.
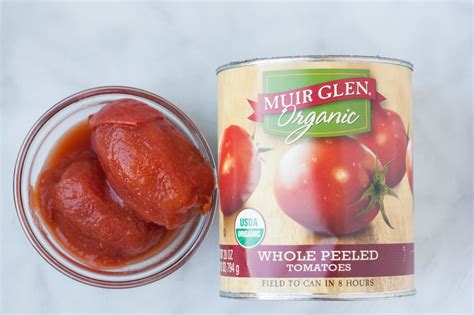
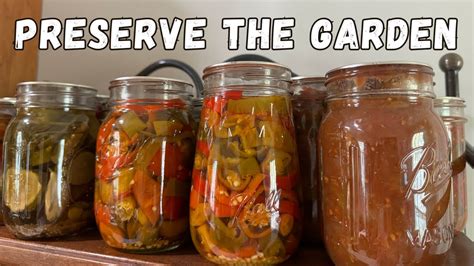
Storing Your Canned Tomatoes
Once sealed, remove the rings (this prevents false seals and allows you to easily spot any spoilage). Label your jars with the contents and date. Store your canned tomatoes in a cool, dark, dry place away from direct sunlight. Properly canned and stored tomatoes can last for up to 18 months, though for best quality, it’s recommended to consume them within a year.
Enjoy Your Homemade Harvest!
Canning your garden tomatoes is a rewarding way to extend the freshness and flavor of your harvest far beyond the growing season. With these simple tips and a commitment to food safety, you’ll soon be enjoying delicious, homemade tomato products that taste infinitely better than anything from a store. Happy canning!