

Best ways to pack & preserve homemade food for a multi-day country getaway?

Mastering Your Mobile Kitchen for a Country Escape
Heading into the serene landscapes of a multi-day country getaway often means disconnecting from city life, but it doesn’t have to mean compromising on delicious, home-cooked meals. Bringing your own food not only saves money but also ensures you have nutritious and comforting options tailored to your taste. The key to a successful culinary adventure lies in smart planning and effective preservation. Let’s dive into the best ways to pack and preserve your homemade food, ensuring every bite is as fresh as when it left your kitchen.
Strategic Menu Planning: Choose Wisely
The first step to stress-free travel dining is selecting the right kind of food. Opt for dishes that travel well, are less prone to spoilage, and can be easily reheated or eaten cold. Think about meals that are robust and forgiving, avoiding anything too delicate or highly perishable.
- Stews, Chili, and Curries: These one-pot wonders are fantastic as their flavors often deepen over time, and they reheat beautifully.
- Pasta Salads & Grain Bowls: Hearty and versatile, these can be made ahead and enjoyed cold or at room temperature.
- Sandwich Fillings & Wraps: Prepare fillings separately and assemble on-site to prevent soggy bread. Hard cheeses, pre-cooked meats, and roasted vegetables are great options.
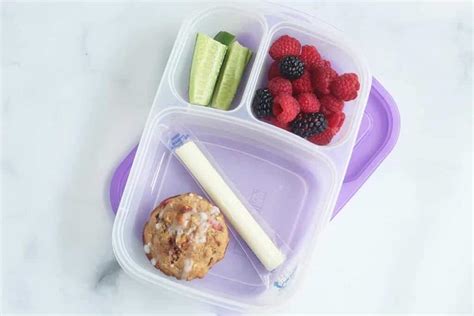
- Baked Goods: Muffins, banana bread, and cookies are perfect for breakfast or snacks and keep well for several days.
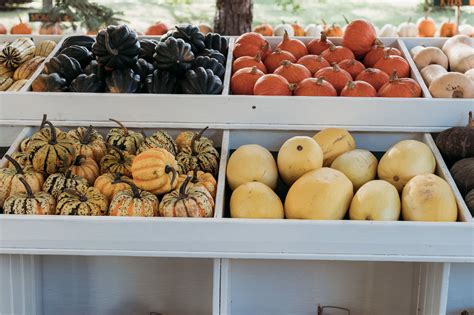
- Pre-chopped Veggies & Fruits: Wash, chop, and store in airtight containers for easy snacking or meal additions.
Essential Packing Supplies for Food Preservation
Having the right equipment is non-negotiable for keeping your food safe and fresh.
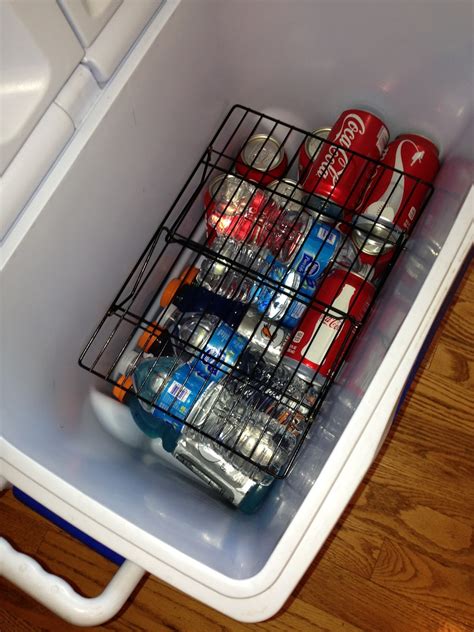
- High-Quality Coolers: Invest in good insulated coolers that can maintain temperature for extended periods. Consider both large family-sized coolers and smaller day-trip coolers.
- Ice Packs & Frozen Bottles: Traditional ice packs, frozen water bottles (which double as drinking water), or even blocks of ice are crucial. Dry ice can be an option for very long trips or deep freezing, but handle with care.
- Airtight Containers: Glass or high-quality plastic containers with secure, leak-proof lids are essential for preventing spills and keeping food fresh. Vacuum-sealable bags are excellent for preventing freezer burn and saving space.
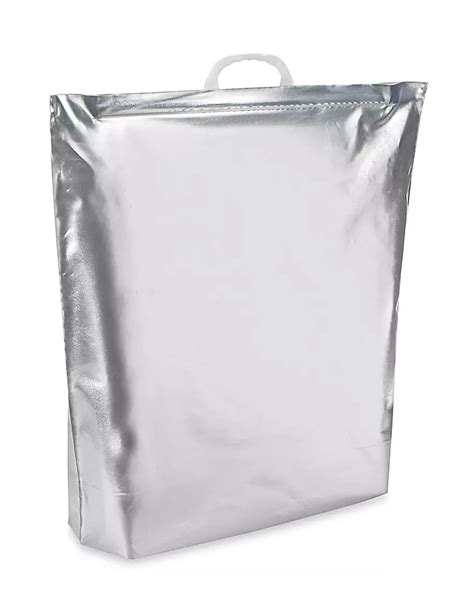
- Insulated Bags: Smaller insulated bags are great for specific items or for carrying snacks once you’ve reached your destination.
- Reusable Utensils, Plates, and Cups: Don’t forget the practical necessities! A small cutting board and a sharp knife can also be invaluable.
Mastering Food Safety & Preservation Techniques
Proper handling and preservation are paramount to avoid foodborne illnesses and ensure your meals last.
Pre-Chilling and Freezing
Always pre-chill your cooler and all food items before packing. Freeze as many items as possible – not only does this extend their shelf life, but frozen meals also act as additional ice packs, slowly defrosting over time. Liquid-based dishes like soups and stews are perfect candidates for freezing in meal-sized portions.
Portion Control
Divide large batches of food into individual or meal-sized portions before freezing or refrigerating. This prevents you from having to expose a whole batch of food to warmer temperatures every time you want a serving, thus prolonging its freshness.
Layering and Organization
When packing your cooler, think about accessibility and temperature zones. Place frozen items at the bottom, then refrigerated items, and finally, snacks or items you’ll need first on top. Use towels or newspapers to fill any empty spaces to minimize air circulation and maintain temperature.

Smart Packing Strategies for the Road
Organization isn’t just about keeping things neat; it’s about efficiency and safety.
Keep It Dry
To avoid soggy labels and waterlogged containers, place a layer of plastic sheeting or an old towel at the bottom of your cooler before adding ice or frozen items. If using ice, ensure it’s in bags.
Separate Raw from Cooked
Strictly separate raw meats from cooked foods and fresh produce to prevent cross-contamination. Use dedicated containers or ziplock bags for raw ingredients.
Label Everything
Clearly label containers with the food item and the date it was prepared. This helps in managing consumption order and ensures you eat the oldest items first.
On-the-Road Management & Enjoyment
Once you’ve reached your destination, proper management continues to be key.
Immediate Refrigeration
Upon arrival, transfer any perishable foods from your cooler to a refrigerator as quickly as possible. Keep the cooler shaded if it’s staying outside.
Reheating Safely
Ensure reheated foods reach an internal temperature of at least 165°F (74°C) to kill any potential bacteria. If you don’t have access to a microwave or stove, cold meals are your friend.
Mindful Consumption
Be mindful of how long food has been out of refrigeration, especially in warm weather. The “two-hour rule” is a good guideline: perishable food should not be left at room temperature for more than two hours.

Conclusion
Preparing and packing your homemade meals for a multi-day country getaway doesn’t have to be a daunting task. With careful planning, the right equipment, and a focus on food safety, you can enjoy delicious, comforting meals that enhance your travel experience. So pack up your culinary creations, hit the road, and savor every moment of your well-fed escape into nature.