


Safest DIY techniques for preserving homemade jams using natural pectin?
Creating homemade jams is a rewarding experience, allowing you to capture the fresh flavors of the season. When relying on natural pectin—found inherently in fruits—for gelling, understanding and implementing safe preservation techniques is paramount. This guide outlines the safest DIY methods to ensure your delicious fruit spreads are not only delightful but also shelf-stable and free from harmful bacteria.
Understanding Natural Pectin and High-Pectin Fruits
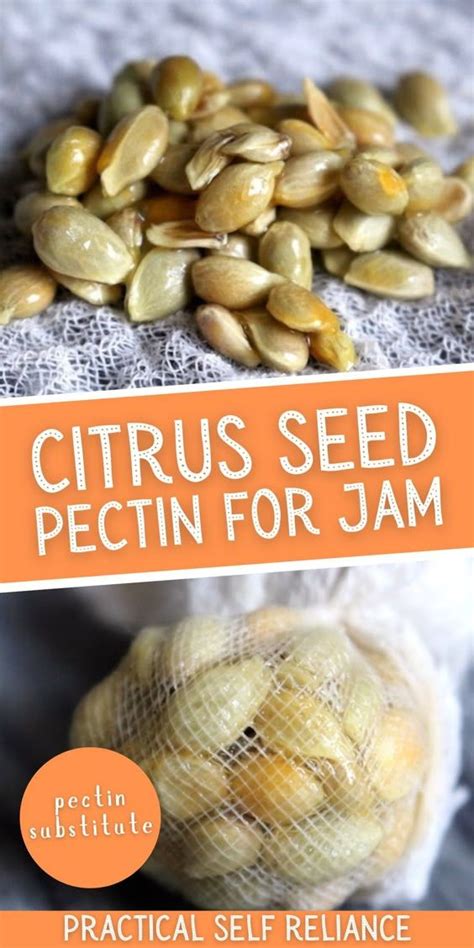
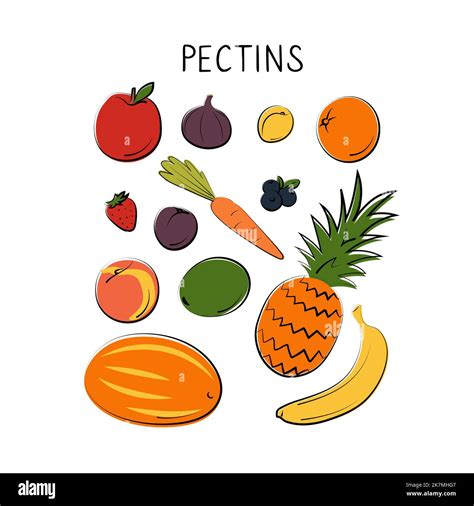
Pectin is a naturally occurring soluble fiber found in the cell walls of many fruits, acting as the gelling agent in jams and jellies. Fruits vary significantly in their pectin content. High-pectin fruits like tart apples, quinces, cranberries, gooseberries, and citrus peels (especially the white pith) are excellent choices. Moderately pectin-rich fruits include apricots, blackberries, and some plums. Low-pectin fruits such as strawberries, cherries, and peaches often benefit from combining with a high-pectin fruit or added lemon juice to aid gelling and increase acidity.
To maximize natural pectin’s effect, select fruits that are just ripe or slightly under-ripe, as pectin levels decrease as fruit fully ripens. Always wash fruits thoroughly and remove any bruised or spoiled parts, as these can affect both flavor and safety.
Essential Food Safety Practices for Jam Making
Food safety is non-negotiable when preserving. Adhering to strict hygiene standards is crucial to prevent the growth of mold, yeast, or dangerous bacteria like Clostridium botulinum. Although botulism is rare in high-acid jams, proper technique minimizes all risks.
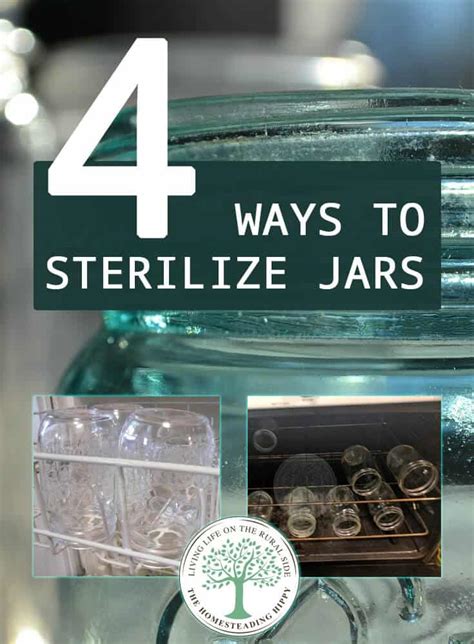
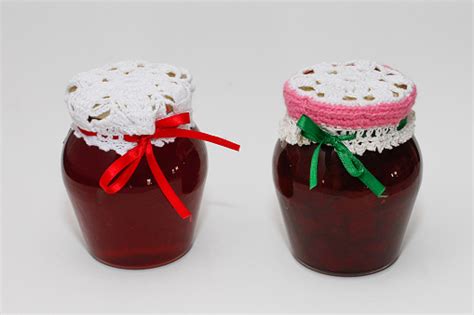
Sterilizing Jars and Lids
Before you even begin cooking your jam, all jars, lids, and bands must be meticulously clean and sterilized. Wash jars in hot, soapy water, rinse thoroughly, and then sterilize them. Common methods include boiling jars in water for 10 minutes, running them through a dishwasher on a hot sanitize cycle, or heating them in an oven. Lids, especially two-piece metal lids, should be gently simmered (not boiled) in hot water according to manufacturer instructions to soften the sealing compound.
Ensure all your utensils, cutting boards, and work surfaces are also thoroughly cleaned and sanitized. Cross-contamination is a silent enemy in the kitchen.
The Jam Making Process: From Fruit to Pot
Once your fruit is prepared and your jars are sterilized, the jam-making process begins. The key is to cook the fruit quickly to a specific temperature or consistency that allows the pectin to activate and set.
Combine your prepared fruit with sugar (if using) and lemon juice. Lemon juice is vital for two reasons: its acidity helps activate the pectin, and it lowers the overall pH of the jam, making it safer for water bath canning. Cook the mixture over medium-high heat, stirring constantly to prevent scorching. The jam is ready when it reaches its “setting point”—typically around 220°F (104°C) at sea level, or when a small amount placed on a chilled plate wrinkles when pushed.
Mastering the Water Bath Canning Method
For homemade jams, the water bath canning method is the safest and most recommended preservation technique. This process creates a vacuum seal, removing air and preventing spoilage organisms from growing.
Steps for Water Bath Canning:
- Prepare Canner: Fill a large stockpot or canning pot with enough water to cover your jars by at least one inch. Place a rack at the bottom of the pot. Bring the water to a boil.
- Fill Jars: Carefully ladle the hot jam into your hot, sterilized jars, leaving appropriate headspace (typically 1/4 inch from the rim). Wipe jar rims clean with a damp cloth to ensure a proper seal.
- Apply Lids and Bands: Place the sterilized lid on each jar, then screw on the bands until finger-tight (not too tight).
- Process Jars: Carefully lower the filled jars into the boiling water, ensuring they are fully submerged. Cover the canner and bring the water back to a rolling boil. Process for the recommended time (typically 5-10 minutes for jams, adjusting for altitude).
- Cool and Check Seals: After processing, turn off the heat, remove the canner lid, and let the jars sit for 5 minutes before carefully removing them. Place jars on a towel-lined counter, spaced apart, to cool undisturbed for 12-24 hours. Do not overtighten bands during cooling.
After cooling, check for a proper seal. The center of the lid should be concave and not flex when pressed. If a jar hasn’t sealed, refrigerate it and consume it within a few weeks, or re-process immediately with a new lid.
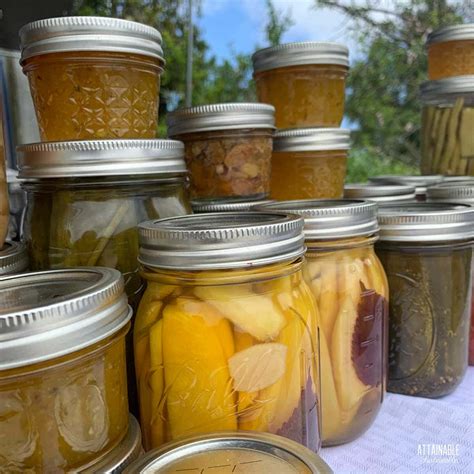
Storage and Troubleshooting
Properly sealed and processed jams can be stored in a cool, dark, dry place for up to one year. Once opened, refrigerate the jam and consume within a few weeks. Always inspect jars before opening for signs of spoilage, such as mold, off-odors, or bulging lids, and discard immediately if any are present.
Common issues include jams that don’t set (often due to insufficient pectin, lack of acidity, or undercooking) or those that are too stiff (overcooking or too much pectin). With practice, you’ll develop a feel for the perfect consistency and learn to adjust your recipes based on the natural pectin content of your chosen fruits.
Conclusion
Preserving homemade jams with natural pectin is a delightful skill that, when combined with rigorous food safety practices, yields safe and flavorful results. By understanding fruit pectin, meticulously sterilizing equipment, and mastering the water bath canning method, you can confidently enjoy your homemade fruit spreads throughout the year, knowing they are both delicious and safely preserved.

