

Tips for building a simple, effective DIY root cellar for year-round harvest storage?
Why Build a DIY Root Cellar?
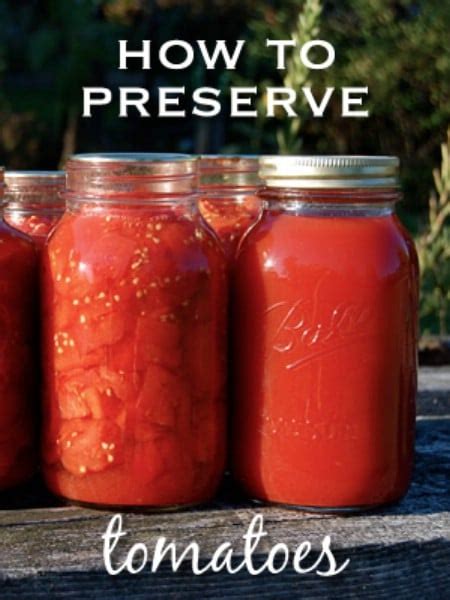
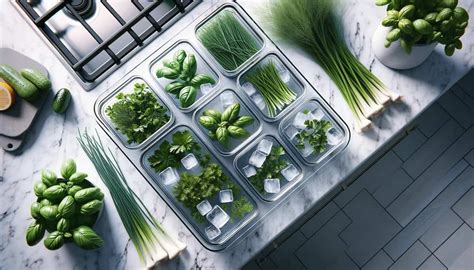
A root cellar is an age-old method of food preservation that utilizes the earth’s natural cooling and humidifying properties to store vegetables and fruits for extended periods. In today’s world of rising energy costs and a desire for more self-sufficiency, building your own DIY root cellar offers an economical and sustainable way to keep your harvest fresh throughout the year, minimizing waste and maximizing your garden’s output.
Whether you have a sprawling garden or just a few raised beds, a well-designed root cellar can transform your food storage capabilities, ensuring a steady supply of nutritious produce even in the depths of winter. The key lies in understanding the core principles: consistent cool temperatures and appropriate humidity levels.
Planning Your Root Cellar: Location and Design
Choosing the Right Location
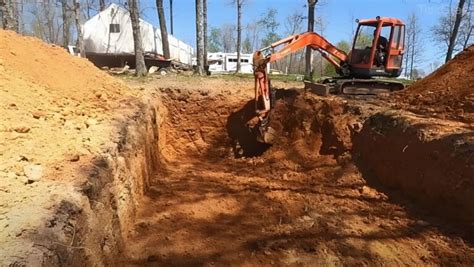
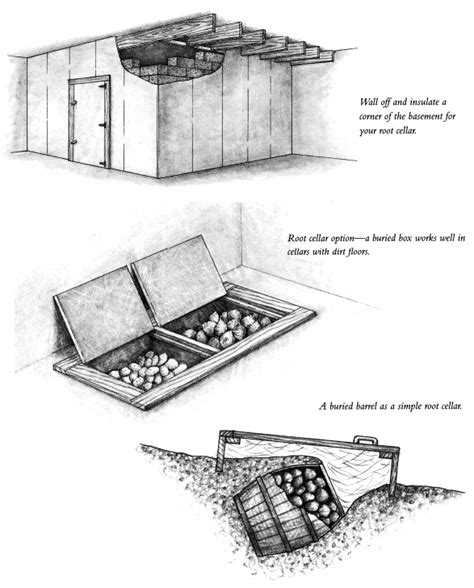
The success of your root cellar hinges on its location. The ideal spot will naturally be cool and well-drained. Consider digging into a hillside, under a porch, or even constructing an insulated shed-like structure partially buried in the ground. Avoid areas prone to flooding or with poor drainage, as excess moisture can lead to spoilage and structural issues.
- Natural Cooling: Look for a spot that stays naturally cool year-round, away from direct sunlight.
- Drainage: Ensure the site has good drainage to prevent water accumulation.
- Accessibility: Plan for easy access, especially during winter months when you’ll be retrieving stored produce.
Simple Design Considerations
A simple root cellar doesn’t need to be complex. A basic design involves an insulated enclosure, good ventilation, and protection from pests. Focus on maintaining a consistent temperature between 35-50°F (2-10°C) and a humidity level of 85-95% for most root crops.
Essential Components of an Effective Root Cellar
Insulation and Thermal Mass
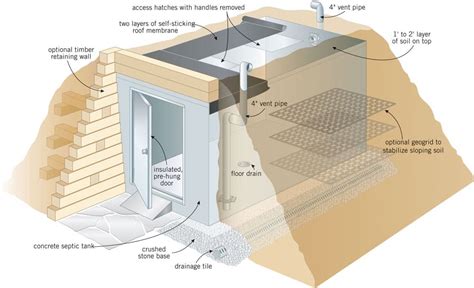
The earth itself provides significant insulation, but supplementing with additional insulation is crucial. Materials like straw bales, rigid foam insulation, or even thick layers of compacted soil can help maintain stable temperatures. Incorporating thermal mass, such as concrete blocks or large stones, helps absorb and slowly release temperature changes, further stabilizing the environment.
Ventilation is Key
Proper airflow prevents the buildup of ethylene gas (emitted by ripening fruits), reduces condensation, and introduces fresh, cool air. A simple passive ventilation system typically includes:
- Inlet Vent: Placed low on one side to draw in cooler, heavier air.
- Outlet Vent: Placed high on the opposite side to allow warmer, stale air to escape.
These vents should be screened to prevent pests and can be equipped with dampers for climate control.

Humidity Control
High humidity is essential for preventing root crops from shriveling. The earth naturally provides some humidity, but you can enhance it by having a dirt floor, placing damp sand or sawdust on the floor, or using a bucket of water. However, ensure there’s enough ventilation to prevent excessive condensation leading to mold.
Building Materials and Construction Tips
For a simple DIY root cellar, you don’t need highly specialized materials. Common choices include:
- Wood: Treated lumber for framing, if not directly in contact with soil.
- Concrete Blocks or Stone: For walls that provide thermal mass and durability.
- Earthbags: A sustainable and affordable option for walls.
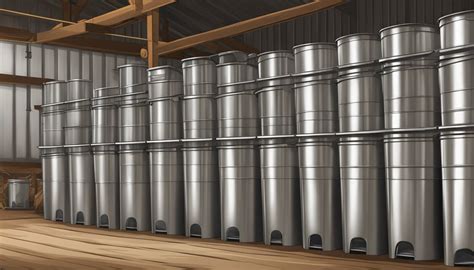
- Metal or Plastic Barrels: Can be buried to create mini-cellars.
- Insulation: Straw bales, rigid foam boards, or even wood chips.
When constructing, pay close attention to sealing gaps to prevent pest entry and minimize heat exchange with the outside. A sturdy, insulated door is also vital.
Storing Your Harvest Effectively
Once your root cellar is built, proper storage techniques maximize its effectiveness:
- Curing: Many crops (like squash, potatoes, and onions) benefit from a curing period before storage to heal wounds and toughen skins.
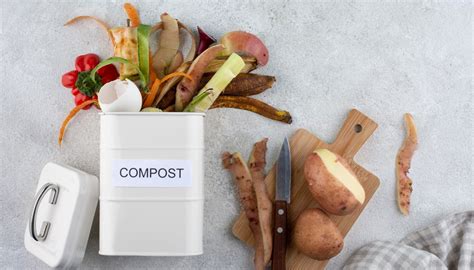
- Cleanliness: Store only healthy, blemish-free produce. Remove excess soil but avoid washing, which can introduce moisture and pathogens.
- Separation: Store items that release ethylene gas (apples, pears) away from ethylene-sensitive crops (carrots, potatoes) to prevent premature sprouting or spoilage.
- Containers: Use slatted crates, bins, or even burlap sacks for good airflow. Burying carrots or beets in damp sand can extend their freshness significantly.
- Monitoring: Regularly check your stored produce for any signs of spoilage and remove affected items immediately to prevent contamination.
![How to Build a Root Cellar Cheap [But Effective] - Outdoor Happens](/images/aHR0cHM6Ly90czQubW0uYmluZy5uZXQvdGg/aWQ9T0lQLkxyT2hhRk1EQm9nQnlwVi1OWkdPdUFIYUZqJnBpZD0xNS4x.webp)
Enjoying Year-Round Bounty
Building a DIY root cellar is a rewarding project that empowers you to take control of your food supply. With careful planning and attention to the basic principles of temperature, humidity, and ventilation, you can create an effective storage solution that will keep your garden’s harvest fresh and delicious throughout the year, connecting you more deeply with the rhythm of the seasons and the fruits of your labor.