


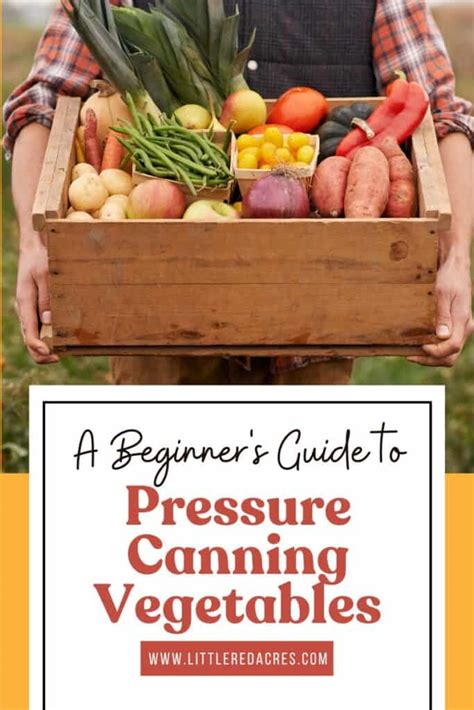
What’s the safest way for beginners to home-can low-acid garden vegetables?
Embracing Home Canning: Safety First for Low-Acid Foods
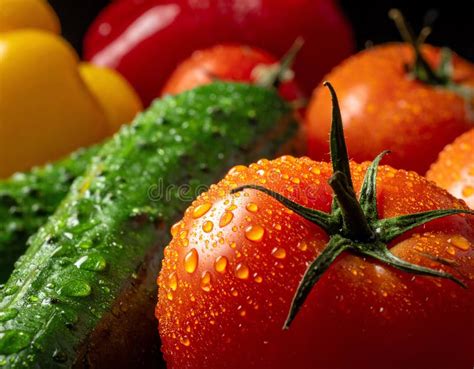
There’s immense satisfaction in preserving the harvest from your own garden, but when it comes to low-acid vegetables, safety is paramount. Unlike high-acid foods (like most fruits and pickled items) which can be safely canned using a boiling water bath, low-acid vegetables require a different, more rigorous approach: pressure canning. This method is the only scientifically proven way to destroy the spores of Clostridium botulinum, the bacteria responsible for botulism, a serious and potentially fatal foodborne illness.
For beginners, understanding and implementing the correct techniques for pressure canning is crucial. This guide will walk you through the safest practices to ensure your home-canned vegetables are not only delicious but also safe for consumption.
Understanding Low-Acid vs. High-Acid Foods
The distinction between low-acid and high-acid foods is based on their pH level. High-acid foods have a pH of 4.6 or lower, while low-acid foods have a pH above 4.6. Most common garden vegetables like green beans, corn, peas, carrots, potatoes, and most meats fall into the low-acid category. The higher acidity in foods like tomatoes (which can sometimes be borderline), fruits, and pickled items naturally inhibits bacterial growth, making boiling water bath canning effective for them.
For low-acid foods, the pH is too high to prevent the growth of botulism spores, which thrive in oxygen-free environments like sealed jars. Pressure canning reaches temperatures far higher than boiling water (240°F to 250°F or 116°C to 121°C), which is essential to kill these heat-resistant spores.
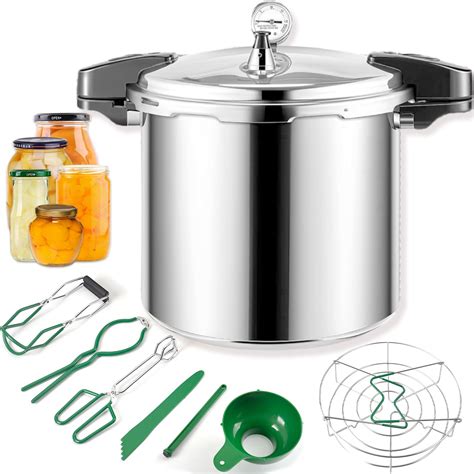
Essential Equipment for Safe Pressure Canning
Before you begin, gather the necessary tools. Investing in quality equipment is a cornerstone of safe canning:
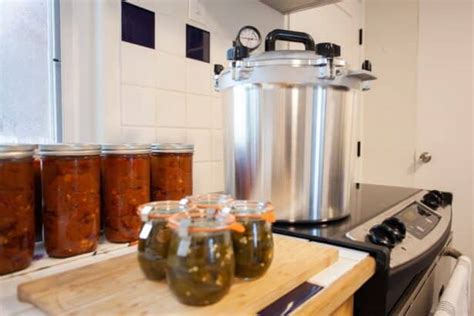
- Pressure Canner: This is non-negotiable for low-acid foods. Choose between a dial gauge or weighted gauge canner. Dial gauges need to be checked for accuracy annually. Weighted gauges are generally considered more reliable as they don’t require calibration.
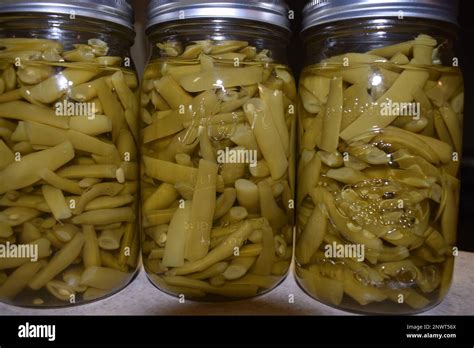
- Canning Jars: Use only standard canning jars (Mason jars) specifically designed for home canning. Inspect them for chips or cracks.
- Two-Piece Lids: New lids are essential for each canning session to ensure a proper seal. Rings can be reused if they are not rusty or bent.
- Jar Lifter: To safely place and remove hot jars from the canner.
- Headspace Tool: To measure the correct space between the food and the jar lid.
- Bubble Remover/Debubbler: A plastic utensil to remove air bubbles from jars before sealing.
- Large Pot for Blanching/Prepping: For preparing vegetables.
- Basic Kitchen Utensils: Knives, cutting boards, towels.
Step-by-Step Guide to Safely Pressure Canning Low-Acid Vegetables
1. Preparation is Key
- Clean and Inspect: Thoroughly wash and inspect your vegetables. Remove any bruised or damaged parts.
- Wash and Sterilize Jars: Wash jars in hot, soapy water and rinse well. While sterilization isn’t strictly necessary for foods processed for 10+ minutes in a pressure canner, ensuring jars are clean and hot helps prevent thermal shock.
- Prepare Lids and Rings: Follow manufacturer’s instructions for preparing lids (some require simmering, others don’t). Set aside rings.
2. Prepare Your Vegetables for Canning
- Hot Pack vs. Raw Pack: Most low-acid vegetables are best hot-packed (heated through before packing into jars) as this results in better quality and reduces floating. Raw packing is an option for some denser vegetables like corn or peas, but hot packing generally yields superior results.
- Follow Tested Recipes: Always use recipes from reliable sources like the USDA National Center for Home Food Preservation (NCHFP), university extension offices, or reputable canning books. These recipes provide precise instructions for preparation, packing, processing times, and pressures.
3. Packing Jars and Processing
- Pack Jars: Carefully pack your prepared vegetables into hot jars.
- Add Liquid: Add boiling water or broth, leaving the recommended headspace (usually 1 inch for most low-acid vegetables).
- Remove Air Bubbles: Use your debubbler to remove trapped air bubbles, ensuring liquid covers the food. Recheck headspace and add more liquid if needed.
- Wipe Rims: Clean jar rims thoroughly with a damp cloth to ensure a good seal.
- Apply Lids and Rings: Place lids on jars and screw on rings finger-tight.
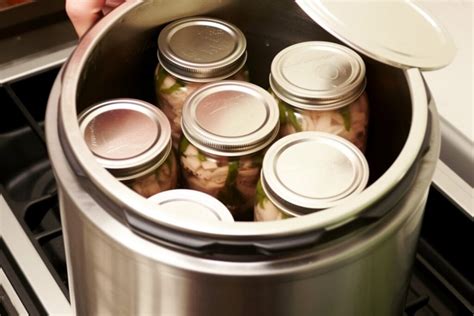
- Load Canner: Place jars on the rack inside your pressure canner. Add the amount of hot water recommended by your canner manufacturer (usually 2-3 inches).
- Vent Canner: Secure the canner lid. Turn heat to high and allow steam to vent steadily for 10 minutes. This purges air from the canner, which is vital for reaching proper temperatures.
- Process: Apply the weighted gauge or close the petcock/vent. Bring the canner up to the specified pressure for your altitude and recipe (e.g., 10 or 11 pounds of pressure for weighted gauges, or as specified for dial gauges). Maintain this pressure steadily for the recommended processing time.
- Cool Down: Once processing is complete, turn off the heat and allow the canner to cool naturally until the pressure gauge reads zero. Do not rush this process.
- Remove Jars: Carefully remove the canner lid (opening away from your face). Using a jar lifter, place hot jars on a towel-lined surface, ensuring they are not touching each other.
Critical Safety Tips for Beginners
- Always Use Tested Recipes: Never guess processing times or methods. Stick to scientifically tested recipes from reliable sources.
- Calibrate Dial Gauges: Have your dial gauge canner checked annually for accuracy.
- Mind Your Altitude: Processing times and pressures need to be adjusted for higher altitudes. Consult a reliable chart for your specific elevation.
- Do Not Alter Ingredients: Do not add extra low-acid ingredients (like more vegetables, fats, or thickeners) to a recipe unless specified, as this can change the density and affect heat penetration.
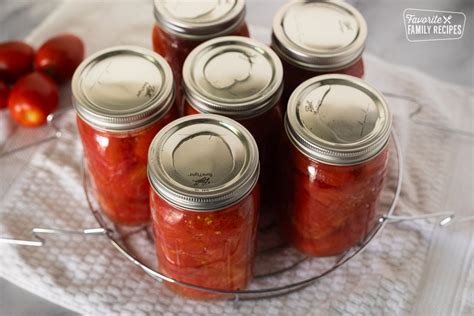
- Check for Seals: After 12-24 hours, check jar seals. Remove rings and press down on the center of each lid; it should not flex. A properly sealed jar will have a concave lid.
- Store Properly: Store sealed jars in a cool, dark, dry place without the rings on.
- Inspect Before Opening: Before opening, check for signs of spoilage: bulging lids, leaks, unusual odors, or cloudy liquid. If in doubt, throw it out.
Conclusion: Confidence Through Correctness
Pressure canning low-acid vegetables might seem daunting at first, but by following these safety guidelines and using reliable, tested recipes, beginners can confidently preserve their garden’s bounty. The key is never to take shortcuts or deviate from recommended procedures. With a little practice and attention to detail, you’ll soon be enjoying safe, nutritious, home-canned vegetables all year round, a truly rewarding aspect of country living.