


Best way to blanch and freeze garden greens for winter meals?

Why Preserve Your Garden Greens?
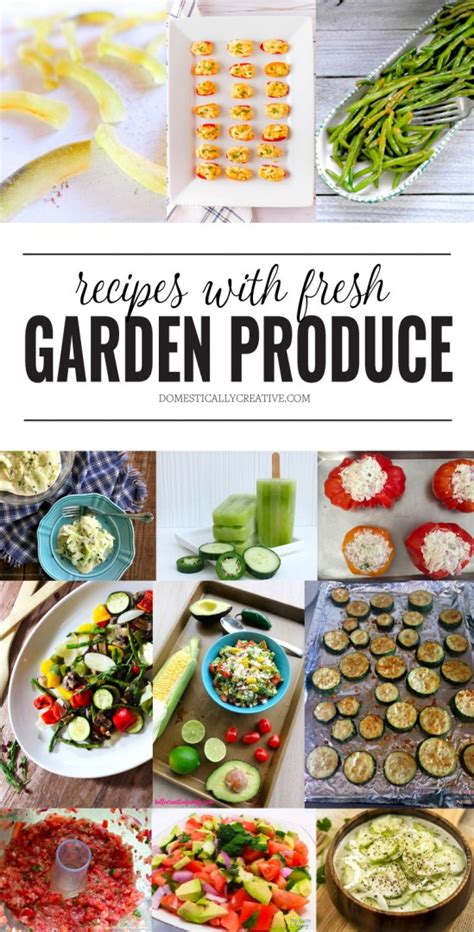
As the gardening season winds down, many home gardeners find themselves with an abundance of fresh greens like spinach, kale, collards, and Swiss chard. Instead of letting this nutritional wealth go to waste, freezing them is an excellent way to enjoy their goodness throughout the colder months. Properly blanched and frozen greens retain much of their flavor, texture, and vital nutrients, making them a perfect addition to winter soups, stews, smoothies, and casseroles.
The Essential Step: Blanching
Blanching is a critical step before freezing most vegetables, especially greens. This quick heat treatment serves several important purposes:
- It stops enzyme actions that cause loss of flavor, color, and texture.
- It cleanses the surface of most dirt and organisms.
- It brightens the color.
- It helps to slow nutrient loss over time.
- It wilts the greens, making them more compact and easier to package.
Step-by-Step Guide to Blanching and Freezing Greens
1. Harvesting and Preparation
Harvest your greens at their peak freshness, ideally in the morning after the dew has dried. Discard any yellowed, damaged, or insect-eaten leaves. Thoroughly wash the greens under cold running water to remove all dirt, sand, and insects. You might need to rinse them several times. For larger leaves like collards or kale, you can remove the tough central stems if desired, or chop them into smaller, more manageable pieces (1-2 inches) before blanching.
2. Blanching Process
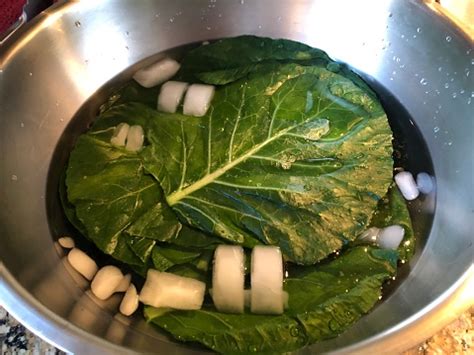
Bring a large pot of water to a rolling boil. For every pound of greens, use at least one gallon of water. While the water is heating, prepare an ice bath in a large bowl – this is crucial for stopping the cooking process quickly. Once the water is boiling, immerse a small batch of greens into the boiling water. Do not overcrowd the pot, as this will lower the water temperature too much and result in uneven blanching. Gently push the greens under the water with tongs.

Blanching times vary slightly depending on the type of green:
- Spinach, Swiss Chard: 2 minutes
- Kale, Collard Greens, Turnip Greens, Mustard Greens: 3 minutes
3. Cooling and Draining
Immediately after the blanching time is up, use a slotted spoon or spider to transfer the greens from the boiling water directly into the ice bath. This rapid cooling stops the cooking process and helps preserve the vibrant color and texture. Keep the greens in the ice bath for the same amount of time they were blanched. Once cooled, thoroughly drain the greens. Squeeze out as much excess water as possible. You can do this by hand, pressing them against a colander, or using a salad spinner. Excess water will create ice crystals and can negatively impact the texture.
4. Packaging for Freezing
Portion the blanched and drained greens into amounts you would typically use for a single meal or recipe. Pack them tightly into freezer-safe bags or containers. If using bags, press out as much air as possible before sealing to prevent freezer burn. For added protection, you can double-bag or use a vacuum sealer. Label each package with the type of green and the date it was frozen.
5. Freezing and Storage
Place the packaged greens in the coldest part of your freezer. If using bags, lay them flat initially to freeze in a thin layer; this makes them easier to store and break apart later. Blanched greens can be stored in the freezer for 8-12 months, though for optimal quality, try to use them within 6 months.
Tips for Using Your Frozen Greens
Frozen greens are incredibly versatile. There’s no need to thaw them before use in most cooked dishes; simply add them directly from the freezer:
- Stir into soups, stews, or chili during the last 10-15 minutes of cooking.
- Add to pasta sauces or casseroles.
- Sauté with garlic and olive oil as a quick side dish.
- Blend into smoothies for an extra nutritional boost.
- Use in quiches, frittatas, or omelets.

Enjoying Your Harvest All Winter
By taking the time to properly blanch and freeze your garden greens, you’re investing in a season of healthy, flavorful meals. This simple preservation method ensures that the goodness of your summer harvest can be savored and enjoyed even when the snow is falling, bringing a taste of the garden to your winter table.