


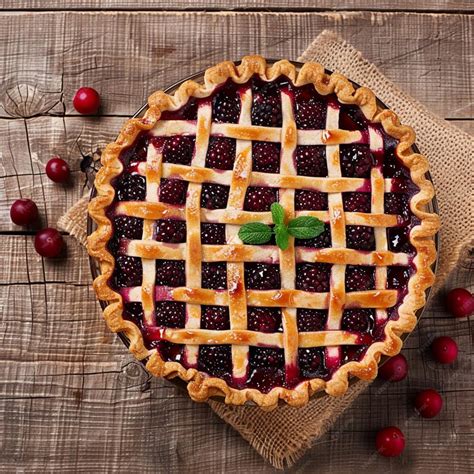
How to prevent soggy bottoms in homemade fruit pies from garden berries?
There’s little in the world of home baking more satisfying than a pie brimming with fresh, sun-ripened berries from your own garden. Yet, the joy can quickly turn to dismay when that beautiful, golden top crust conceals a damp, undercooked bottom. A soggy pie bottom is a common frustration, especially with high-moisture fruits like berries. But fear not, aspiring pie masters! With a few strategic steps, you can ensure a perfectly crisp crust that stands up to even the juiciest fillings.
Understanding the Enemy: Why Pies Get Soggy
The primary culprit behind a soggy pie bottom is moisture. Berries, while delicious, release a significant amount of liquid as they bake. This moisture, combined with steam trapped beneath the crust, can prevent the dough from fully drying out and crisping up. The goal, then, is to create a barrier and manage the moisture within the filling.
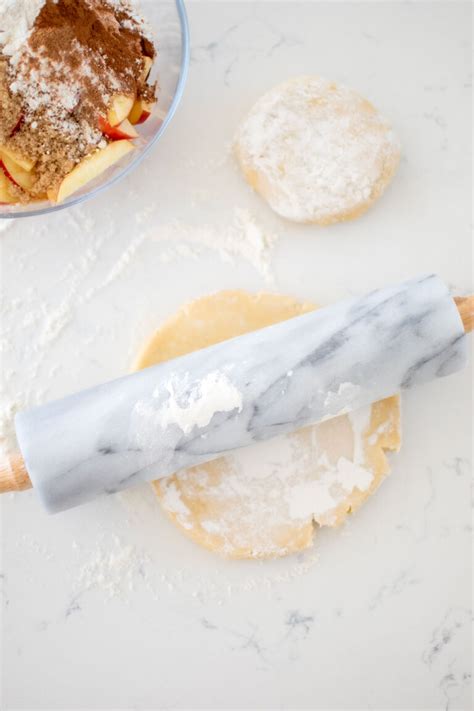
The Foundation: Perfecting Your Pie Crust
A sturdy, well-prepared crust is your first line of defense against sogginess. Don’t skimp on quality ingredients or proper technique when making your dough.
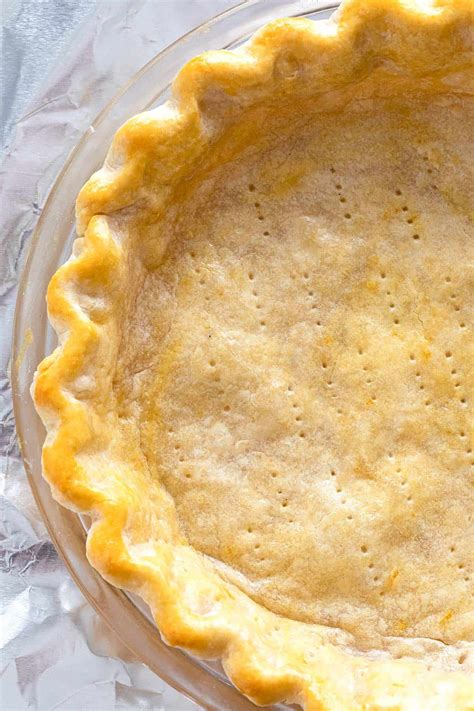
Blind Baking is Your Best Friend
Blind baking, or pre-baking, the bottom crust before adding the filling is perhaps the most critical step. This gives the crust a head start, allowing it to firm up and dry out before it encounters the moist filling.
- Roll Thick: A slightly thicker bottom crust (about 1/8 inch) offers more resistance to moisture.
- Chill Thoroughly: Always chill your rolled-out crust in the pie plate for at least 30 minutes before blind baking. This helps prevent shrinkage.
- Use Pie Weights: Line the chilled crust with parchment paper and fill with pie weights, dried beans, or rice. This prevents bubbling and shrinking.
- Bake Until Pale Golden: Bake in a hot oven (around 400°F/200°C) for 15-20 minutes with weights, then remove weights and continue baking for another 5-10 minutes until the bottom is visibly dry and lightly golden.
Create a Moisture Barrier
After blind baking, you can add an extra layer of protection:
- Egg Wash: Brush the blind-baked crust with a lightly beaten egg white (or whole egg) immediately after removing weights and bake for a few more minutes until set. This creates a waterproof seal.
- Breadcrumbs or Crushed Cereal: Sprinkle a thin layer of plain dry breadcrumbs, crushed cornflakes, or even finely ground shortbread cookies over the bottom of the pre-baked crust before adding the filling. These will absorb excess moisture.
- Melted Chocolate (for specific pies): For certain berry pies (e.g., raspberry-chocolate), a thin layer of melted chocolate brushed onto the crust can create an impermeable barrier once set.
Mastering the Filling: Taming Berry Juices
The filling itself needs careful attention to minimize its liquid contribution to the bottom crust.
Choose the Right Thickener
Berries need a reliable thickener to prevent the filling from being too watery. Common choices include:
- Cornstarch: Provides a glossy finish, but can break down if overcooked. Use about 2 tablespoons per 4 cups of berries.
- Tapioca (Quick-Cooking/Instant): Excellent for fruit pies, creating a clear, slightly chewy filling. Use about 2-3 tablespoons per 4 cups of berries. It needs time to fully thicken, often during cooling.
- Flour: A classic, but can sometimes make the filling cloudy. Use about 3-4 tablespoons per 4 cups of berries.
- Pectin: A natural thickener found in fruits, often used in jams. Powdered fruit pectin can be added for a very firm set, especially good for very juicy berries.
Mix your chosen thickener thoroughly with the sugar and any spices before gently folding it into the berries. This ensures even distribution and prevents lumps.
Pre-Treat Your Berries
For exceptionally juicy berries, a little pre-treatment can make a big difference:
- Drain Excess Liquid: If your berries are very wet (e.g., after washing), let them drain in a colander for 15-30 minutes before mixing with other ingredients.
- Macerate and Drain (Optional): For some recipes, you can toss berries with sugar and let them sit for an hour or two. This draws out juice, which you can then drain and reduce on the stovetop to create a flavorful syrup to add back to the berries, or use it for another purpose entirely.
The Bake: Temperature and Technique
How you bake the pie plays a significant role in achieving a crisp bottom.
- Start Hot: Begin baking your pie in a very hot oven (425-450°F / 220-230°C) for the first 15-20 minutes. This creates a burst of steam that lifts the top crust and sets the bottom quickly.
- Reduce Temperature: After the initial blast, reduce the oven temperature to a moderate 375-400°F (190-200°C) for the remainder of the baking time.
- Bake on a Hot Surface: Place your pie on a preheated baking sheet or pizza stone. This transfers heat directly to the bottom of the pie, helping it cook faster and more evenly.
- Bake Until Golden and Bubbly: Don’t pull the pie out too early. The top crust should be deeply golden brown, and the filling should be visibly bubbling in the center, not just at the edges. This indicates the starches have fully gelled and the fruit has cooked through.
The Aftermath: Cooling is Crucial
Patience is a virtue, especially after baking. Resisting the urge to cut into a hot pie is critical for preventing sogginess.
- Cool Completely: Allow your pie to cool on a wire rack for several hours, or even overnight. This allows the filling to fully set and solidify, preventing any remaining liquid from seeping into the crust. Cutting a hot pie releases steam and liquid, making the bottom crust prone to sogginess.

By implementing these tips, you’ll be well on your way to baking berry pies with perfectly crisp bottoms that are a testament to your baking prowess. Enjoy the fruits of your labor, literally!