


How to build a DIY food dehydrator from upcycled materials?
Embrace Sustainable Food Preservation with Upcycling
Food dehydration is an ancient and effective method for preserving food, concentrating flavors, and extending shelf life without losing vital nutrients. While commercial dehydrators can be costly, building your own from upcycled materials is a rewarding DIY project that saves money, reduces waste, and allows you to enjoy healthy, homemade dried snacks all year round. Imagine transforming old crates, discarded screens, and even a light bulb into a functional appliance!
This guide will walk you through the process of creating a simple, effective food dehydrator using items you might already have lying around. Not only will you contribute to a more sustainable lifestyle, but you’ll also gain the satisfaction of building something practical with your own hands.
Why Upcycle and Dehydrate?
Upcycling gives new life to items that would otherwise end up in landfills, reducing your environmental footprint. When applied to food preservation, it creates a powerful synergy. You get to:
- Save Money: Avoid the expense of store-bought dehydrators and pre-packaged dried foods.
- Reduce Waste: Give discarded materials a second purpose and minimize food spoilage.
- Eat Healthier: Control ingredients, avoiding additives and excessive sugars often found in commercial dried snacks.
- Support Local: Preserve seasonal produce from your garden or local farmers’ markets.
- Gain Self-Sufficiency: Develop a valuable skill for sustainable living.
Gather Your Upcycled Materials
The beauty of a DIY project like this is its flexibility. You can adapt it based on what materials you find. Here’s a list of common items perfect for an upcycled dehydrator:
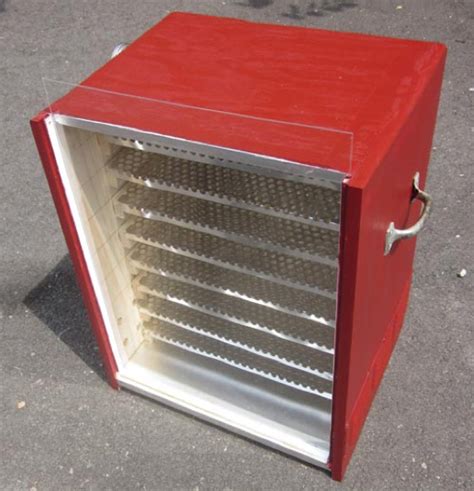
- For the Frame/Casing: Old wooden crates, cardboard boxes (heavy-duty), an old dresser drawer, a broken cabinet, or even sturdy plastic containers.
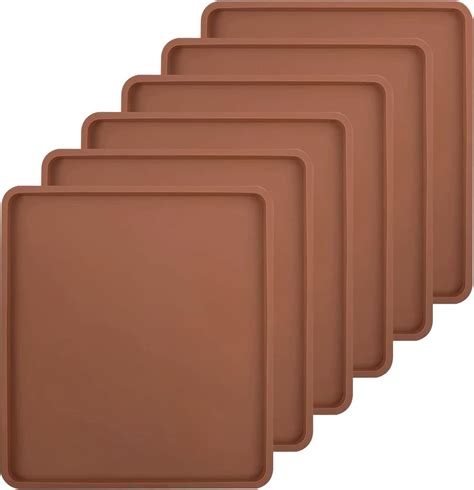
- For the Racks/Trays: Window screens (fiberglass or stainless steel, not galvanized to avoid zinc contamination), old oven racks, wire cooling racks, or repurposed plastic mesh (ensure it’s food-safe).
- For Airflow: Small computer fans (USB powered), a piece of old ductwork, or simple vents cut into the frame.
- For Heat Source (Optional): A low-wattage incandescent light bulb (e.g., 60-100W) with a ceramic socket and cord, or simply rely on passive solar heat.
- Miscellaneous: Wood glue, screws, nails, hinges (for a door), clear plastic sheeting or an old window pane (for solar models), aluminum foil, tape, and basic tools (saw, drill, utility knife).
Step-by-Step Construction Guide
1. Design Your Dehydrator
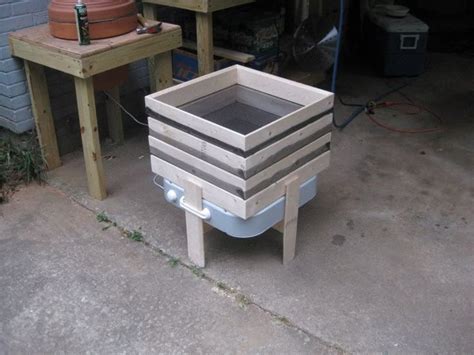
Before cutting, sketch out your design. Consider the size of your available materials and how many trays you want. A vertical design is often most efficient for natural convection.
2. Build the Frame or Casing
If using wooden crates or a cabinet, ensure they are clean and free of sharp edges. For cardboard, reinforce it with additional layers and strong tape. If building from scratch, cut wooden planks to form a rectangular box. The box should have openings for air intake at the bottom and exhaust at the top.
3. Install the Trays
Create ledges or supports inside the frame for your drying racks. You can use thin strips of wood, dowels, or even L-brackets. Ensure enough space (2-3 inches) between each tray for adequate airflow. Cut your chosen mesh or screen material to fit the dimensions of your trays. Secure the mesh to wooden frames or directly to the ledges.

4. Implement Heat and Airflow
Passive Solar Dehydrator:
For a solar model, create a transparent cover (old window pane or clear plastic sheeting) for the top or front of your frame to let sunlight in. Paint the interior of the box dark (black is ideal) to absorb heat. Ensure ample bottom intake and top exhaust vents for natural convection.
Heated Dehydrator (with light bulb):
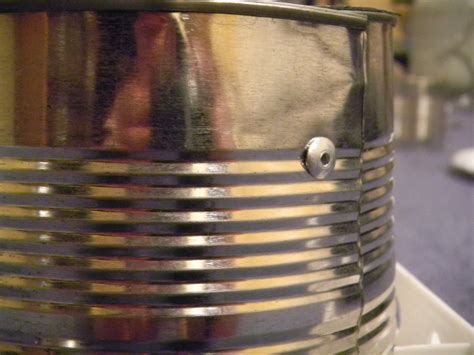
If using a light bulb, install a ceramic light fixture securely at the bottom of the dehydrator. The bulb should be protected by a wire cage to prevent direct contact with food or trays. Cut vents near the bottom (air intake) and top (moisture exhaust) of the dehydrator. You can add a small computer fan near the top vent to assist with airflow, powered by a USB adapter or battery pack.
5. Add Finishing Touches
If your dehydrator has a door, attach it with hinges and a latch. Seal any major gaps to ensure controlled airflow, but leave your intended vents open. For cardboard models, wrap the exterior with aluminum foil to reflect heat inwards (for solar) or retain heat (for heated models).
Tips for Effective Dehydration
- Prepare Food Properly: Wash, slice uniformly (thin slices dry faster), and blanch some vegetables (like carrots or beans) to retain color and nutrients.
- Don’t Overload: Leave space between food pieces on the trays for optimal airflow.
- Rotate Trays: If using a non-fan model, rotate trays periodically for even drying.
- Monitor Temperature: Ideal drying temperatures vary by food type (e.g., 125°F/52°C for fruits, 145°F/63°C for meats). Your DIY model might be less precise, so adjust placement (for solar) or wattage (for bulb) as needed.
- Check for Dryness: Food is dry when pliable but not sticky (fruits), or brittle and snaps (vegetables).
- Conditioning: After drying, store food loosely in jars for a few days, shaking daily, to distribute any residual moisture evenly and prevent mold.
Maintaining Your Upcycled Dehydrator
Regular cleaning is essential. After each use, remove trays and wipe down all surfaces with a damp cloth. For stubborn residues, a mild soap solution can be used, followed by thorough drying. Store your dehydrator in a dry place to prevent moisture damage, especially if made from wood or cardboard.
Conclusion: Sustainable Snacking Made Easy
Building an upcycled food dehydrator is a testament to ingenuity and a commitment to sustainability. It’s an accessible project that empowers you to take control of your food preservation, reduce waste, and enjoy wholesome, homemade snacks. Whether you’re drying garden herbs, making fruit leathers for kids, or preparing jerky, your DIY dehydrator will prove to be a valuable addition to your eco-conscious kitchen. Get creative, gather your materials, and start preserving the bounty!