


Best natural method to re-season a cast iron skillet for everyday use?

Why a Well-Seasoned Skillet Matters for Everyday Cooking
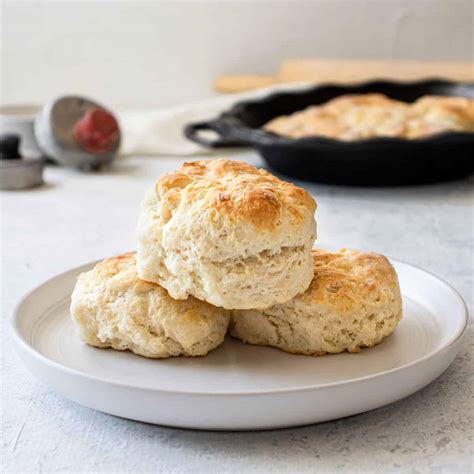
A properly seasoned cast iron skillet is more than just a piece of cookware; it’s a culinary workhorse that can last generations. The seasoning—a layer of polymerized oil baked onto the iron—creates a natural non-stick surface, protects against rust, and imparts a unique flavor to your food. For everyday use, maintaining this seasoning is crucial for hassle-free cooking and easy cleanup. While various oils can be used, we’ll explore the best natural method to bring your skillet back to its prime, ensuring it performs flawlessly day in and day out.
Understanding the Natural Re-Seasoning Process
Re-seasoning a cast iron skillet involves a simple chemical reaction where oil is baked at a high temperature, bonding with the iron at a molecular level to form a tough, plastic-like coating. The key to a good, natural seasoning is choosing the right oil and applying it correctly. While many oils work, some are better suited for creating a robust and long-lasting finish.
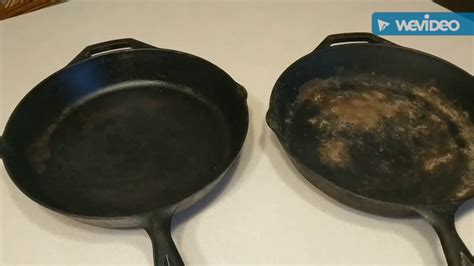
Step 1: Deep Clean Your Skillet
Before re-seasoning, it’s essential to clean your skillet thoroughly, especially if it has rust or a sticky, uneven previous seasoning. Don’t be afraid to use soap and a scrub brush; the goal is to get down to bare metal or a very clean, smooth surface.
- Scrub: Use hot water, a mild dish soap (if needed for stuck-on residue), and a stiff brush or steel wool. For rust, a scour pad or even fine-grit sandpaper can be effective.
- Rinse: Rinse thoroughly to remove all soap and debris.
- Dry Completely: This is critical. Immediately place the skillet on a stovetop over medium heat for 2-3 minutes to evaporate every last drop of moisture. A damp skillet will rust instantly.
Step 2: Choose Your Natural Oil
For the best natural seasoning, an oil with a high smoke point and good polymerization properties is ideal. Flaxseed oil is often cited as the gold standard for creating a hard, glass-like finish due to its high omega-3 fatty acid content, which polymerizes exceptionally well. Other excellent natural choices include grapeseed oil, vegetable oil, or sunflower oil, all of which have high smoke points.
- Flaxseed Oil: Creates a very hard, durable seasoning. Use food-grade, cold-pressed flaxseed oil.
- Grapeseed Oil: Another excellent option with a high smoke point and neutral flavor.
- Vegetable/Sunflower Oil: More common and affordable, they also work well for building seasoning layers.

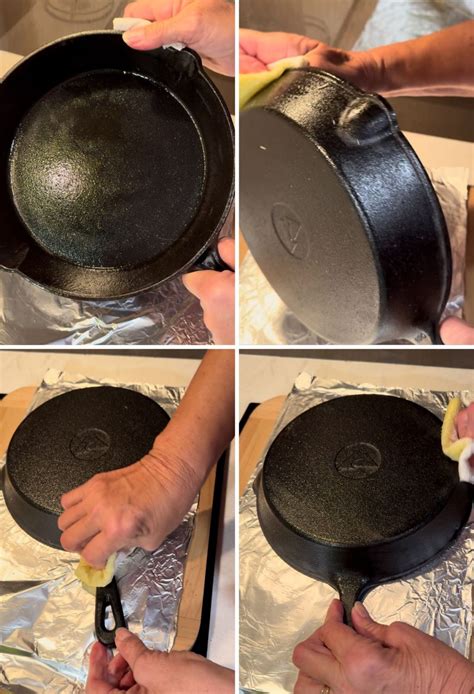
Step 3: Apply a Micro-Thin Layer of Oil
This is arguably the most crucial step. Too much oil will result in a sticky, uneven finish. You want a layer so thin it almost looks like there’s no oil at all.
- Apply about a teaspoon of your chosen oil to the entire skillet (inside, outside, handle, and bottom).
- Using a clean, lint-free cloth or paper towel, rub the oil into every surface, ensuring full coverage.
- Now, take a fresh, clean cloth or paper towel and rub the skillet as if you’re trying to remove all the oil. You’re not removing it; you’re just spreading it extremely thin and wiping away any excess. The skillet should appear dry, not greasy.
Step 4: The Oven Bake Method
Baking the oiled skillet at a high temperature is key to polymerization.
- Preheat Oven: Preheat your oven to 450-500°F (230-260°C).
- Position Skillet: Place the oiled skillet upside down on the middle rack. This prevents oil from pooling in the bottom. Place a baking sheet or aluminum foil on the rack below to catch any potential drips.
- Bake: Bake for one hour. During this time, the oil will polymerize and bond with the iron.
- Cool Slowly: Turn off the oven and let the skillet cool completely inside the oven. This slow cooling helps the seasoning set properly.
- Repeat Layers: For a truly robust and durable seasoning, repeat steps 3 and 4 at least 3-5 times. Each layer builds upon the last, creating a stronger, more non-stick surface. Allow the skillet to cool completely between each layer.
Everyday Maintenance for Lasting Seasoning
Once your skillet is re-seasoned, consistent everyday care will keep it in top condition.
- Preheat Properly: Always preheat your skillet thoroughly before adding food to prevent sticking.
- Use Fat: Cook with a small amount of oil or butter, especially during the initial uses after re-seasoning.
- Avoid Harsh Soaps: For routine cleaning, hot water and a stiff brush or chainmail scrubber are usually sufficient. Avoid harsh detergents or steel wool, as they can strip the seasoning.
- Dry Immediately: After washing, dry your skillet immediately with a towel, then place it on a burner over low heat for a minute to ensure it’s bone dry.
- Light Oil After Each Use: While still warm, rub a very thin layer of cooking oil (like grapeseed or vegetable oil) into the skillet with a paper towel. This replenishes and strengthens the seasoning with each use.
- Store Properly: Store in a dry place. If stacking, place a paper towel between skillets to prevent moisture buildup and scratching.
Conclusion
Re-seasoning your cast iron skillet using this natural, oven-bake method with appropriate oils is an investment in your cooking experience. It might take a few hours across multiple layers, but the reward is a naturally non-stick, durable, and rust-resistant pan ready for any culinary adventure. With regular cooking and proper maintenance, your cast iron will only improve with age, becoming an indispensable tool in your everyday kitchen routine.