


Safe home-canning methods for excess garden produce, like summer beans?
Embracing the Harvest: Safe Home Canning for Garden Abundance
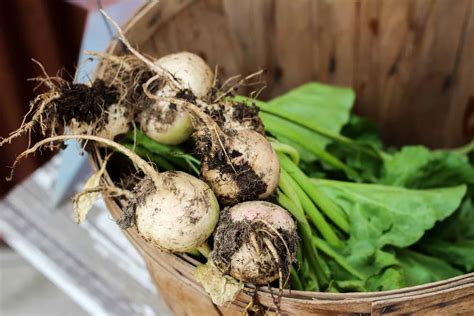
There’s a unique satisfaction that comes from a thriving garden, especially when it yields more produce than you can possibly consume fresh. Summer beans, for instance, often come in a magnificent flush, leaving many gardeners wondering how to preserve this bounty for enjoyment year-round. Home canning is a time-honored tradition that allows you to capture the peak freshness and nutritional value of your homegrown vegetables. However, safety is paramount when it comes to canning, as improper methods can lead to serious health risks.
This article will guide you through the essential, safe home-canning practices, with a particular focus on methods suitable for low-acid vegetables like green beans, ensuring your pantry is stocked with delicious, safely preserved produce.
Understanding Canning Methods: Pressure vs. Water Bath
The first and most critical step in safe home canning is selecting the correct method for your produce. There are two primary canning methods:
- Boiling Water Bath Canning: This method is suitable only for high-acid foods such as fruits, jams, jellies, pickles, and tomatoes (sometimes with added acid). The high acidity, combined with the heat from the boiling water, is sufficient to destroy spoilage organisms and prevent the growth of harmful bacteria.
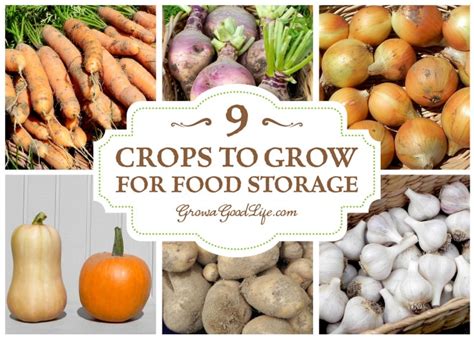
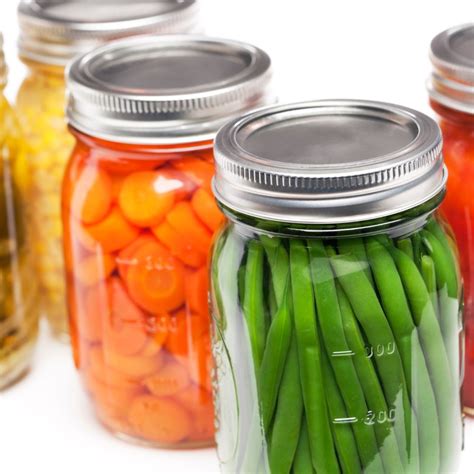
- Pressure Canning: This is the ONLY safe method for low-acid foods, which include most vegetables (like green beans, corn, peas, carrots, potatoes), meats, poultry, and seafood. Low-acid foods do not have enough natural acidity to prevent the growth of Clostridium botulinum, the bacteria that causes botulism, a potentially fatal foodborne illness. A pressure canner heats food to temperatures much higher than boiling water, effectively destroying these dangerous bacteria and their spores.
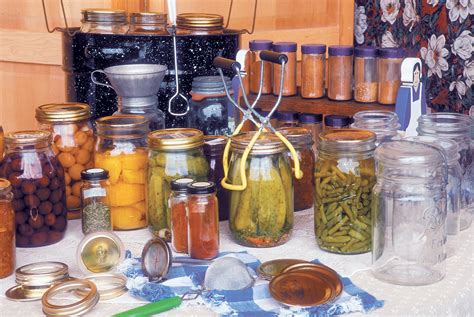
Essential Equipment for Safe Canning
Before you begin, gather the necessary equipment:
- Pressure Canner: A heavy-duty pot with a lockable lid, a vent pipe, a pressure gauge (dial or weighted), and a rack to keep jars off the bottom. Ensure yours is in good working order and calibrated if it has a dial gauge.
- Canning Jars: Use only mason-type jars specifically designed for canning. Inspect them for cracks or chips, especially around the rim.
- Lids and Bands: New, unused two-piece lids (flat lid and screw band) are essential for a proper seal. Bands can be reused, but flat lids are single-use.
- Canning Utensils: A jar lifter, canning funnel, bubble remover/headspace tool, and a non-metallic spatula are incredibly helpful.
- Large Pot for Heating Water/Beans: For blanching or hot-packing.
- Clean Towels: For wiping jar rims and general clean-up.
Step-by-Step: Pressure Canning Summer Beans
Let’s walk through the process using summer green beans as our example. Always follow USDA-recommended guidelines for specific processing times and pressures, as these vary by food type, jar size, and altitude.
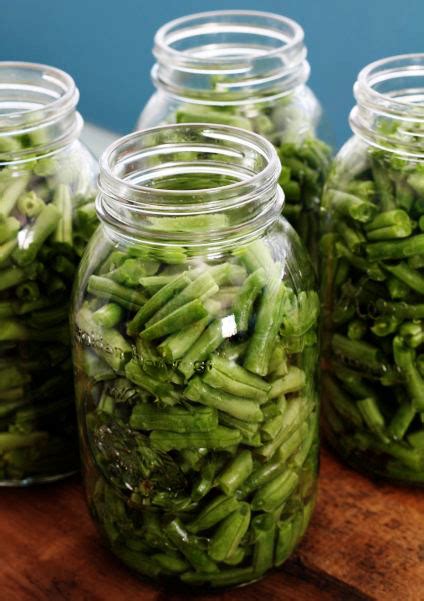
1. Prepare Your Beans
Wash beans thoroughly, snap off the ends, and leave whole or cut into 1-inch pieces. You can choose between raw pack or hot pack:
- Raw Pack: Place raw beans directly into hot jars. Fill jars with boiling water, leaving 1-inch headspace. This method is quicker initially but may result in more floating produce and a slightly softer texture.
- Hot Pack: Blanch beans in boiling water for 3-5 minutes, then pack hot beans loosely into hot jars. Cover with the hot cooking liquid, leaving 1-inch headspace. Hot packing often results in a better texture and less floating.
2. Prepare Jars and Lids
Wash jars in hot, soapy water and rinse well. Keep them hot until filling to prevent thermal shock. Place new lids in a small saucepan of simmering water (do not boil) to soften the sealing compound. Screw bands can be clean and dry.
3. Fill and Seal Jars
Pack beans (raw or hot) into hot jars, leaving 1-inch headspace. Pour boiling water or hot cooking liquid over the beans, maintaining the 1-inch headspace. Remove air bubbles using a non-metallic utensil. Wipe jar rims thoroughly with a clean, damp cloth. Center a warm lid on each jar, then apply a screw band fingertip tight (just until resistance is met).
4. Process in the Pressure Canner
Place the rack in the bottom of the pressure canner and add 2-3 inches of hot water. Carefully place filled jars on the rack. Secure the canner lid. Turn heat to high. Allow steam to escape continuously from the vent pipe for 10 minutes (this is crucial for removing air and ensuring accurate pressure). After venting, place the weighted gauge or close the petcock to pressurize the canner. Bring the canner to the recommended pressure (e.g., 10-11 pounds for most beans at sea level, adjust for altitude) and begin timing. Maintain steady pressure throughout the processing time.

5. Cool and Check Seals
Once processing time is complete, turn off the heat and allow the canner to cool naturally until the pressure gauge reads zero. Do NOT rush this process by opening the vent or cooling with water. Once pressure is zero, remove the lid carefully, tilting it away from your face. Let jars sit in the canner for 5-10 minutes, then remove them with a jar lifter and place on a towel-lined surface, ensuring they are not touching. Allow jars to cool undisturbed for 12-24 hours.
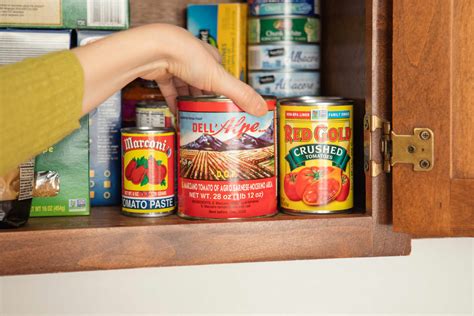
After cooling, check seals: the center of the lid should be concave and not flex when pressed. Remove screw bands, wipe jars clean, label with contents and date, and store in a cool, dark place. Any unsealed jars must be reprocessed or refrigerated and consumed within a few days.

General Safety Reminders for Home Canning
- Follow Recipes Precisely: Never alter canning recipes, processing times, or pressures. These are scientifically developed for safety.
- Maintain Cleanliness: Sterilize jars (if required for recipe, though pressure canning temperatures typically make this less critical than with water baths) and ensure all tools and surfaces are spotless.
- Check for Spoilage: Before consuming home-canned foods, inspect them for signs of spoilage: a bulging lid, leakage, foamy liquid, unusual odors, or mold. If in doubt, when in doubt, throw it out!
- Altitude Adjustments: Living at higher altitudes requires increased processing times or pressure. Consult USDA guidelines for your specific location.
Enjoying Your Hard Work
Safe home canning is a rewarding skill that connects you deeper with your food source and allows you to enjoy the flavors of your garden long after the growing season has ended. By diligently following tested methods, particularly pressure canning for low-acid vegetables like summer beans, you can fill your pantry with nutritious, delicious, and safely preserved food, ready to be enjoyed throughout the year. Happy canning!