


Best DIY plan for sturdy, rot-resistant raised garden beds on a budget?
Why Raised Garden Beds are a Smart Choice
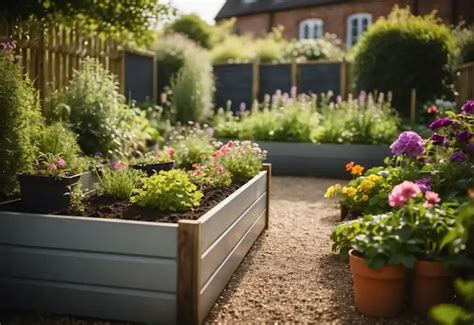
Raised garden beds offer numerous benefits for home gardeners, from improved drainage and soil control to easier access and reduced weeding. They allow you to create optimal growing conditions, extending your growing season and boosting yields. However, purchasing pre-made raised beds can be costly, and poorly chosen materials can lead to rapid rot and structural failure. This guide provides a comprehensive DIY plan to build sturdy, rot-resistant raised beds that are kind to your wallet.
Selecting Budget-Friendly, Rot-Resistant Materials
The key to a long-lasting, affordable raised bed lies in material selection. While cedar and redwood are naturally rot-resistant, they often come with a higher price tag. Here are some excellent budget-friendly alternatives and considerations:
- Untreated Pine or Fir: These are very affordable. To enhance their rot resistance, you must line the interior with a heavy-duty, food-safe plastic liner (e.g., pond liner, 6-mil polyethylene sheeting) before filling with soil. Avoid pressure-treated wood as chemicals can leach into your garden soil.
- Cinder Blocks or Concrete Blocks: These are incredibly durable, rot-proof, and often inexpensive, especially if sourced from reclamation yards. They stack easily but can absorb heat and may alter soil pH over time.
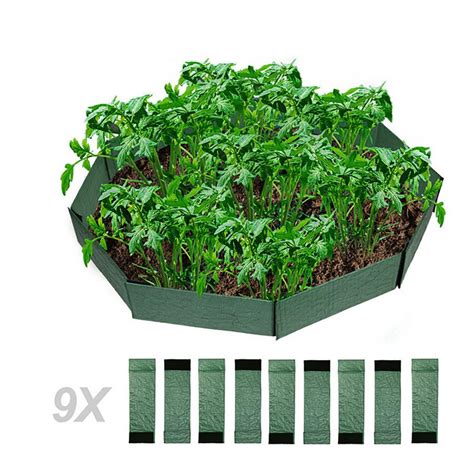
- Corrugated Metal Roofing Panels: When combined with a simple wooden or metal frame, these can create a modern, durable, and relatively inexpensive bed. They are rot-proof but can get very hot in direct sun, potentially cooking roots. Consider light colors or shading.
- Reclaimed Materials: Look for salvaged lumber (ensure it’s untreated and free of harmful chemicals), large tires (research potential leaching), or even thick plastic barrels cut in half. Always verify the safety of reclaimed materials for food gardening.
For fasteners, use galvanized or stainless steel screws and bolts to prevent rust and ensure structural integrity.
The Basic DIY Construction Plan (Wood Frame Example)
Tools and Materials:
- Lumber (e.g., untreated 2x8s or 2x10s for sides)
- Measuring tape, pencil
- Circular saw or handsaw
- Drill and appropriate bits
- Galvanized or stainless steel screws (2.5-3 inches long)
- Corner braces or additional wood blocks for reinforcement
- Food-safe plastic liner (optional, but highly recommended for non-rot-resistant wood)
- Staple gun and staples (for liner)
- Shovel, wheelbarrow, gardening soil mix
Step-by-Step Construction:
- Plan Your Dimensions: A common size is 4×8 feet, allowing easy reach to the center. Determine your desired height (usually 8-12 inches).
- Cut Your Lumber: Cut four boards for the sides (e.g., two 8-foot pieces and two 4-foot pieces for a 4×8 bed). If making taller beds, stack two boards high and secure them together.
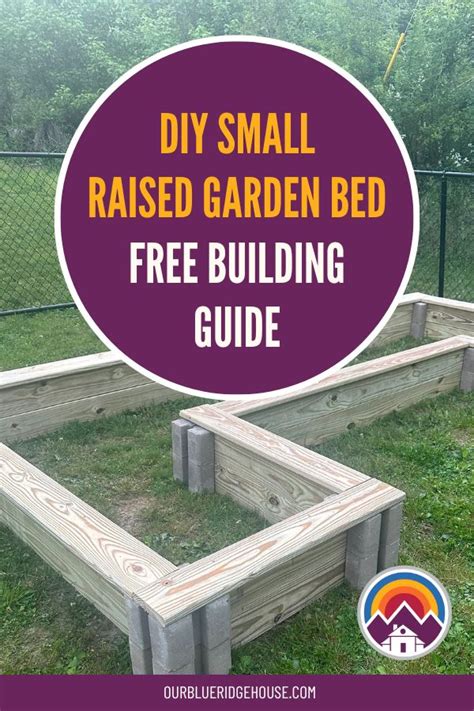
- Assemble the Frame: Lay out your cut boards to form a rectangle. Join the corners using a butt joint (where the end of one board meets the face of another). Pre-drill pilot holes to prevent splitting, then secure with at least two screws per joint. For added strength, attach a 2×2 or 2×4 block vertically inside each corner and screw into both adjacent boards, or use metal corner braces.

- Add Internal Bracing (for longer beds): If your bed is longer than 6 feet, consider adding a cross brace in the middle to prevent bowing under the weight of the soil. Secure a sturdy piece of wood across the width of the bed, screwing it into the long sideboards.
- Install the Liner (if using): Drape your food-safe plastic liner inside the assembled frame. Ensure it covers the bottom and comes up to the top edge of the boards. Smooth it out, leaving some slack for movement, and staple it securely to the top inside edge of the lumber. Cut small drainage holes in the bottom of the liner before filling.
- Prepare the Site: Choose a sunny, level spot for your raised bed. Clear any weeds or grass. You can lay down a layer of cardboard to suppress weeds and improve drainage.
Filling Your Raised Bed for Optimal Growth and Drainage
Proper filling techniques are crucial for both plant health and bed longevity.
- Bottom Drainage Layer: Start with a 2-4 inch layer of coarse material like gravel, broken pottery, or small branches. This promotes drainage and helps prevent waterlogging.
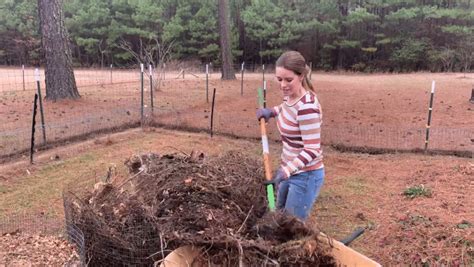
- “Hugelkultur” Layer (Optional): For even better long-term soil health and moisture retention, consider adding a layer of logs, branches, and woody debris. This decomposes slowly, providing nutrients and creating air pockets.
- Organic Matter Layer: Follow with layers of leaves, straw, grass clippings (untreated), or compost. These will break down and enrich your soil.
- Top Soil Mix: Finish with a high-quality blend of topsoil, compost, and an appropriate growing medium (e.g., vermiculite or perlite) tailored to what you plan to grow. Fill to about an inch below the top of the bed.
Smart Tips for Extra Savings
- Scour Local Freebies: Check online marketplaces, community groups, and construction sites for free or cheap lumber, rocks, or other materials.
- Buy in Bulk: If possible, purchase soil, compost, or even lumber in larger quantities from local landscape suppliers, which is often cheaper than bagged products from big box stores.
- Simplify the Design: Complex angles, curves, or intricate joinery require more materials and specialized tools. Stick to simple rectangular or square designs.
- Borrow Tools: Ask friends, neighbors, or join a local tool library to save on purchasing expensive equipment you might only use once.
Conclusion: Grow More, Spend Less
Building sturdy, rot-resistant raised garden beds on a budget is entirely achievable with careful planning and smart material choices. By opting for cost-effective materials like lined pine or concrete blocks, employing simple construction techniques, and prioritizing good drainage, you can create a thriving garden space that lasts for years without breaking the bank. Get ready to enjoy the fruits (and vegetables) of your labor!