


Simple DIY plans for a predator-safe, backyard chicken coop?

Why a Predator-Safe Coop is Non-Negotiable
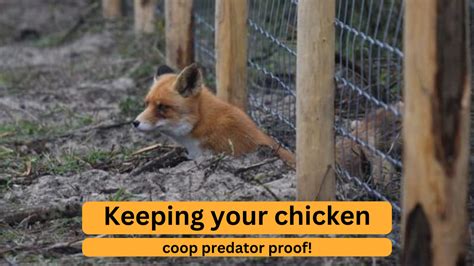
Owning backyard chickens offers immense joy, from fresh eggs to delightful feathered companionship. However, this joy can quickly turn to heartbreak without adequate protection from predators. Raccoons, foxes, hawks, coyotes, and even neighborhood dogs pose a constant threat to your flock. Building a predator-safe coop isn’t just a recommendation; it’s an essential part of responsible chicken keeping. This guide will walk you through simple DIY plans to construct a secure haven for your birds, ensuring their safety and your peace of mind.
Key Design Principles for a Secure Coop
Before gathering your tools, understanding the core principles of predator-proofing will inform every step of your build:
- Fortified Walls and Roof: Use sturdy materials that predators cannot chew through or pry open. Hardware cloth (not chicken wire!) is essential.
- Secure Foundation: Predators dig. Your coop needs a solid base, preferably elevated, with hardware cloth buried around the perimeter.
- Reliable Latches: Simple hooks won’t do. Invest in predator-proof latches that require opposing actions (e.g., a carabiner clip or barrel bolt with an additional hook).
- Integrated or Secure Run: Chickens need outdoor space, but it must be as secure as the coop itself.
- Ventilation with Security: Good airflow is vital for chicken health, but all vents must be covered with hardware cloth.
Essential Materials List
Building a robust coop doesn’t require exotic materials. Here’s what you’ll likely need:
- Wood: 2x4s for framing, plywood or OSB for walls/roof base.
- Hardware Cloth: 1/2-inch or 1/4-inch gauge. This is crucial for walls, floors, and vent covers. Do NOT use chicken wire, as predators can tear through it.
- Roofing Material: Metal roofing, shingles, or corrugated plastic.
- Heavy-Duty Latches: Barrel bolts, carabiner clips, or predator-resistant gate latches.
- Hinges: Sturdy hinges for doors.
- Screws and Nails: Exterior-grade screws are recommended for durability.
- Concrete/Gravel: For the footing trench (optional but highly recommended).
- Tools: Saw, drill, staple gun, measuring tape, level, wire cutters, safety gear.

Step-by-Step Simple Coop Construction
1. Plan Your Design and Site Selection
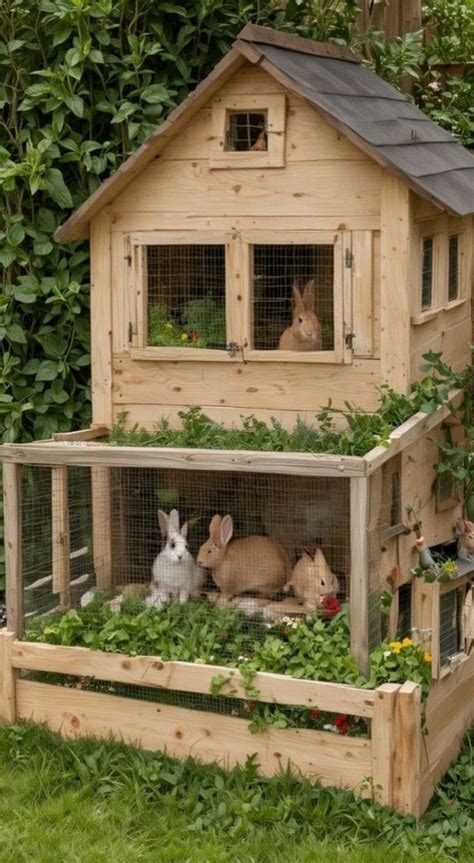
Consider the number of chickens (allow 2-4 sq ft per bird inside, 8-10 sq ft in the run). Choose a level, well-drained spot for your coop. Sketch out your basic design, including dimensions for the coop house, nesting boxes, roosting bars, and the attached run.
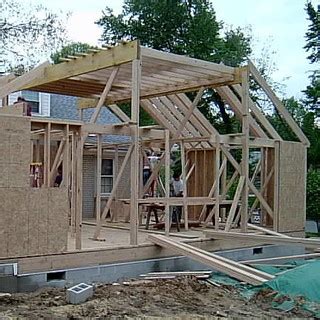
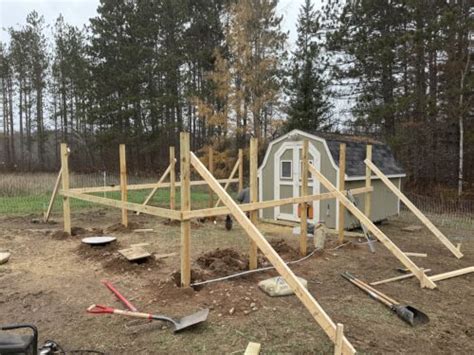
2. Build the Base and Frame
Start with a sturdy base frame using 2x4s. If you plan to elevate the coop, build legs into this frame or attach them securely. For the run, dig a trench about 12 inches deep around the entire perimeter. Lay a 12-inch wide strip of hardware cloth flat in the trench, bending it at a 90-degree angle so 6 inches extend up vertically. This creates an apron that prevents digging predators from going under your run.
3. Construct the Walls and Floor
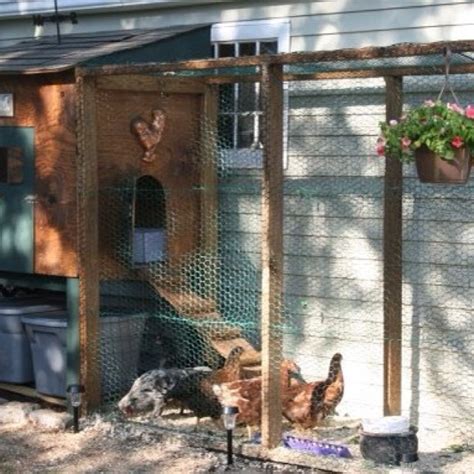
Frame the walls of your coop house and run. Attach plywood or OSB to the coop house walls. For the run, staple hardware cloth securely to the outside of the framing, ensuring there are no gaps. Overlap edges by several inches and secure them with extra staples or hog rings. For the coop floor, you can use plywood, or, for ultimate security, cover the floor framing with hardware cloth before adding a plywood layer. This prevents rats or mice from chewing through a single layer of wood.
4. Install Doors and Windows (with Security in Mind)
Cut openings for the main access door, a smaller pop-door for the chickens, and any windows. Frame these openings. Cover all window openings and vents with hardware cloth before installing. Hang your doors with robust hinges and equip them with predator-proof latches. Remember, raccoons are dexterous; simple latches are no match for them.
5. Add the Roof and Interior Elements
Attach your chosen roofing material to the roof frame. Ensure it overhangs slightly to protect walls from rain. Inside the coop, install nesting boxes (one for every 3-4 hens) and roosting bars (allow 8-10 inches per bird). These should be slightly elevated and made from comfortable, round-edged wood.
Ongoing Security Measures
Even after construction, regular checks are vital. Look for signs of attempted breaches, loose hardware cloth, or damaged latches. Keep the area around the coop clear of debris that could offer predator hiding spots. With these simple DIY plans and a focus on robust materials and design, you can provide your flock with a safe, comfortable, and predator-proof home for years to come.